If you’ve ever scrolled through Instagram and stopped dead at a crochet piece that looks like a full-color illustration made of yarn, you know the pull of tapestry crochet. It’s the technique that lets you work pictures, patterns, and lettering right into your fabric. No embroidery afterward. No appliqué. Just you, your hook, and a graph that turns into art.
I fell into this rabbit hole hard back in 2023, not long after I first picked up a hook. And when I tell you I struggled — I mean it. I frogged projects until my wrists ached. I watched tutorial after tutorial, convinced I was missing some secret step. Turns out, I was. Actually, I was missing several.
Now that I’ve made enough tapestry projects to feel qualified to talk about it (and enough mistakes to know what not to do), here are the things I genuinely wish someone had told me from the start.
You Don’t Have to Carry Yarn Through Every Stitch
When I first learned tapestry crochet, every tutorial I watched showed the same method: carry your non-working yarn across the back of the work, trapping it inside the stitches as you go. I assumed that was the only way. It’s not.
Here’s the thing — carrying yarn through the stitches works, but it has a downside. The carried yarn can peek through between stitches, especially if your tension shifts even a little. You end up with tiny flecks of color showing where they shouldn’t. It drove me crazy.
Turns out, you can just drop the yarn and pick it back up when you need it. That’s called Fair Isle crochet (or float method), and it leaves the back of your work covered in loose strands called floats. Some people love that look. Some hate it. For me, it depends on the project.
But here’s what I really wish I’d known earlier: you don’t have to commit to one method forever. You can switch between carrying and floating depending on how long your color runs are. Short runs? Carry it through. Long runs? Float it. The key is knowing both options exist.
Reading a Graph Isn’t as Hard as You Think
The first time I looked at a tapestry crochet graph, my brain short-circuited. A grid of colored squares. No words. No instructions. Just blocks of color staring at me like a test I hadn’t studied for.
I thought there was one rigid rule — you had to start reading from the left, or from the right, and if you got it wrong the whole project would be cursed. That’s not how it works. You can start wherever you want. What matters is knowing which side is your right side and which is your wrong side. Once you mark that, reading the graph becomes simple: read odd rows one direction, even rows the other.
Here’s another thing I didn’t know: these graphs go by many names. Alpha patterns. Pixel grids. Graphgans. If you search for “tapestry crochet pattern” and come up empty, try “alpha pattern” plus whatever image you want. I spent weeks not finding good charts simply because I didn’t know what to call them. Now I search for things like “Naruto alpha pattern” or “pixel grid sunflower” and find exactly what I need.
If you really want to make your life easier, you can also learn to make your own graphs. It’s simpler than you’d think. I use a tool called Stitch Fiddle — upload a picture, tweak the colors, and boom, you’ve got a custom graph. I made a moon-and-stars design that way that I never could have found pre-made. The hardest part is tweaking the details afterward, but once you get the hang of it, you’ll never be stuck searching for the perfect pattern again.
Intarsia Will Change Your Life (and Save Your Yarn)
If you’ve never heard of intarsia crochet, let me introduce you to your new best friend. Intarsia is the technique where you don’t carry your yarn at all. Instead, you drop the current color, pick up a new skein of the same color somewhere else, and work each section separately. The result? A clean back side. No floats. No carried yarn peeking through. Both sides of your work look good.
I’m currently working on a Sailor Moon cardigan using this method, and the difference is night and day compared to my earlier projects. The back is tidy. The front is crisp. And because you’re not wasting yarn carrying it across long stretches, the whole project ends up lighter and less bulky.
That said, intarsia does mean more ends to weave in. Every color change creates a tail. Some people hate that part. I don’t love it either, but I’ll take a few extra ends over a lumpy, heavy project any day. If you want to try it, I have a full tutorial on my channel that walks through the technique step by step.
Tension Is Everything — But Don’t Overthink It
Here’s the paradox of tapestry crochet: tension matters more than almost anything else, but thinking about your tension too much will ruin it.
If your tension is too tight, your fabric curls. If it’s too loose, your stitches look sloppy and your color changes gap. The best advice I ever got? Stop thinking about it. Put on a movie. Zone out. Let your hands do what they’ve practiced. The moment I started distracting myself from my own grip, my tension evened out.
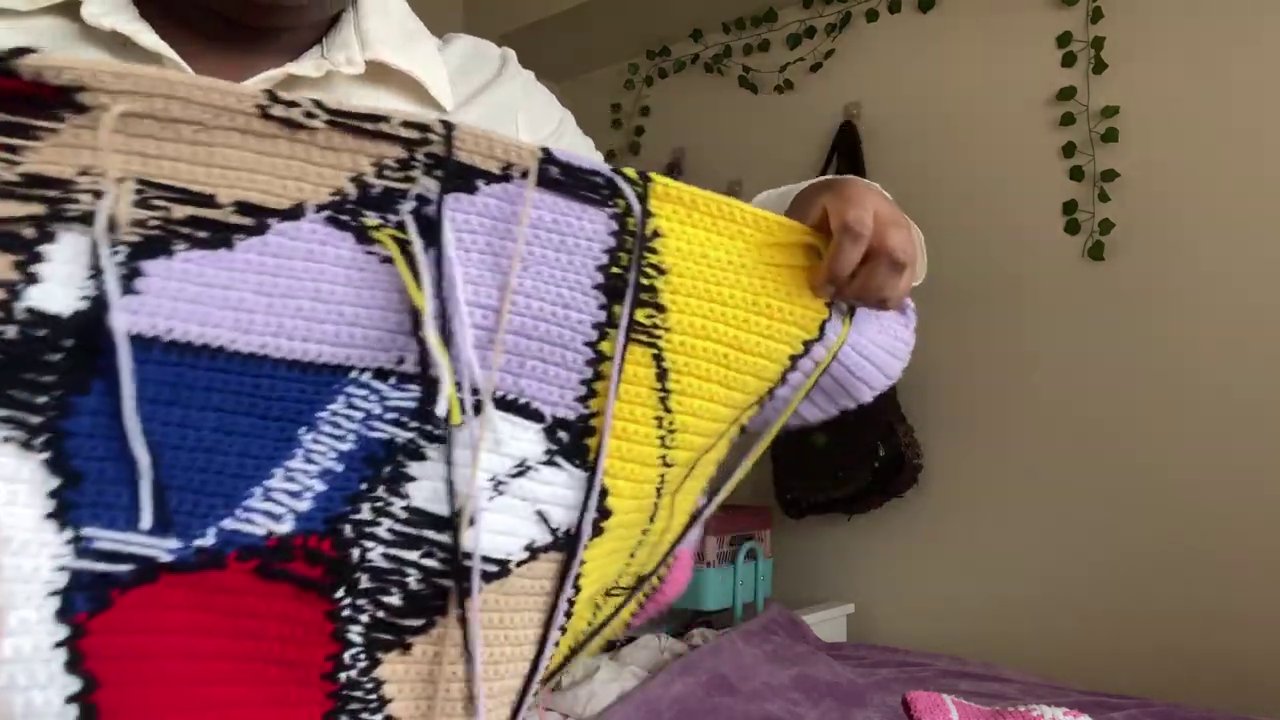
Practice helps, obviously. No one picks up tapestry crochet and nails perfect tension on day one. But the real breakthrough came when I stopped obsessing and started trusting the muscle memory I was building. Your hands learn faster than your brain gives them credit for.
Tapestry Crochet Isn’t Just for Wall Hangings
I made this mistake early on. I thought “tapestry crochet” meant you had to make tapestries — flat panels you frame or hang. That’s one option, sure, but it’s far from the only one.
You can make cardigans. You can make bags. You can make hats, pillows, even stuffed animals if you’re ambitious. Any project that uses single crochet in the round or flat can become a tapestry project. The graph just becomes the pattern.
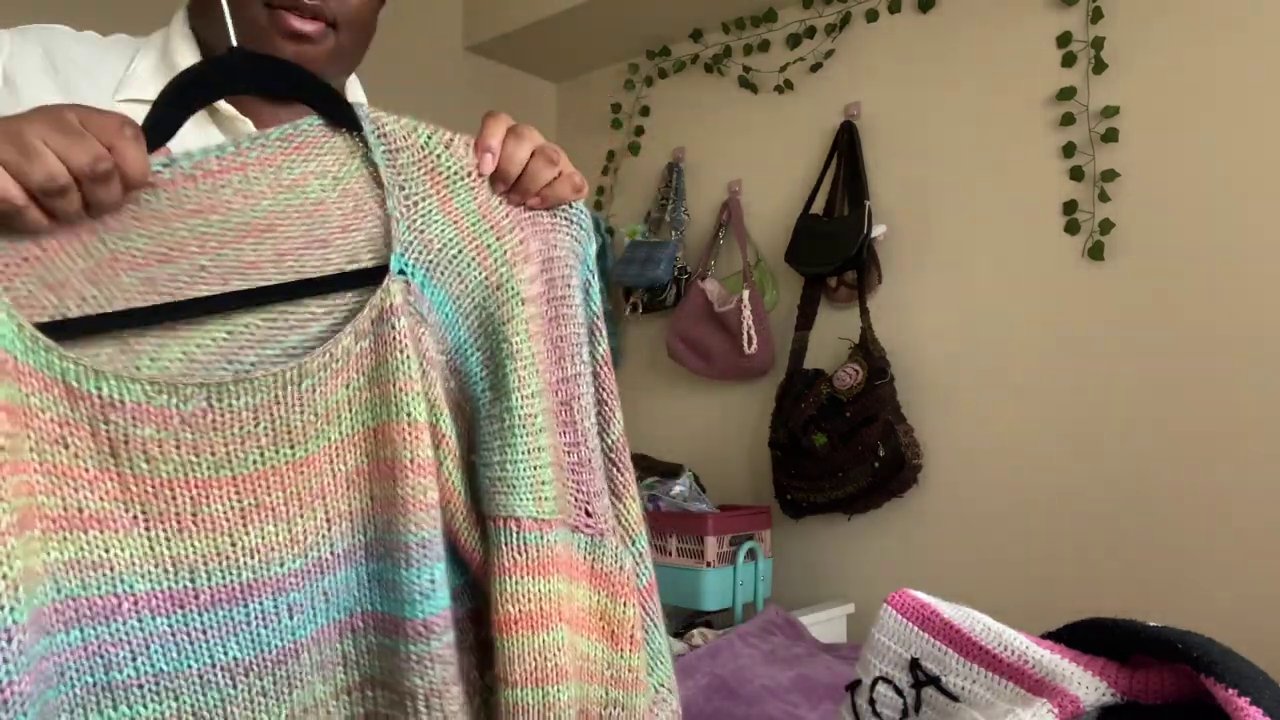
I’m working on turning my Sailor Moon cardigan into a full tutorial because so many people have asked how to adapt a graph into a wearable. If that’s something you’d want to see, let me know. The point is, don’t limit yourself. If you have a picture in your head and a graph to match, you can put it on almost anything.
Keep Going
Tapestry crochet has a steep learning curve. I won’t pretend otherwise. The first few projects will probably have mistakes — color changes that shift, tension that pulls, graphs that confuse you halfway through. That’s normal. That’s how it goes.
But once it clicks, it clicks. Suddenly you’re making things that look like they came from a store. You’re designing your own graphs. You’re finishing projects and thinking, “I can’t believe I made this.”
If you’re just starting, my best advice is to pick a simple graph — something with only two colors and straight lines — and just start. Don’t worry about perfection. Worry about finishing. Every project teaches you something the last one didn’t.
And if you’ve already made a few pieces, comment below with the things you wish you’d known. I’m always looking for new tips to try.