There’s something deeply satisfying about a project you can finish in a single evening. A crochet bookmark is exactly that — small enough to be portable, useful enough to gift, and just challenging enough to teach you a new stitch or two. I recently watched a crafter work through one of these projects, and the whole process had a quiet, meditative quality that made me want to pick up my own hook.
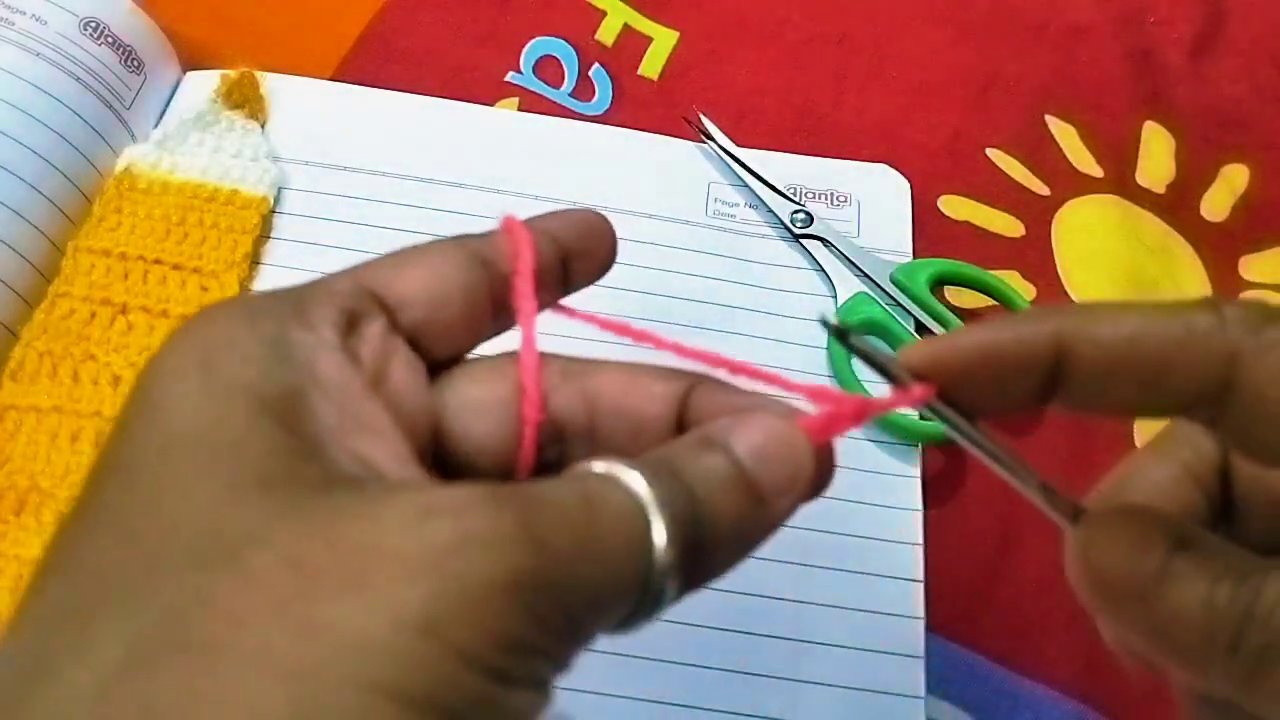
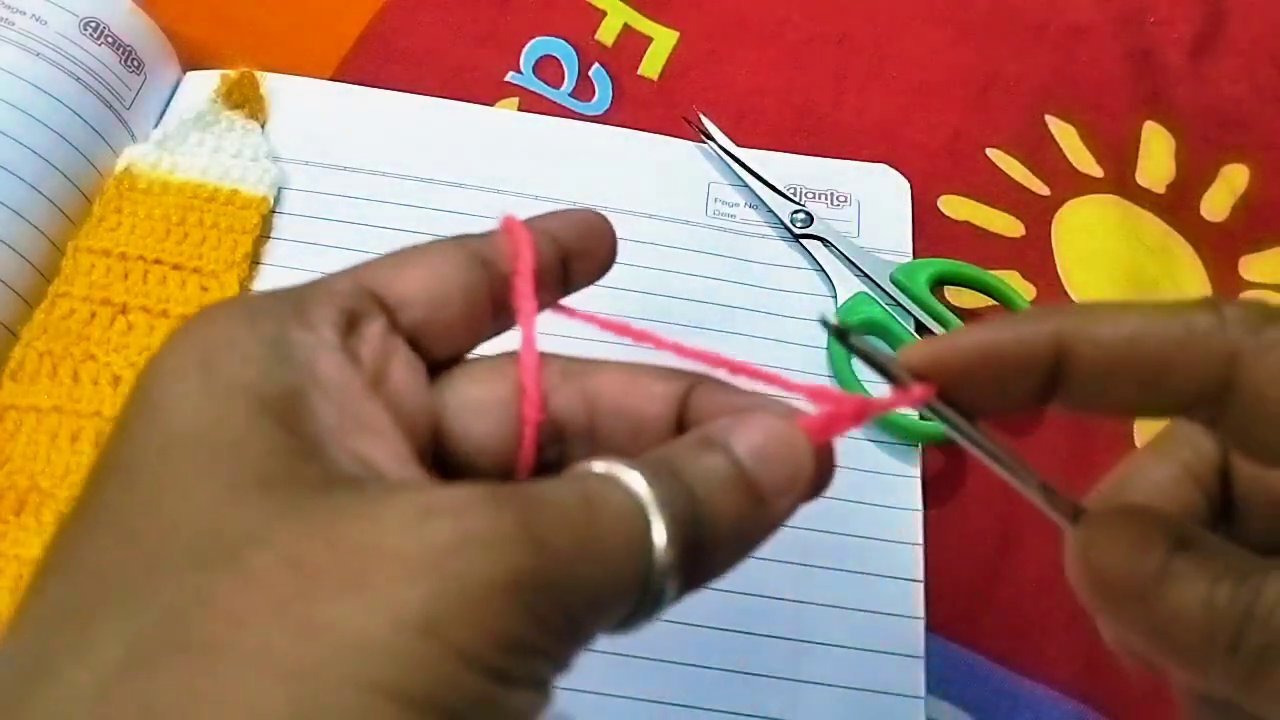
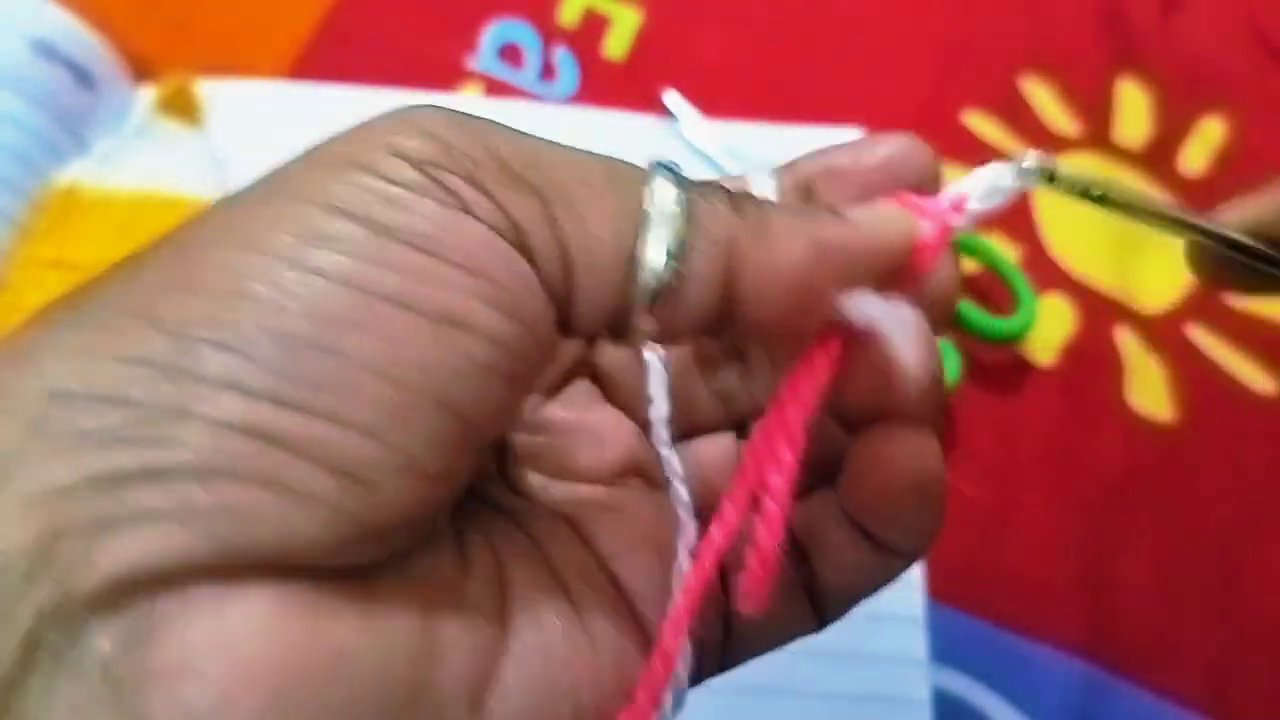
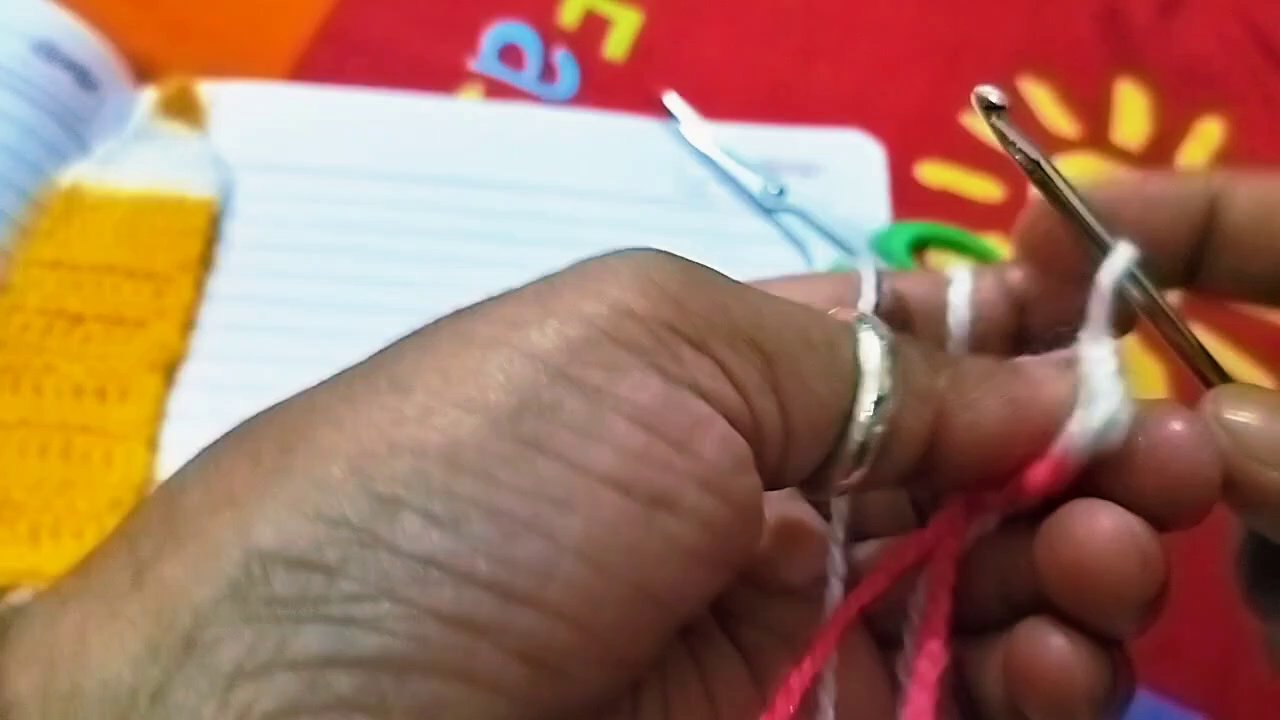
The video shows brown hands holding pink yarn against a simple workspace — a few papers, a red cloth printed with a yellow sun. A silver ring catches the light on the index finger, and a gold bracelet shifts gently as the hands work. There’s no music, no chatter. Just the rhythm of yarn looping over hook, stitch by stitch.
Why a Bookmark?
Before we get into the mechanics, let’s talk about why this particular project is worth your time. Bookmarks are one of those rare crochet items that actually make sense as gifts. They’re personal without being overwhelming. You can finish one in under an hour, which means instant gratification — something we don’t get enough of in this hobby.
They also use very little yarn. That single skein of something pretty that’s been sitting in your stash? Perfect for this. And because bookmarks are flat and rectangular, they’re ideal for practicing color changes, stripes, or even simple lace patterns without committing to a full scarf or blanket.
If you’ve been wanting to try working with two colors but felt intimidated, this is your chance. The pink-and-white version in the tutorial is a great starting point.
What You’ll Need
The setup is minimal. You probably already own everything required:
- Worsted weight yarn in two colors (the tutorial uses pink and white)
- A crochet hook in the size recommended for your yarn — usually 4.5mm to 5.5mm for worsted weight
- Scissors
- A yarn needle for weaving in ends
That’s it. No stitch markers needed for something this straightforward, though you can use one if you tend to lose your place. The crafter in the video works with a relaxed tension, letting the stitches settle naturally rather than pulling them tight. That’s worth noting — loose tension makes for a softer, more flexible bookmark that won’t damage your book pages.
Getting Started: The Foundation Chain
Every crochet project begins with a slip knot, and this one is no different. The video opens with hands demonstrating exactly how to wrap the pink yarn around the hook and pull through to create that first loop. If you’re new to crochet, this is the moment to pay close attention.
The foundation chain needs to be long enough to match the height of a standard book page — roughly 18 to 20 chains for a typical paperback. But here’s the thing: you can adjust this to fit whatever you’re reading. A thick hardcover might need a longer chain. A pocket novel might need something shorter. That flexibility is part of what makes handmade bookmarks so much better than store-bought ones.
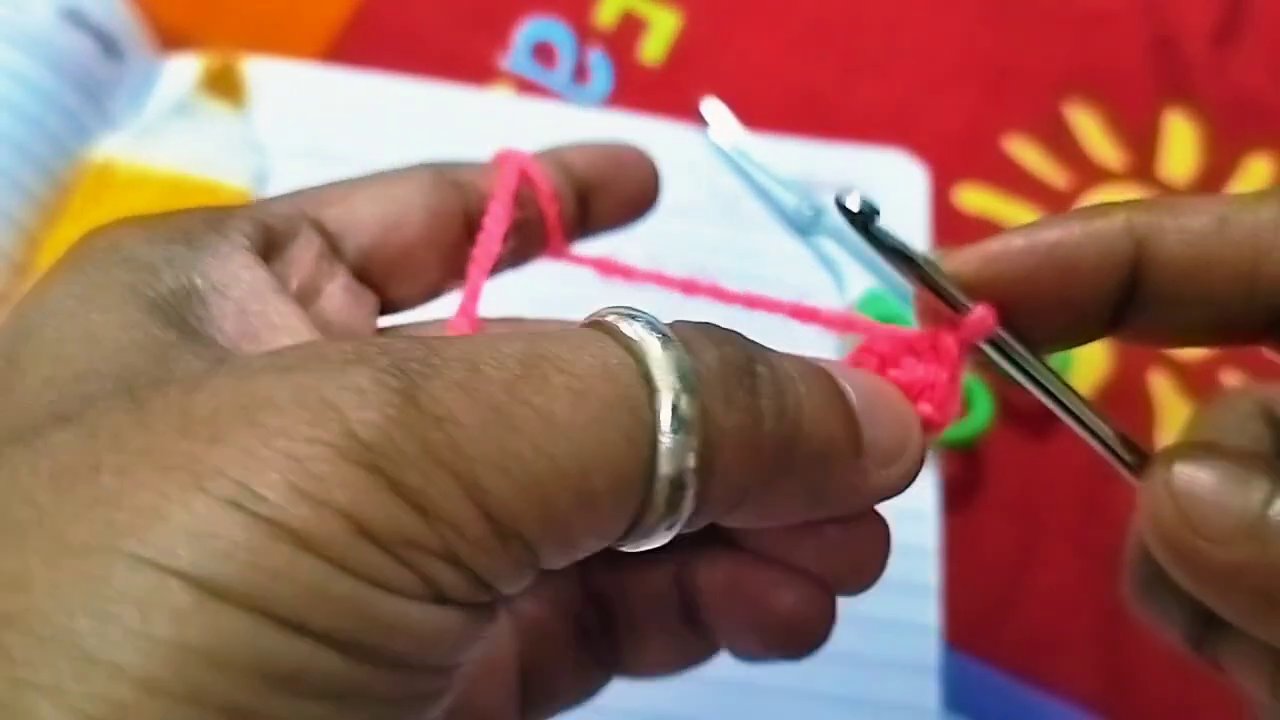
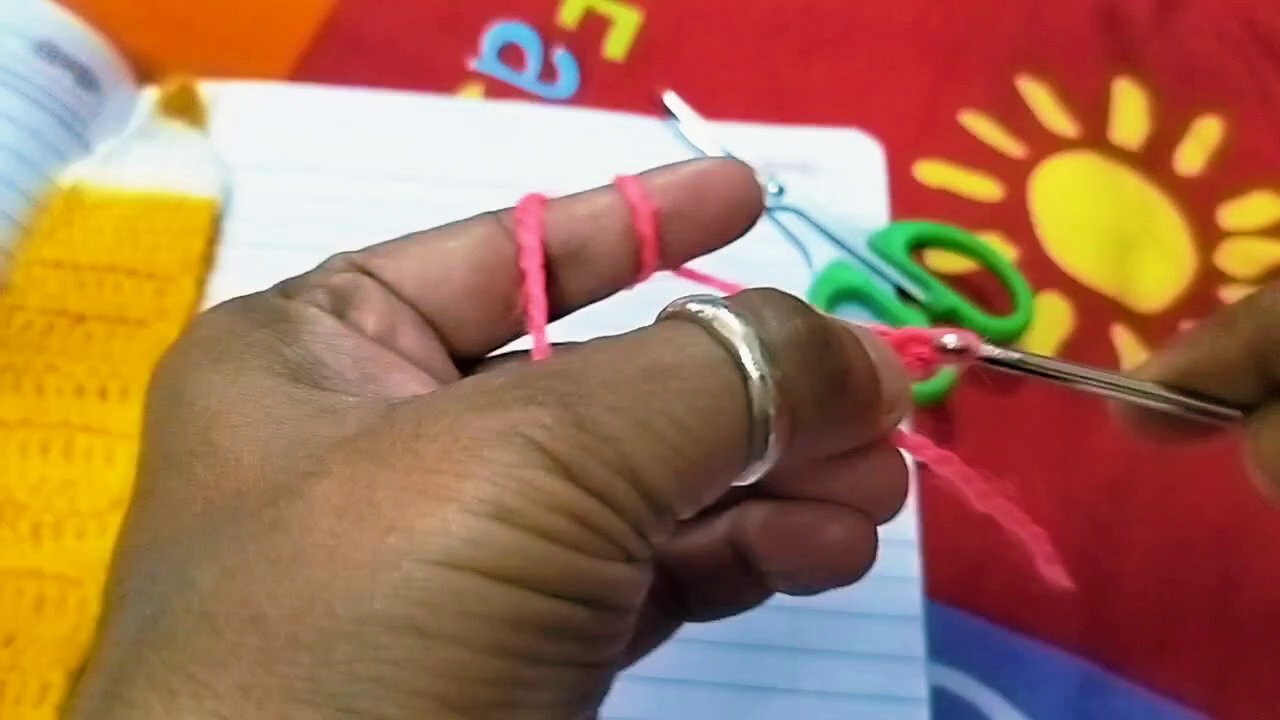
Once the chain is done, you’ll work back along it with single crochet stitches. The video shows each stitch being inserted into the chain, yarn over, pull through — that familiar two-step dance that forms the backbone of so many patterns.
The Body: Building the Stripes
Here’s where the project starts to get interesting. After a few rows of solid pink, the hands switch to white yarn. The color change happens mid-row, creating a clean horizontal stripe. The technique is simple: when you’re about to complete the last stitch of a row in pink, you pull through the new white yarn instead, then continue crocheting as normal.
If you’ve never done a color change before, it can feel awkward at first. The trick is to leave a tail of about four inches on both the old and new yarns, then weave those ends in later. Don’t try to tie knots — they’ll create bumps that make the bookmark lumpy. Just let the yarns sit, and trust that the weaving step will secure everything.
The pattern in the video alternates colors every few rows, creating a striped effect. You could do the same, or you could experiment with different rhythms — two rows of pink, one row of white. Three rows of white, one row of pink. The beauty of a small project is that you can try something new without wasting much time or yarn.
As the hands work, the camera zooms in and out, giving you a clear view of how the stitches stack up. Each row builds on the last, and within minutes, the bookmark starts to take shape. It’s one of those moments where you can actually see progress happening in real time.
Adding the Finishing Touch: The Tassel
The video ends with a close-up of the finished bookmark — pink and white stripes, and a tassel dangling from one end. That tassel is what elevates this from a simple rectangle to something that feels complete.
Making a tassel is easier than it looks. You wrap yarn around a piece of cardboard (or your fingers, if you’re comfortable estimating length), cut through the loops at one end, then tie the bundle to the corner of your bookmark. The video shows this step clearly: the hands gather several strands of pink yarn, fold them in half, and loop the folded end through the last stitch of the bookmark. Then they pull the loose ends through the loop and tighten.
If you want to get fancy, you can wrap another strand of yarn around the top of the tassel to create a neat, finished look. But even a simple, unadorned tassel works fine. The key is to trim the ends so they’re even — nothing ruins a good bookmark like a lopsided tassel.
Variations and Ideas
Once you’ve made one bookmark, you’ll probably want to make more. They’re addictive like that. Here are a few ways to change things up:
- Use a single color for a minimalist look. A solid cream or navy bookmark feels elegant and understated.
- Add a button loop instead of a tassel. Crochet a small chain at one end, then sew on a button. This lets you wrap the chain around the button to secure the bookmark in place.
- Try a different stitch. Instead of single crochet, use half-double crochet for a looser fabric, or shell stitches for a lacy edge. The bookmark in the tutorial is straightforward, but that doesn’t mean yours has to be.
- Make it a set. Three bookmarks in coordinating colors make a lovely gift, especially if you include a handwritten note about the book you’re currently reading.
If you’re in the mood for something equally small and satisfying, you might enjoy making a crochet plush frog pattern — it’s another project that works up quickly and makes a charming gift.
Common Mistakes to Avoid
Even experienced crocheters can run into trouble with small projects. Here are a few pitfalls to watch for:
- Tension that’s too tight. Because bookmarks are narrow, tight tension can make them curl at the edges. If you notice your bookmark starting to look like a tube instead of a flat strip, loosen up. You might need to go up a hook size.
- Uneven edges. Losing or gaining stitches at the end of rows is the most common mistake in crochet. Count your stitches every few rows to make sure you’re staying consistent. For a bookmark that’s 18 chains wide, you should have 18 stitches across every row.
- Skipping the weave-in. Those yarn tails from your color changes? They need to be woven in with a yarn needle, not just snipped off. Otherwise, they’ll work their way loose over time. Weave them in along the edge of the bookmark, where they’ll be invisible.
Why This Project Sticks
There’s a reason the video focuses so tightly on the hands. Crochet is a tactile craft, and watching someone else’s fingers move through the motions is oddly calming. The background — just a few papers and that red sun-print cloth — disappears from attention. All that matters is the yarn and the hook.
By the end of the video, the bookmark is complete. Pink and white stripes, a neat tassel, and a sense of accomplishment that comes from turning a ball of yarn into something functional and beautiful. The hands hold it up for a moment, letting the camera capture the finished piece. Then the video ends.
If you’ve been looking for a reason to pick up your crochet hook again, this is it. A bookmark takes almost no time, uses almost no yarn, and leaves you with something you’ll actually use. Or gift. Or both.
For another quick project that’s great for beginners, check out this monster keychain pattern — it uses similar techniques and makes a fun accessory.
Final Thoughts
The best projects aren’t always the biggest. Sometimes they’re the ones you can finish in a single sitting, with nothing more than a hook and a scrap of yarn. The bookmark in this tutorial is exactly that kind of project — simple enough for a beginner, satisfying enough for someone who’s been crocheting for years.
So grab your yarn. Pick two colors that make you happy. Chain a foundation row, work your stitches, and watch the stripes grow. By the time you’re done, you’ll have something that marks your place in the world — one stitch at a time.