You know that moment when you’re watching a crochet tutorial and the hands on screen are moving so fast you can’t tell where one stitch ends and the next begins? The yarn blurs, the hook becomes a purple-and-pink streak, and you’re left hitting pause every two seconds, rewinding, squinting. That’s the worst.
This tutorial does things differently. The camera stays tight on the hands — knuckles down, nothing else to distract you. The yarn is a bright pink, the hook a deep purple, and the background is a simple light wood table. No clutter. No chatter. Just the stitches, shown at a pace you can actually follow.
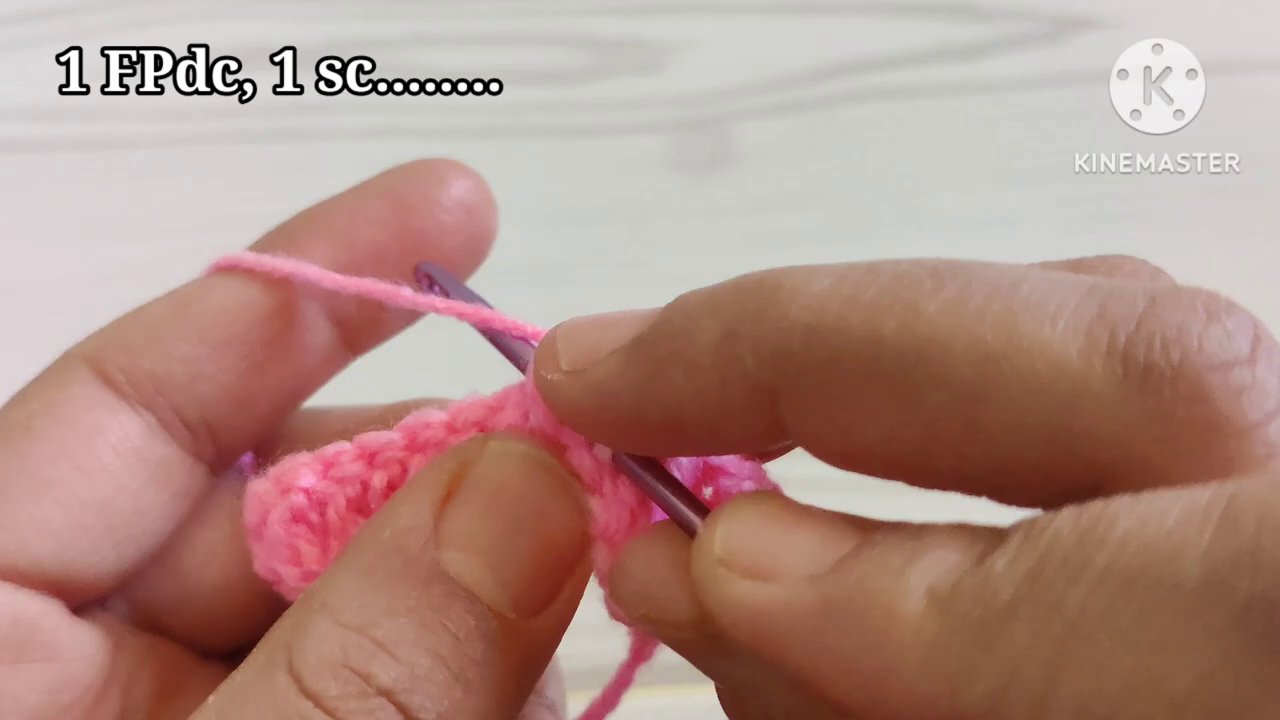
What makes this one stand out is the text overlay. In the top-left corner, white letters with a black outline spell out exactly what stitch is being worked — “dc…..”, then “1 FPdc, 1 sc……..”, then “SC……….”. It’s like having a cheat sheet embedded right in the video. You’re never guessing what you’re supposed to be doing.
Let’s walk through what’s actually happening in those hands.
The Setup: What You’re Seeing
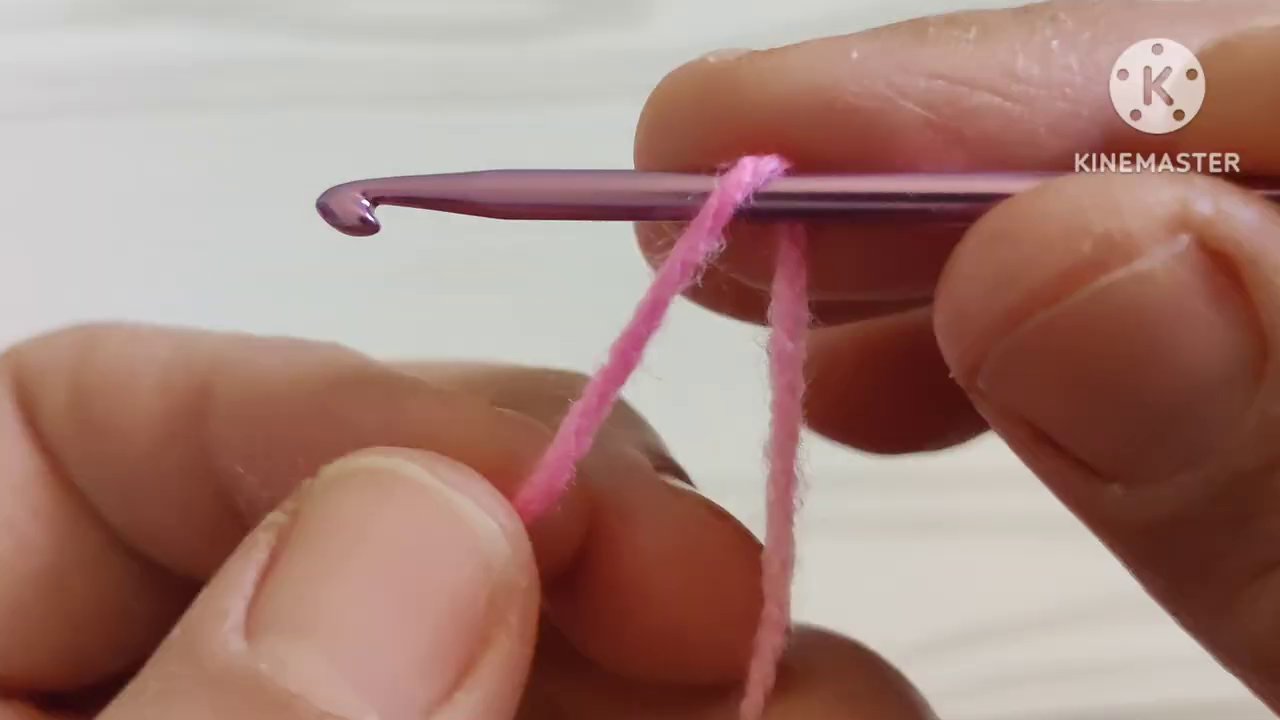
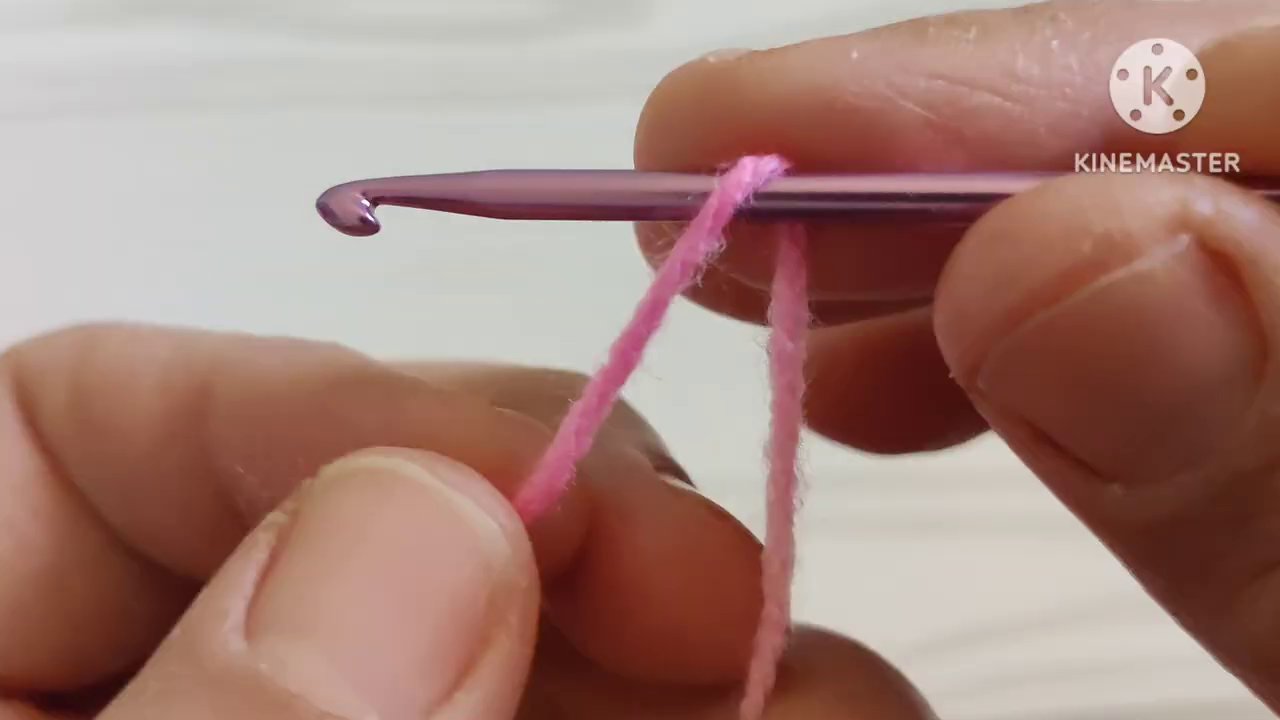
The first frame shows the yarn wrapped around the hook, ready to go. The fingers are relaxed but precise — not tense, not fumbling. That’s a good sign. If you’ve ever tried to learn a stitch from someone whose hands look like they’re wrestling a snake, you know how discouraging it can be. Here, the movements are smooth and deliberate.
The hook is inserted into the stitch, the yarn is caught, and a loop is pulled up. That’s the foundation of almost everything in crochet. But the tutorial isn’t just showing you a single stitch in isolation. It’s building a pattern.
The Front Post Double Crochet: Where It Gets Interesting
The text overlay changes to “1 FPdc, 1 sc……..”. That’s the key moment. The front post double crochet is one of those stitches that looks intimidating until you see it done correctly. It’s not complicated — it’s just different from what you’re used to.
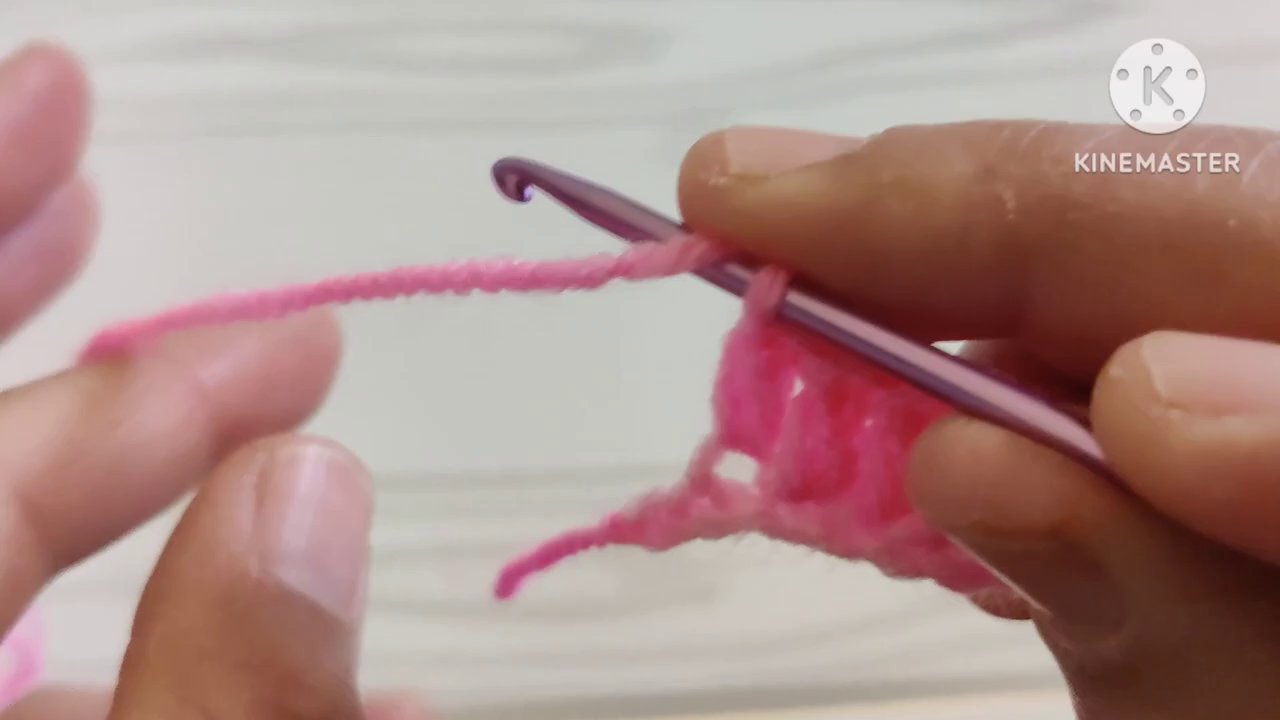
Instead of inserting the hook through the top loops of a stitch (like you do with a regular double crochet), you’re inserting it from front to back around the post of the stitch below. Then you yarn over, pull up a loop, and complete the double crochet as usual. The result is a raised ridge that creates texture and depth.
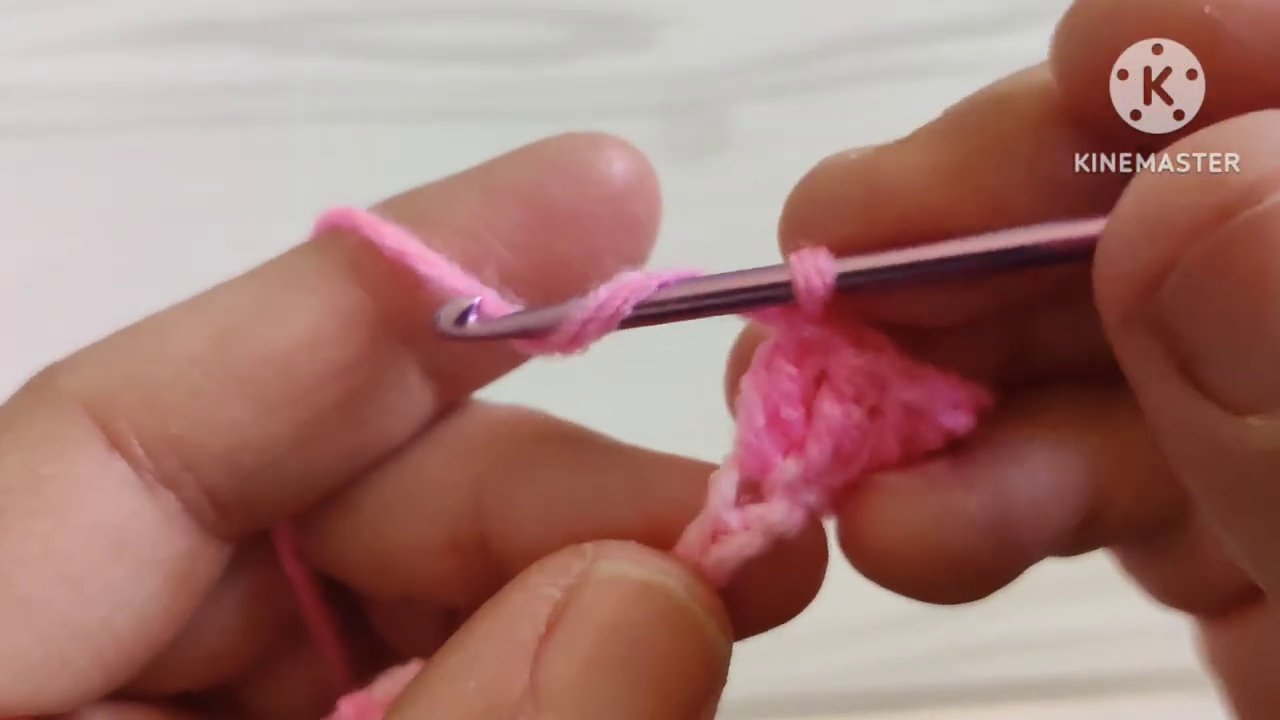
The hands in this tutorial demonstrate it cleanly. You can see the hook slide around the post, not through the V at the top. That visual distinction is everything. If you’ve ever tried to follow a written pattern that says “FPdc” and felt your brain short-circuit, seeing it done this clearly makes it click.
After the front post double crochet, the hands move into a single crochet. The rhythm is deliberate: FPdc, sc, FPdc, sc. It’s a repeating pattern — one that creates a ribbed, textured fabric that’s perfect for borders, cuffs, or hat brims.
Why This Stitch Combination Matters
The FPdc and sc combo isn’t just a random pairing. It’s a workhorse in crochet design. Think about the bottom edge of a sweater, the brim of a beanie, or the border of a blanket. That stretchy, structured finish that keeps things from curling? That’s often a front post stitch alternating with a single crochet.
The single crochet in between acts as a stabilizer. It keeps the fabric from getting too loose while the front post stitch adds the visual interest. Together, they create a surface that’s both functional and decorative.
If you’re working on a project that needs a clean edge — like a crochet dishcloth or a blanket border — this stitch pattern is a solid choice. It lies flat, it doesn’t curl, and it looks like you put in more effort than you actually did.
The Single Crochet Section: Back to Basics
At one point, the text overlay shifts to just “SC……….”. The tutorial zooms in on the single crochet alone. That might seem unnecessary — single crochet is usually the first stitch anyone learns. But here’s the thing: even basic stitches can be done poorly, and a refresher on proper technique never hurts.
Watch the hands closely. The hook enters the stitch, catches the yarn, pulls through. Then yarn over again, pull through both loops. It’s a two-step motion that should feel fluid. If you’re yanking or jerking, your tension is off. The hands in this tutorial move with a consistent rhythm — no sudden stops, no uneven loops.
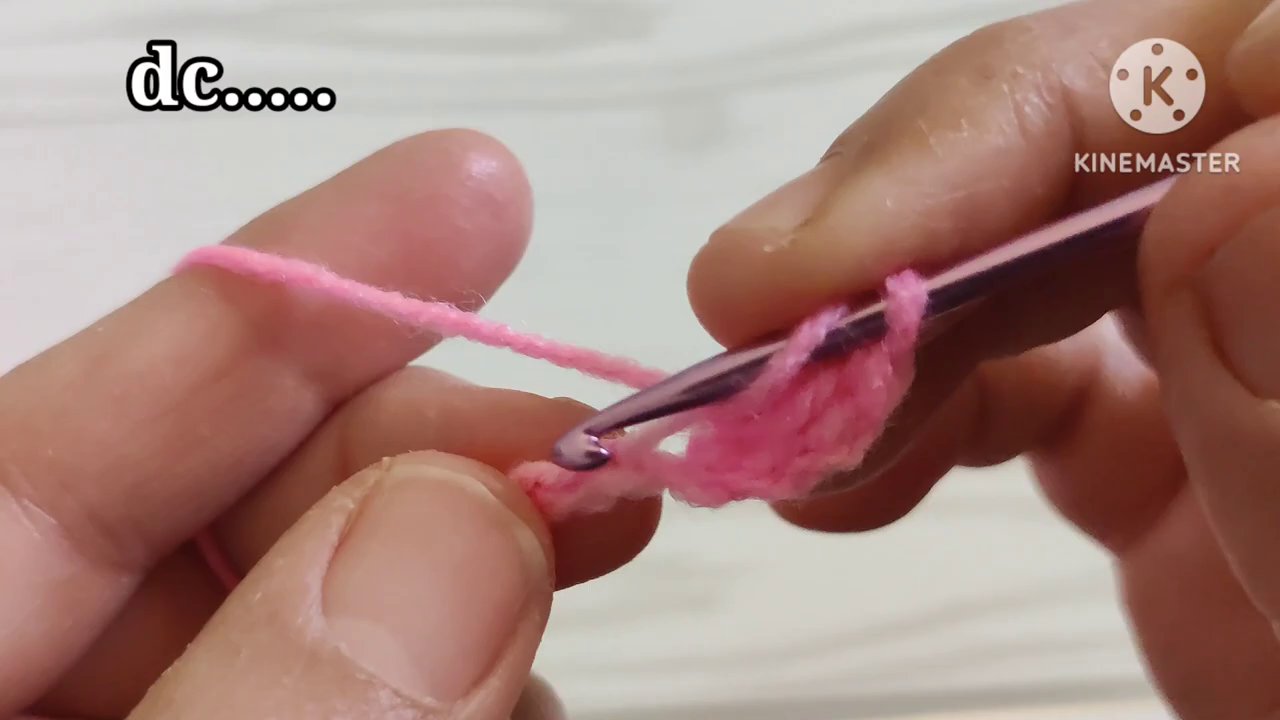
The project in the frame is small and pink. It looks like a motif or the beginning of a border. The rows are stacking up neatly, each stitch sitting right next to the last. That’s the sign of good tension control.
Reading the Hands: What the Video Doesn’t Tell You in Words
One thing you pick up from watching crochet tutorials — especially the good ones — is that a lot of information is communicated through movement, not speech. The way the fingers hold the yarn, the angle of the hook, the speed of the pull-through. These are details that written patterns can’t convey.
In this tutorial, the hands hold the yarn with a light tension. The index finger is raised slightly, guiding the yarn without strangling it. The hook is held like a pencil, not a dagger. Small things, but they make a huge difference in how comfortable you feel while working.
The Kinemaster logo in the top-right corner is a reminder that this was edited with purpose. The cuts are clean, the pacing is steady. You’re not getting jump cuts every two seconds or long stretches of nothing happening. Each frame serves a purpose.
Putting It Into Practice
So you’ve watched the hands, you’ve seen the stitches, and you understand the pattern. Now what?
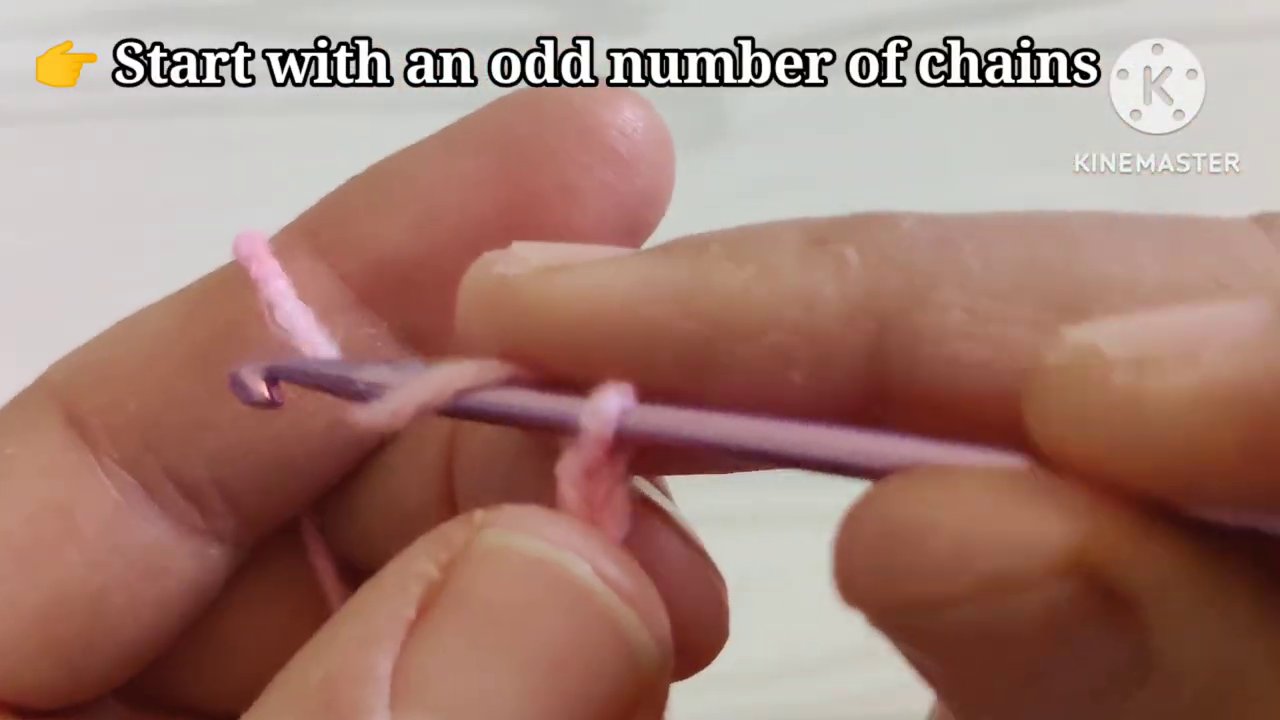
Grab some worsted weight yarn — the pink in the tutorial looks like a medium weight, easy to work with — and a hook that matches. A 5mm or 5.5mm hook is a safe bet for most worsted yarns. Chain a foundation row, then start working the pattern: FPdc in one stitch, sc in the next, repeat across.
Don’t worry if it looks messy at first. The front post stitch requires a slightly different angle of entry, and it takes a few rows to get comfortable. The beauty of this pattern is that it’s forgiving. Mistakes tend to blend into the texture.
If you’re working on a larger project — say, a blanket or a garment — this stitch combination works well as a border. It adds structure without overwhelming the main pattern. You can also use it as the main body of a hat or a cowl. The stretchiness of the FPdc makes it ideal for things that need to hug the body.
For something smaller, like a monster keychain or a plush toy, this stitch pattern can add a nice textured detail without making the project too stiff. Just keep in mind that FPdc uses more yarn than a standard double crochet, so plan accordingly.
The Takeaway
This tutorial does what every good crochet lesson should do: it shows you exactly what to do, at a pace you can follow, with clear labels so you never get lost. The hands are steady, the stitches are visible, and the pattern is practical.
You don’t need to be an expert to try this. If you know how to chain and double crochet, you’re already most of the way there. The front post is just a variation on a technique you already have. And the single crochet? That’s muscle memory by now.
The next time you pick up your hook, try this FPdc-and-sc rhythm. Work a few rows. See how the fabric feels in your hands. You might find yourself using it more often than you expected.