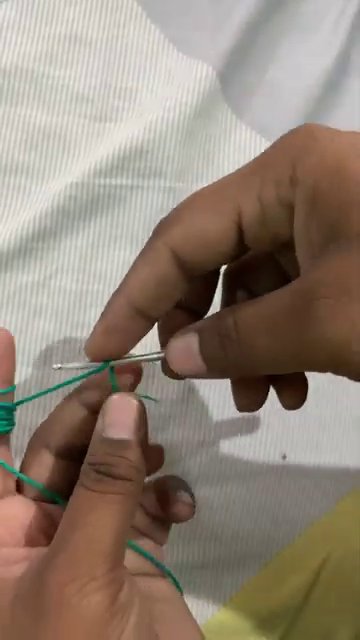
So you want to learn how to crochet. Maybe you picked up a hook and some yarn, watched a few videos, and still felt like you were missing something. Or maybe you’re completely new and just want to start with the absolute basics.
The foundation chain is where every crochet project begins. Without it, you can’t make a scarf, a blanket, or even a tiny square. It’s the first stitch every beginner needs to master, and once you get the hang of it, everything else starts to fall into place.
What Exactly Is a Foundation Chain?
A foundation chain is exactly what it sounds like — a series of chain stitches that form the base row of your crochet project. Think of it as the footing for a house. If it’s uneven or too tight, everything built on top of it will be wobbly.
The chain stitch itself is simple. You’re basically pulling loops of yarn through other loops. But that simplicity is deceptive. The way you hold your yarn, the tension in your hands, and even the type of hook you use all affect how your chain turns out.
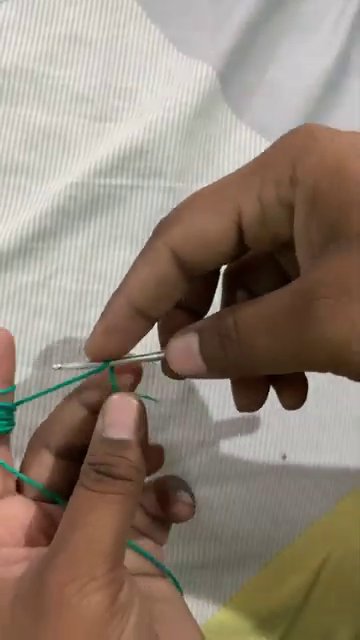
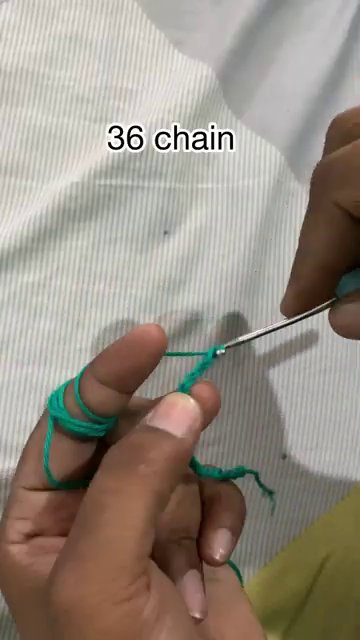
Most patterns will tell you to start with a slip knot, then make a certain number of chain stitches. For example, a scarf pattern might say “chain 36” or “chain 25.” That number becomes the width of your project.
Getting Started: What You’ll Need
Before you make your first chain, grab the right tools. You don’t need much, but quality matters more than you think.
Yarn. For practice, choose a smooth, medium-weight yarn in a light color. Dark yarn makes it harder to see your stitches. Avoid fuzzy or textured yarn until you’re comfortable.
Hook. Match your hook size to your yarn. Most medium-weight yarns work well with a 5mm or 5.5mm hook. If you’re unsure, check the yarn label — it usually recommends a hook size.
Scissors. Just a small pair for cutting yarn later.
That’s it. No fancy gadgets, no expensive kits. Just yarn, a hook, and a little patience.
The Slip Knot: Where It All Begins
Every chain starts with a slip knot. This is the loop that sits on your hook and gives you something to work from.
Make a loop with your yarn, leaving a tail of about 4-6 inches. Insert your hook through the loop, catch the working yarn (the strand attached to the ball), and pull it through. Tighten gently until the loop sits snugly on your hook — not tight enough to choke it, but not so loose that it falls off.
You’ll want the knot to slide easily up and down the hook shaft. If it doesn’t move at all, loosen it. If it dangles loosely, tighten it.
Making Your First Chain Stitch
Now comes the fun part. Hold the hook in your dominant hand. With your other hand, hold the yarn between your thumb and middle finger, keeping a light tension by wrapping the yarn over your index finger.
Here’s the motion:
- Yarn over — bring the yarn from back to front over the hook.
- Catch the yarn with the hook’s tip.
- Pull the yarn through the loop already on your hook.
That’s one chain stitch.
Keep repeating. Yarn over, pull through. Yarn over, pull through. Each loop you create is one chain stitch. Count them as you go. It’s easy to lose track, especially when you’re just starting.
Common Beginner Struggles
You might find your first few attempts look uneven. Some stitches are tight, others loose. The chain might curl or twist. This is completely normal.
Tension issues. If your chain is too tight, you won’t be able to insert your hook into the stitches later. If it’s too loose, your project will have gaps. The goal is consistent tension — not too tight, not too loose. Practice helps more than any trick.
Counting mistakes. It’s frustrating to lose count and have to start over. Try placing a stitch marker every 10 chains. Or just count out loud. Yes, it feels silly. It also works.
Twisted chains. Sometimes your chain twists into a spiral. This happens when you rotate your hook oddly while pulling through. Keep your hook facing up and pull straight through.
How Many Chains Should You Make?
The number of chains you need depends entirely on your pattern. A simple scarf might need 30-40 chains. A baby blanket could require 100 or more.
If you’re practicing, chain 20 or 25. That’s enough to get the feel without being overwhelming. Once you have a neat, even chain of that length, you’re ready to move on to the next stitch — usually single crochet or double crochet.
Building on Your Chain
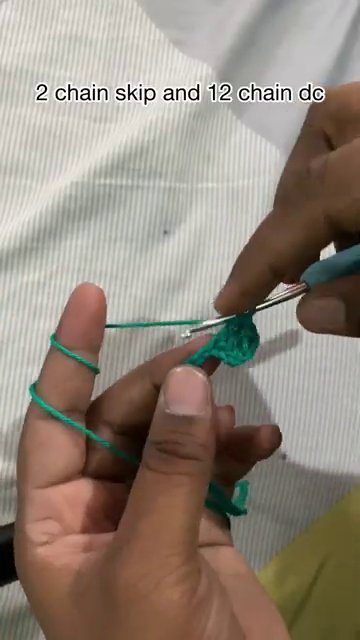
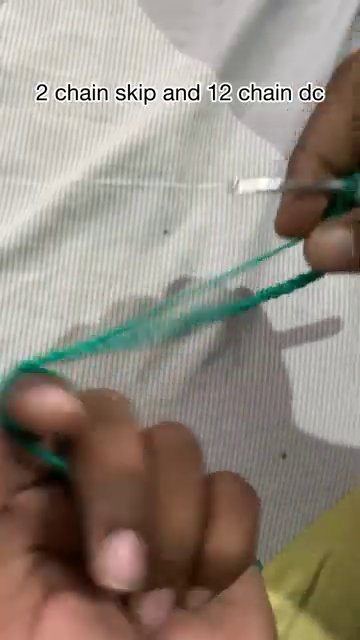
Your foundation chain is just the start. The next row of stitches will be worked into those chain loops. That’s where things get interesting.
If you’re following a pattern, it will tell you which loop to work into. Usually, you insert your hook under the top loop of the chain (the one that looks like a V). Sometimes patterns use the back bump instead. Both methods work, but they create slightly different edges.
For beginners, working into the top loop is easiest. You can see the V clearly, and your hook slides in without much fuss.
When Things Go Wrong
Every crocheter has ripped out a chain and started over. It’s part of the process. If you make a mistake, don’t panic. Just pull out the yarn and try again. Yarn is forgiving.
If your chain keeps tangling, check that your yarn isn’t twisted around the ball. If your hand cramps, take a break. If you’re frustrated, put everything down and come back later.
Crochet is supposed to be relaxing. It’s not a race.
A Few Tips for Faster Progress
Practice with purpose. Don’t just mindlessly chain. Focus on making each stitch look like the one before it. Compare your stitches as you go.
Use your non-dominant hand actively. Your yarn hand controls tension. Keep it steady. Don’t let the yarn go slack or tighten suddenly.
Watch your posture. Hunching over your work strains your neck and shoulders. Sit upright, bring your work to eye level, and take breaks.
Try different yarns. Once you’re comfortable with medium-weight yarn, experiment with thicker or thinner options. You’ll notice how different materials behave.
What Comes Next
Mastering the chain stitch opens the door to everything else in crochet. From here, you can learn single crochet, half double crochet, double crochet, and beyond. Each stitch builds on the foundation you’re creating now.
If you’re looking for simple projects to practice on, consider a small dishcloth or a scarf. Both use basic stitches and give you something useful at the end. For something more playful, you could try a crochet plush frog pattern that starts with a simple chain and works up into a cute amigurumi project.
Or if you want to make something quick and satisfying, a monster keychain is a great way to practice your chain and basic stitches without committing to a large project.
The Bottom Line
Learning to make a chain in crochet is the first step toward creating almost anything with yarn. It takes practice. Your first chain might be lumpy and uneven. That’s okay. Every experienced crocheter started exactly where you are now.
Keep your tension consistent. Count your stitches. Don’t be afraid to start over. And most importantly, enjoy the process. There’s something deeply satisfying about turning a strand of yarn into a row of neat, uniform loops.
Once you’ve got that chain down, you’re ready for the next stitch. And the one after that. And before you know it, you’ll be making blankets, hats, and gifts for everyone you know.
For another fun beginner project, check out these baby crabs — they’re small, cute, and perfect for practicing your stitches on a tiny scale.
Pick up your hook. Make a slip knot. And start chaining.