Tutorials
Crochet Granny Squares: Corners, Counts, and Shape
Understand a classic crochet granny square with clear corner placement, stitch-group counts, joining choices, color changes, and practical checks for flatness.
Crochet.Digital · · 11 min de lecture
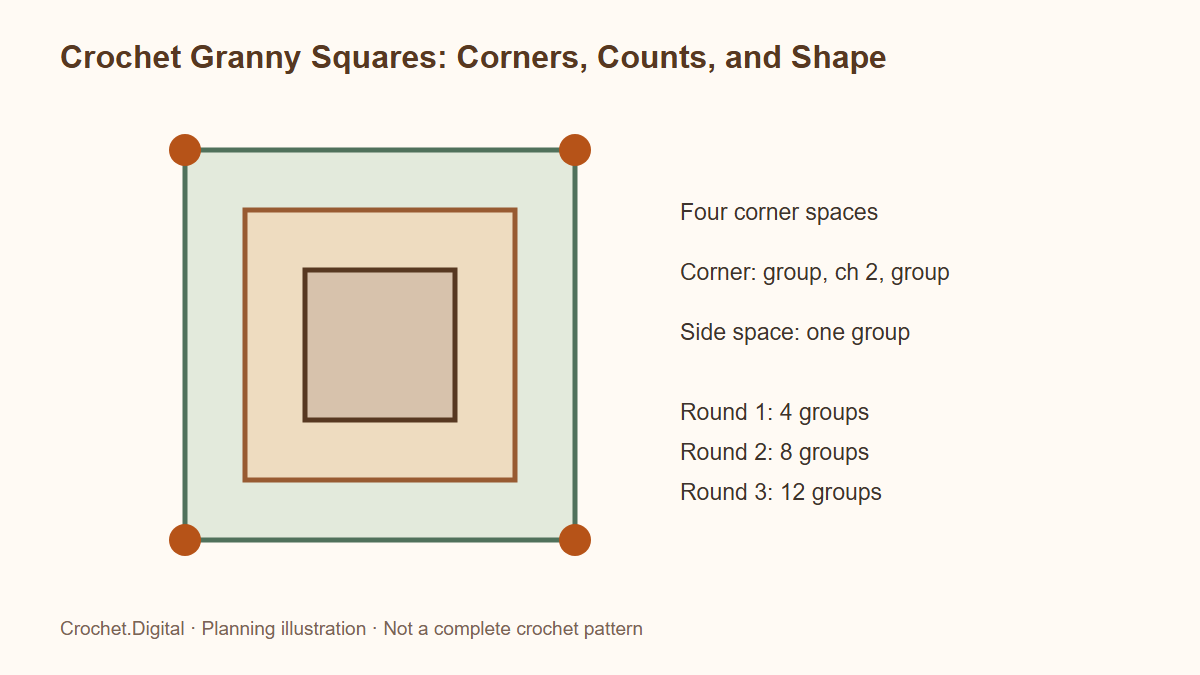
A classic granny square grows from its center by placing groups of stitches into spaces. Once the relationship between the four corners and the straight sides is clear, the construction becomes much easier to read. The challenge is rarely remembering the motion of a double crochet. It is recognizing which spaces must expand, which spaces simply receive another group, and where a round begins and ends.
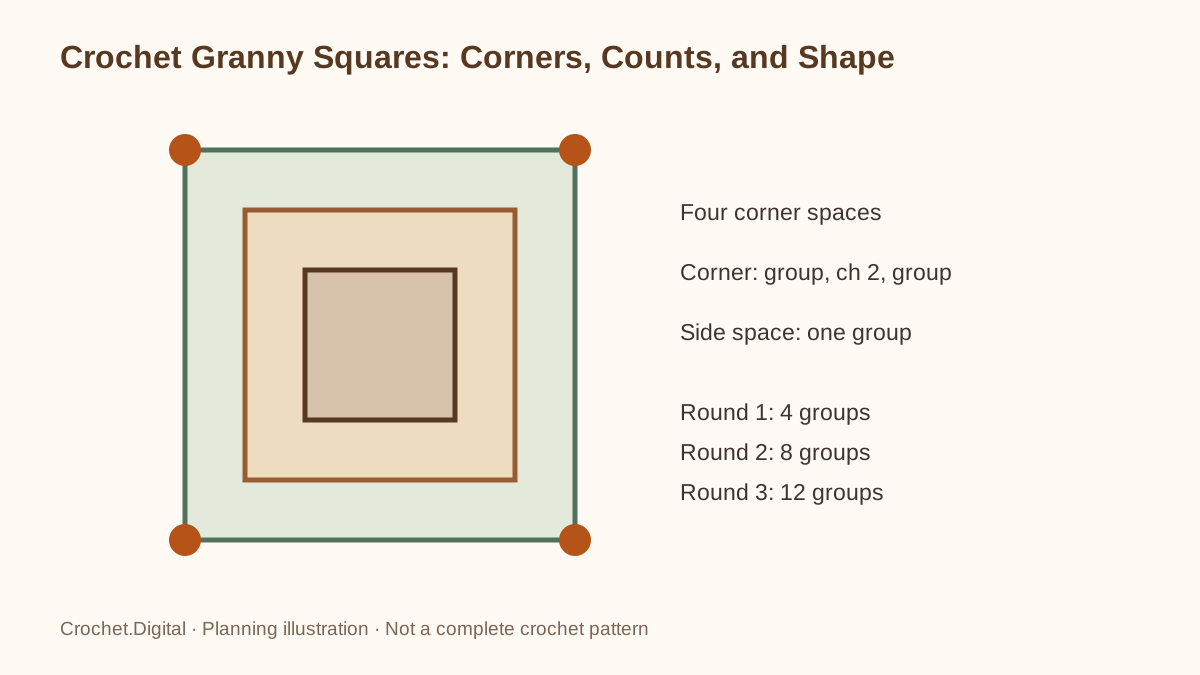 Three concentric granny-square rounds show four persistent corners and the increasing number of three-double-crochet groups.
This guide uses US terms and discusses the familiar square made with groups of three double crochets. In UK terminology, the corresponding tall stitch is called a treble crochet. Different granny-square patterns use different chain counts and joining methods, so treat the sample conventions below as one consistent learning system. Do not combine selected details from several tutorials and assume their stitch counts will still agree.
Identify the three structural parts
A classic square has stitch groups, side spaces, and corner spaces. A group commonly contains three double crochets worked into the same opening. A side space separates neighboring groups along a straight edge. A corner space allows a turn and receives two groups when the next round is worked. The size difference between a side opening and a corner opening is useful, but the placement is what defines their roles.
Place a marker in each of the four corner spaces during early practice. Count four corners at the end of every round. If the work unexpectedly develops five pointed sections, examine whether a side space received a corner expansion. If it becomes a triangle, a corner may have received only one group or may have been skipped entirely. Following the spaces is more reliable than judging the outline after every few stitches.
Choose a readable practice yarn
For a first square, use a smooth, light-colored yarn with visible individual strands. Strong texture, dark colors, or highly varied color changes can make the openings harder to distinguish. Choose a hook that produces a flexible fabric without excessively large gaps. The label's recommendation can provide a starting point, but the sample tells you whether the fabric is comfortable to work and easy to inspect.
Avoid making the first practice square unusually tiny. A larger sample gives enough room to see the relationship between corners and sides. Keep the hook, yarn, and chain convention consistent while learning. Once the construction is familiar, a different fiber or hook can be evaluated as a separate experiment. Changing materials in the middle of the first sample makes it harder to determine why its shape is changing.
Understand the center before tightening it
A square can begin with a small joined chain ring or an adjustable ring, depending on the pattern. A joined chain ring leaves a defined opening that is easy to see. An adjustable ring allows the center opening to be reduced, but it must be secured properly after the first round is complete. Neither starting method eliminates the need to weave in the tail securely later.
When using a ring, work the first-round groups around the ring rather than into individual chains unless the instructions specifically say otherwise. Spread the groups around the center before deciding whether the ring is too crowded. Do not pull an adjustable center completely tight before all the first-round groups are in place; a partly open ring is easier to work into and inspect. Secure the tail after checking the finished center and following the yarn's behavior.
Use one turning-chain convention
For the sample system in this guide, a beginning chain three counts as the first double crochet. Two additional double crochets complete the first group. The closing slip stitch is made to the top of the beginning chain, not into the next group. Mark the top of that chain if it is difficult to recognize. This convention matters because accidentally counting the chain and then adding three more double crochets creates an extra stitch.
Other patterns may use a chain two that does not count, a standing stitch, or another beginning technique. Those can all produce useful squares, but their first and last stitches must be handled according to their own instructions. The Craft Yarn Council's crochet abbreviation reference is helpful for standard terminology, while the designer's notes define any special beginning method used in a particular pattern.
Read the first round as four corners
With three-double-crochet groups and chain-two corners, the first round contains four groups separated by four corner spaces. That means twelve double crochets in total when the beginning chain counts as one. The groups surround the center; the spaces between them establish the four corners. Before joining, count the groups and confirm that every gap intended as a corner has the stated number of chains.
The first round may not immediately resemble a perfect geometrical square. The corners become more obvious as the next round expands them. However, an incorrect first-round count will carry forward. Check it now rather than hoping a later round will compensate. If the center appears crowded, spread the groups evenly and inspect the ring size before changing the hook or adding unplanned chains.
Expand each corner in the next round
In the second round, each corner space receives two three-double-crochet groups with a chain-two corner between them. Those two groups form the outgoing sides of the new corner. In this sample convention, a chain one connects the completed corner groups to the next corner. The exact positioning at the round's beginning depends on whether you moved with slip stitches or started a new color in a corner.
After all four corners are expanded, the second round contains eight groups, or twenty-four double crochets, excluding any slip stitches used for positioning. There are still four corner spaces. Count groups rather than counting all the chains together with the double crochets. Keeping structural counts separate makes mistakes much easier to identify, especially when the beginning of the round contains several small positioning stitches.
Fill side spaces without making new corners
From the third round onward, there are side spaces between the corner areas. Each side space receives one group of three double crochets, while each corner receives the two-group expansion. That difference is the main growth rule. Putting two groups into an ordinary side space adds fabric where the square does not need to turn, which can create a bulge or an extra point.
In this consistent classic construction, the third round contains twelve groups, the fourth sixteen, and each further round adds four groups. A square with r completed rounds therefore has four times r groups under these conventions. This is a structural check for this particular sample, not a rule for every square motif. Solid squares, flower centers, and decorative variations have their own counting systems.
Choose how the next round will begin
When continuing in one color, a pattern may move the working loop into the next corner with slip stitches. Those positioning stitches usually do not become extra double crochets in the next round. Work them with enough ease that the corner is not pulled inward. Track the actual stitch-group count rather than treating the visible positioning path as part of a new group.
When changing colors, fastening off and rejoining in a chosen corner can simplify the beginning. Leave tails long enough to secure and plan their placement so many tails do not accumulate in the same small corner. A neat start is useful, but it does not need to be invisible to be successful. Consistent tension and a secure finish matter more than hiding every sign of construction in the first practice sample.
Diagnose a square that twists or leans
Repeated rounds worked in the same direction can make some granny squares appear to lean or spiral slightly. The amount depends on the stitch formation, yarn, and individual tension. Some designs address this by turning after rounds, while others deliberately keep the same face outward. Follow the chosen pattern's direction changes rather than inserting a turn randomly into a construction that depends on a specific right side.
Make two small samples if the intended blanket will use many squares: one following the prescribed construction and one experimental sample if adaptations are allowed. Wash them in the intended way and compare the result. Blocking can improve a mild visual lean, but it should not be used to conceal a missing corner or incorrect group count. A reliable count check comes before cosmetic adjustment.
Diagnose cupping, ruffling, and uneven corners
A cupped square has too little effective perimeter for its center, while a ruffled square has excess fabric around the edge. In practice, the cause may be stitch count, chain tension, a center that is too tight, or a hook-and-yarn combination that does not suit the construction. Inspect the four corner expansions and all side spaces before changing chain counts. An isolated missed space can distort only one section.
If the count is correct but the fabric still does not lie comfortably, make a small controlled adjustment in a fresh sample. For example, compare the same instructions with a slightly different hook rather than changing the hook and several chain counts at once. The goal is to learn which variable affects the shape. Keep the successful sample and label its materials so a whole set of squares can be worked consistently.
Measure squares in the form they will actually be joined
Wash and finish a sample square before using its dimensions to plan a blanket. Measure across the intended joining edges rather than stretching corner tips outward. A square that will be joined with a raised ridge may contribute a slightly different finished dimension than one joined with a flat seam. Make at least a small joined group when exact project size matters.
If a finished square contributes 7 inches across the chosen join, six squares across provide approximately 42 inches before an outside border. Any additional join spacing must be included only where it actually occurs. Our guide to joining granny squares explains how to test this. For a larger layout, square-sizing math helps keep motif dimensions, internal gaps, and border width separate.
Plan colors without hiding the structure
A color change in every round emphasizes the growth of the square, while a single color emphasizes the texture and spaces. Test the sequence in a complete sample because the outer rounds occupy more area than the inner rounds. Equal numbers of rounds in two colors do not necessarily use equal quantities of yarn. A final wide band can dominate both the appearance and the material requirement.
Lay finished samples together before committing to the entire motif set. Check whether adjacent edges produce the contrast you want and whether the join color becomes a prominent grid. Photographing the layout in grayscale can help assess light-and-dark contrast, but the actual yarn colors still deserve a direct visual check. Keep the arrangement flexible until several samples show how the palette behaves across neighboring squares.
Keep chain spaces separate from stitch tops
When an instruction says to work into a chain space, insert the hook beneath the chain span so the new stitches surround it. When an instruction names a particular chain stitch, insert into that chain as directed instead. These are different placements. Working every group into individual chain tops can make an ordinary granny round unnecessarily difficult and can change the way the groups sit.
Use a blunt yarn needle as a pointer while reading an existing square. Trace the stitch tops of one three-stitch group, then point to the opening between groups. Being able to identify both structures on finished fabric is valuable when repairing a missed space or beginning a border.
Finish securely and save a reference sample
Weave in ends through suitable areas of the fabric, following the yarn's construction and leaving enough material to secure them. Do not rely on cutting an adjustable-ring tail very short or on a single loose knot at a color change. Inspect the center and the corners after washing the practice square. A sample that looks tidy before handling but opens at the center is not ready to become the foundation for a large gift blanket.
Keep one completed square as a reference for every subsequent motif. Note the round count, chain convention, hook, yarn, and finished measurement. Compare new squares with it periodically so gradual tension changes are noticed early. When the basic construction feels comfortable, explore independently designed motifs in the pattern library. A clear understanding of the classic square will help you recognize how those designers deliberately change corners, centers, and stitch groups to create different results.
Related guides
À lire aussi
Tutorials
How to Join Granny Squares for a Balanced Blanket
Compare sewn and crocheted granny-square joins, align corners and stitch counts, test finished dimensions, and assemble a blanket without pulling its seams tight.
· 11 min de lecture
Tutorials
How to Read Crochet Charts, Symbols, and Repeats
Follow a crochet chart by finding its key, working direction, insertion points, and repeat boundaries before checking the fabric.
· 12 min de lecture
Tutorials
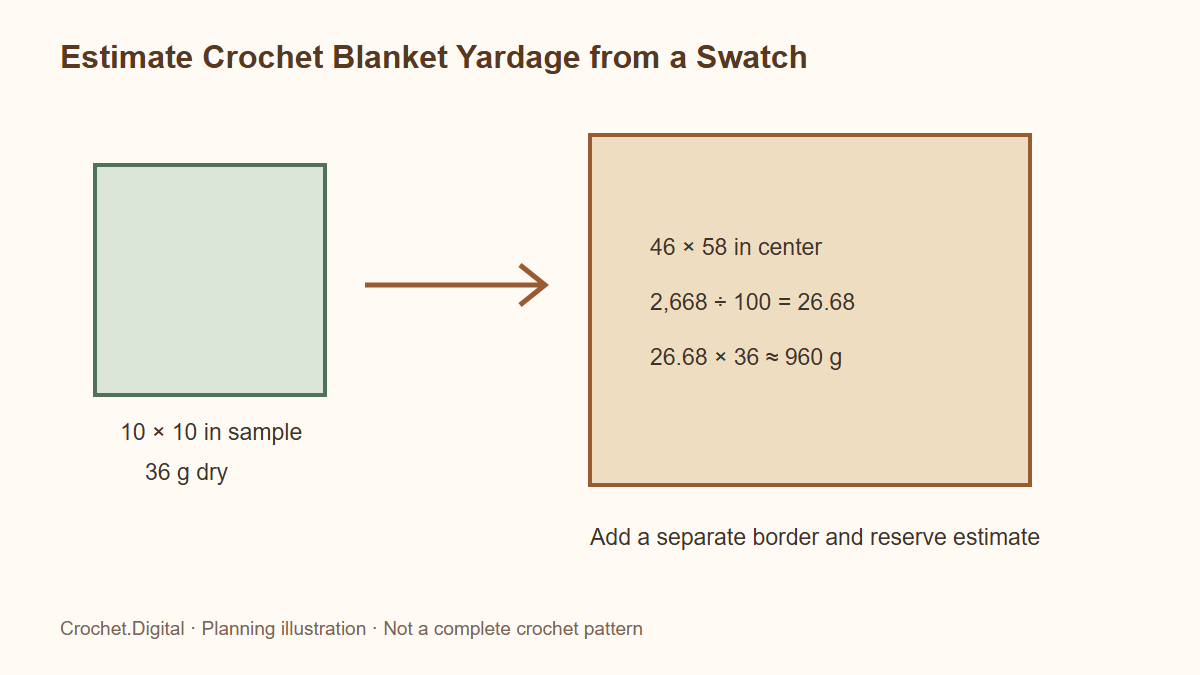
Estimate Crochet Blanket Yardage from a Swatch
Estimate crochet blanket yarn with a weighed swatch, area calculations, per-color planning, border samples, practical reserves, and whole-skein conversions.
· 11 min de lecture