Tutorials
How to Join Granny Squares for a Balanced Blanket
Compare sewn and crocheted granny-square joins, align corners and stitch counts, test finished dimensions, and assemble a blanket without pulling its seams tight.
Crochet.Digital · · 11 min de lecture
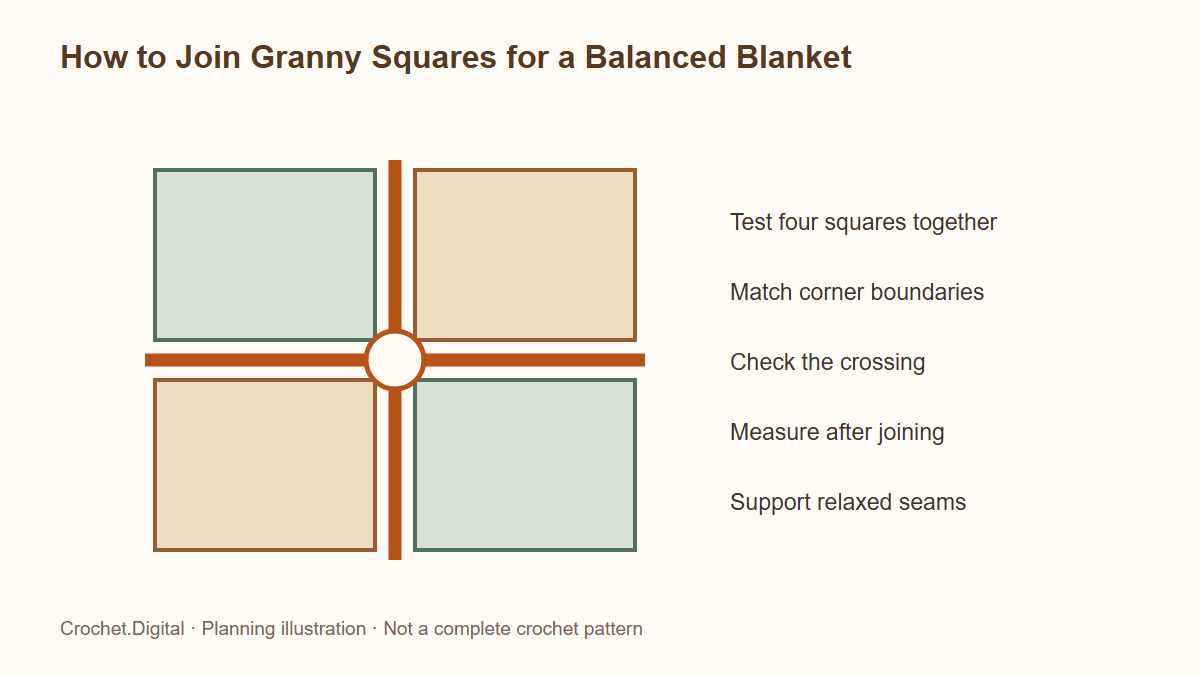
Joining changes a collection of granny squares into one piece of fabric. The join affects appearance, flexibility, dimensions, yarn consumption, and how the blanket behaves when folded. Choosing it after all the squares are complete can still work, but testing it early gives better control. A small assembly sample reveals whether the intended seam becomes an attractive design line or competes with the motifs.
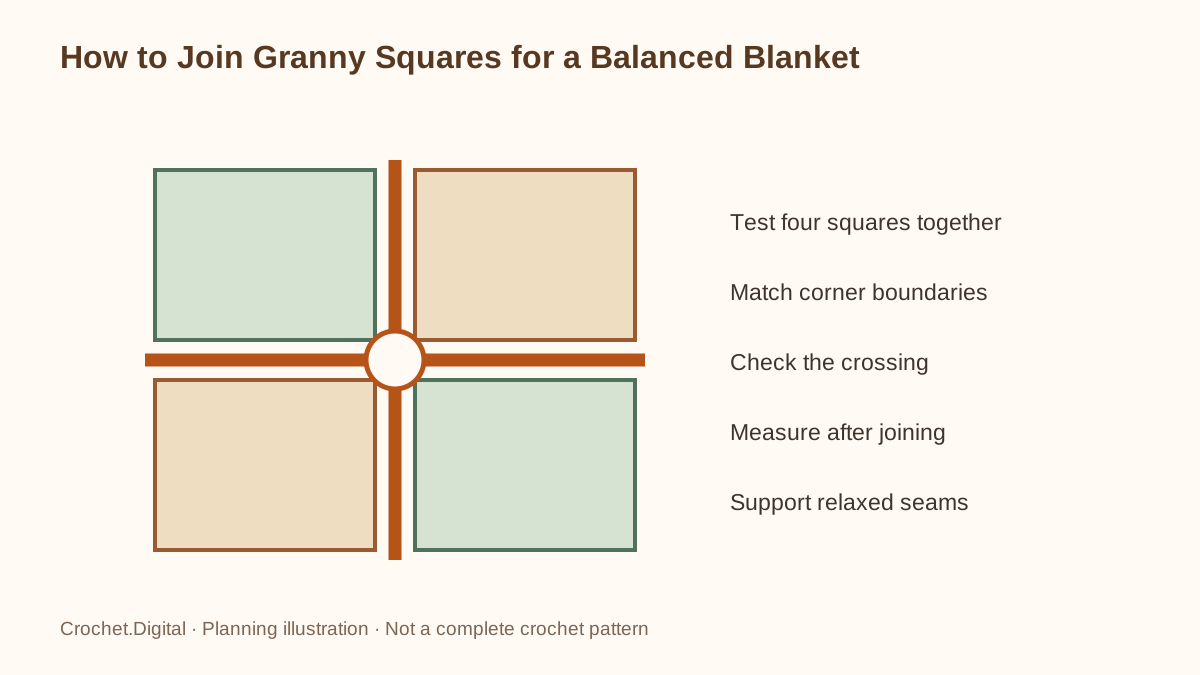 Four contrasting squares meet along two joining lines, with the central intersection highlighted for a sample alignment check.
There is no single best join for every granny-square project. A flat sewn seam suits a different visual goal from a raised crocheted ridge, and a decorative open join deliberately introduces space between motifs. This guide explains how to compare those options, align the squares, and keep the finished assembly balanced. Stitch names use US terminology, and any complete pattern's specific joining instructions take priority over general examples.
Define what the join should contribute
Choose whether the join should recede, outline the squares, or become a prominent part of the design. Matching yarn can make a seam less noticeable, but matching color alone does not make a bulky join disappear. A high-contrast join can produce a deliberate grid, and that grid may be attractive when it is planned. Draw or photograph several squares together with a strand of the proposed join color placed along their boundaries.
Consider the feel as well as the view. A raised ridge on the back may be acceptable for a decorative cover but less pleasant against skin. A very open joining method may create larger gaps than expected between motifs. Fold the sample and handle both faces before deciding. A photograph of a flat blanket cannot show every practical effect of its seam construction.
Prepare comparable squares before assembly
Count the final-round groups, side spaces, and corner spaces of every square. Squares with the same number of rounds can still differ in size if they were made with different tension or materials. If the pattern includes several motif designs, check its instructions for how those different edge counts are made compatible. Do not assume that visual similarity means their stitch tops will align one for one.
Wash or block the motifs as appropriate for the yarn and the project instructions before taking final joining measurements. Let them dry completely and relax without pulling them to an arbitrary target. Blocking can improve presentation and help comparable motifs settle, but it cannot reliably make a substantially undersized square behave like a larger one. Rework a clearly inconsistent motif when the difference would force the surrounding seams to stretch or gather.
Make a four-square joining sample
A two-square sample tests a single seam; four squares also test an intersection. Use the actual motif yarn, join yarn, hook or needle, and finishing method planned for the blanket. The small assembly should include the way the joining lines meet at the central crossing. Some methods leave an awkward gap or a bulky knot there unless the intersection is handled intentionally.
Measure the joined sample after its intended finishing treatment. Compare it with the sum of the loose-square dimensions. A join may add a visible band, compress the edges slightly, or change the apparent width by pulling them inward. This sample supplies evidence for the blanket-size calculation. Our square-sizing guide shows how to account for internal joins without adding a fictitious seam at the outside edge.
Understand a basic whipstitch-style seam
A simple sewn join uses a yarn needle to pass through corresponding edge loops. Which loops are used depends on the chosen effect and the motif's construction. Working through both loops can create a different ridge from using selected outer or inner loops. Keep the same orientation on both pieces and inspect a short section before sewing the entire side. A consistent method matters more than choosing a seam solely because its name sounds flat.
Pull the yarn only enough to bring the edges together comfortably. Tightening every pass like a knot can make the seam corded and shorten the joined edge. Leave enough length to secure the beginning and end appropriately. Check the blanket on a flat surface after a few inches, because a seam that feels neat in the hands may reveal puckering once the motif edges are released.
Evaluate a mattress-style sewn join
A mattress-style approach can produce a discreet seam by connecting corresponding edge structures in a controlled alternating sequence. The exact strand picked up varies with the stitch pattern and the way the outer round was worked. Rather than choosing arbitrary bars, follow a consistent tutorial or the designer's method that matches those edge structures. Test whether the resulting seam lies comfortably after washing.
Do not tighten a long distance of sewing all at once. Work a manageable section, ease the yarn until the edges meet, and confirm that the joined length still matches the unjoined sides. If the seam repeatedly disappears only when it is pulled very tight, the chosen pickup placement may not suit the desired effect. An unobtrusive join should still allow the surrounding fabric to relax rather than forcing it into a narrow channel.
Compare slip-stitch and single-crochet joins
A crocheted join connects corresponding loops while forming a new line of stitches. Slip stitches usually create a lower profile than single crochet when comparable materials and placements are used, but tension can make either join firm. The hook may need to move comfortably through several layers of loops. Avoid assuming that the motif hook automatically produces the right joining tension.
A single-crochet join can create a useful decorative ridge, particularly when worked in a contrasting color. Decide which face should display the ridge before assembling the pieces. Position the squares accordingly and label the intended right side if both faces look similar. Changing the orientation halfway through the blanket creates inconsistent raised lines that are much harder to correct after intersecting seams have been worked.
Match corners before matching the side stitches
Identify the exact corner boundaries on both squares and place removable markers at the endpoints of the seam. If the pattern specifies which corner chains belong to each edge, follow that convention throughout. A corner space is not necessarily equivalent to an ordinary stitch top. Treating all chains and stitches as interchangeable can shift the alignment and place the final join into the wrong opening.
Next compare the working positions along the two sides. For equal motifs, the relevant stitch tops or spaces should match in sequence. Mark the midpoint if that helps prevent accidental drift. When the pattern deliberately joins spaces rather than individual stitches, count those spaces explicitly. Stop if the two sides require different numbers of placements; find the reason before hiding the mismatch in an improvised cluster of joining stitches.
Handle small dimensional differences deliberately
A slight difference between two otherwise compatible squares can sometimes be eased evenly along a seam, but the operative word is slight. Match the corners and several intermediate markers so any adjustment is distributed. Do not gather all excess length into the last inch. After joining, check that neither motif bows dramatically and that the seam lies reasonably flat under relaxed conditions.
A large difference deserves a different response. Check round counts, missing spaces, yarn substitutions, and hook consistency. Adding an extra outside round to the smaller square changes its edge count as well as its dimensions, so that is not automatically a solution. If the original pattern provides a balancing round, follow it. Otherwise, reworking the inconsistent square is often simpler than engineering a seam that forces every neighboring motif to compensate.
Plan the layout before making irreversible commitments
Arrange the squares on a surface large enough to show the full design, or work with labeled smaller sections when space is limited. Check color balance, directional motifs, and the distribution of light and dark values. Photograph the approved layout and label rows and columns. A simple numbering system prevents a carefully arranged square from being rotated or misplaced when the project is packed away.
If the motifs have a top and bottom, include orientation in the labels. Use removable markers or small tags rather than relying only on a photograph whose angle makes similar squares difficult to distinguish. Keep the numbering system with the project notes. A few minutes of organization can prevent a much longer session spent undoing a completed seam because one directional motif faces the wrong way.
Assemble rows or continuous seams consistently
One approach joins individual squares into strips and then joins those strips. Another works long continuous joining lines through an arranged group. The best choice depends on the selected seam and how intersections are treated. A continuous line can reduce some starts and stops, but it can also make the partially assembled blanket less portable. A row-based approach provides clear checkpoints and can be easier to handle in a small workspace.
Whichever method is chosen, check the dimensions and alignment after each substantial section. Support the growing blanket rather than letting its weight hang from the active seam. If one long seam begins to draw inward, correct it before crossing it with additional joins. A later perpendicular seam will not usually release tension that has already shortened the first seam line.
Design the central intersections
At an intersection of four motifs, there may be several corner spaces and several yarn tails competing for the same area. Follow a defined path for the joining yarn and inspect both faces. Depending on the join, the center may need a connection through a specific chain space or a continuation that bridges the crossing without adding a large knot. Avoid filling an apparent gap with many unplanned stitches before checking how the surrounding corners should sit.
Test the intersection by gently folding the sample in both directions. It should not behave like a hard lump that forces the nearby squares apart. The goal is not to eliminate every opening in a deliberately open granny-square fabric, but to make the crossing consistent with the selected construction. If the join creates an intentional decorative gap, repeat it predictably so it appears designed rather than accidental.
Reserve yarn for seams before beginning the border
Joining can consume a meaningful quantity of yarn, particularly for raised or decorative methods on a large motif blanket. Measure or weigh the yarn used in the four-square sample and use it to develop a project estimate. Keep track of which seams in the sample were internal and how long they were. A whole-blanket calculation should count each internal boundary once, not once for each square touching it.
Set aside the joining reserve before using the same color for additional motif rounds or a border. The blanket yardage guide explains how to separate motif fabric, joining material, and outside edging. This is especially important when the join color is visually prominent: changing it partway through the assembly will create a clear design change even if the replacement yarn is otherwise similar.
Prepare the assembled edge for a border
The blanket's outside boundary may alternate between stitch tops, corner spaces, and seam intersections. Before working a border, identify how the pattern distributes stitches across those different structures. Do not automatically place one border stitch into every visible hole. The edge needs enough material to remain flat, but indiscriminately filling openings can create a ruffle around otherwise well-balanced squares.
Mark the blanket's true outer corners and measure opposite sides. Check whether the join has slightly altered the outside dimensions, then plan the border accordingly. A stabilizing first round can provide a consistent foundation for later decorative rounds when the design calls for it. Our blanket border guide discusses the difference between establishing that foundation and attempting to disguise an underlying alignment error.
Finish the join as part of the fabric
Secure the ends using the chosen seam's structure and the yarn's behavior. Avoid leaving long loose floats across open corner spaces or relying on a small exposed knot as the only connection. Check the assembly after washing according to the yarn labels, and inspect any area where multiple tails were secured together. The finished join should tolerate normal handling as part of the blanket, without a claim that it is indestructible.
Keep the four-square sample and the assembly notes with the project record. Write down the loop placement, hook or needle choice, yarn used for joining, and any intersection detail that proved helpful. Those notes make future repairs and matching accessories easier. When selecting another motif project from the pattern library, review its specified join before committing to a different method; the designer may have included that seam in the finished dimensions and visual composition.
Related guides
À lire aussi
Tutorials
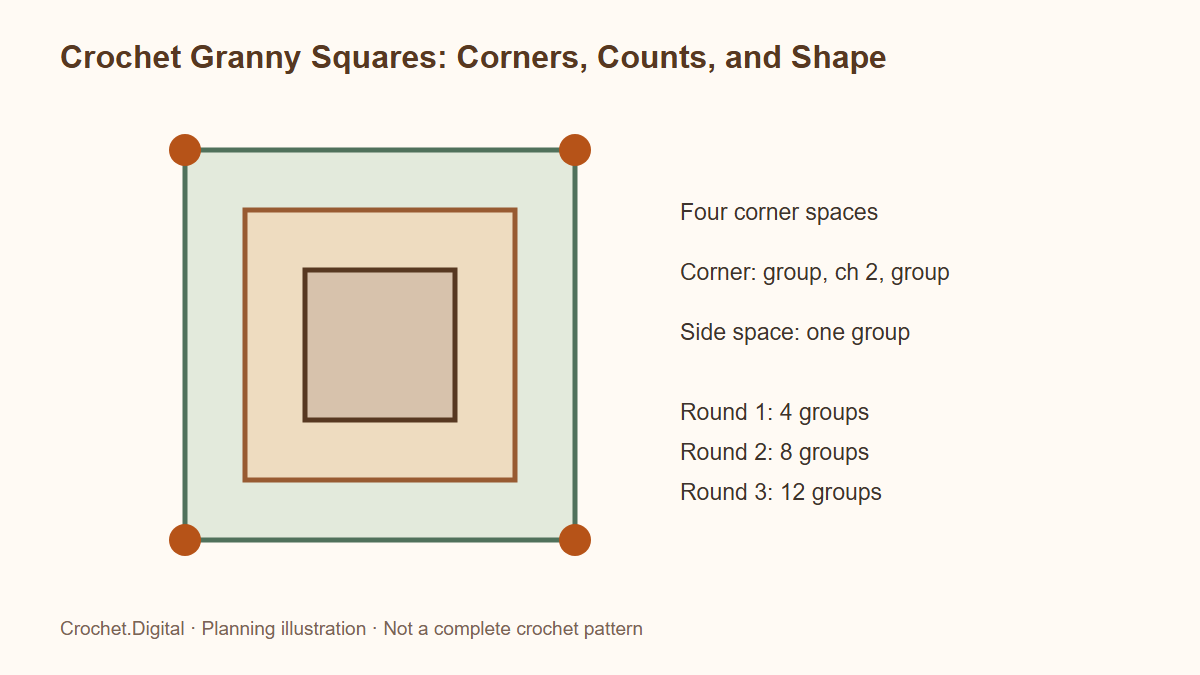
Crochet Granny Squares: Corners, Counts, and Shape
Understand a classic crochet granny square with clear corner placement, stitch-group counts, joining choices, color changes, and practical checks for flatness.
· 11 min de lecture
Tutorials
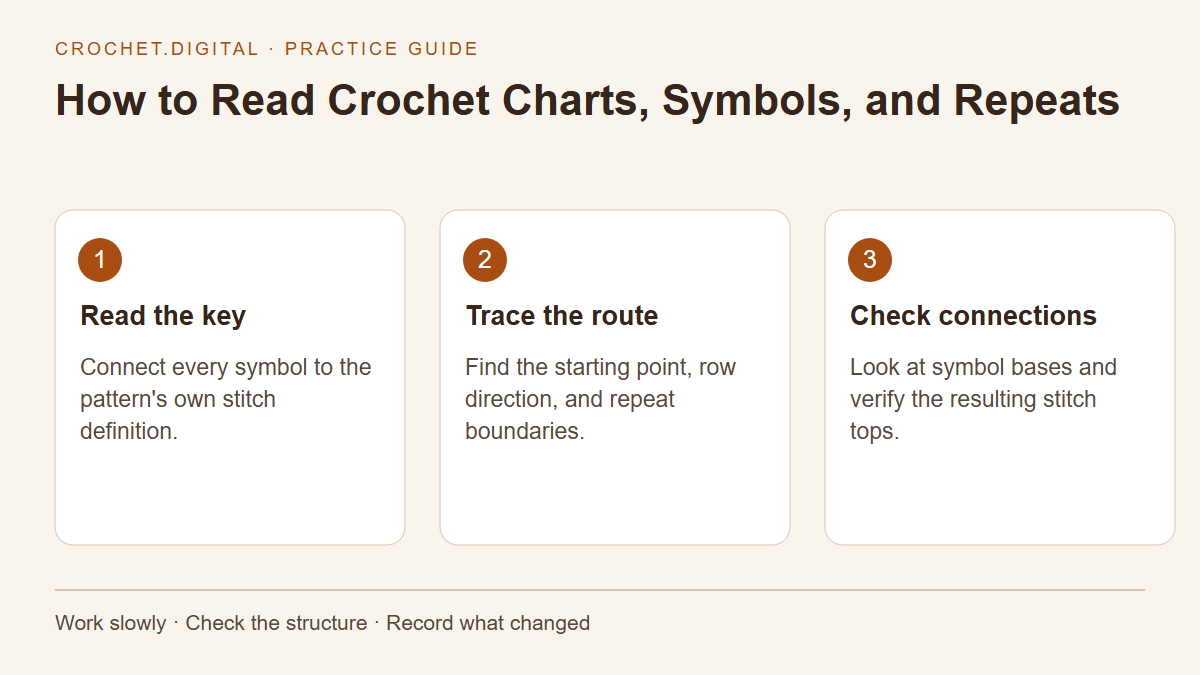
How to Read Crochet Charts, Symbols, and Repeats
Follow a crochet chart by finding its key, working direction, insertion points, and repeat boundaries before checking the fabric.
· 12 min de lecture
Tutorials
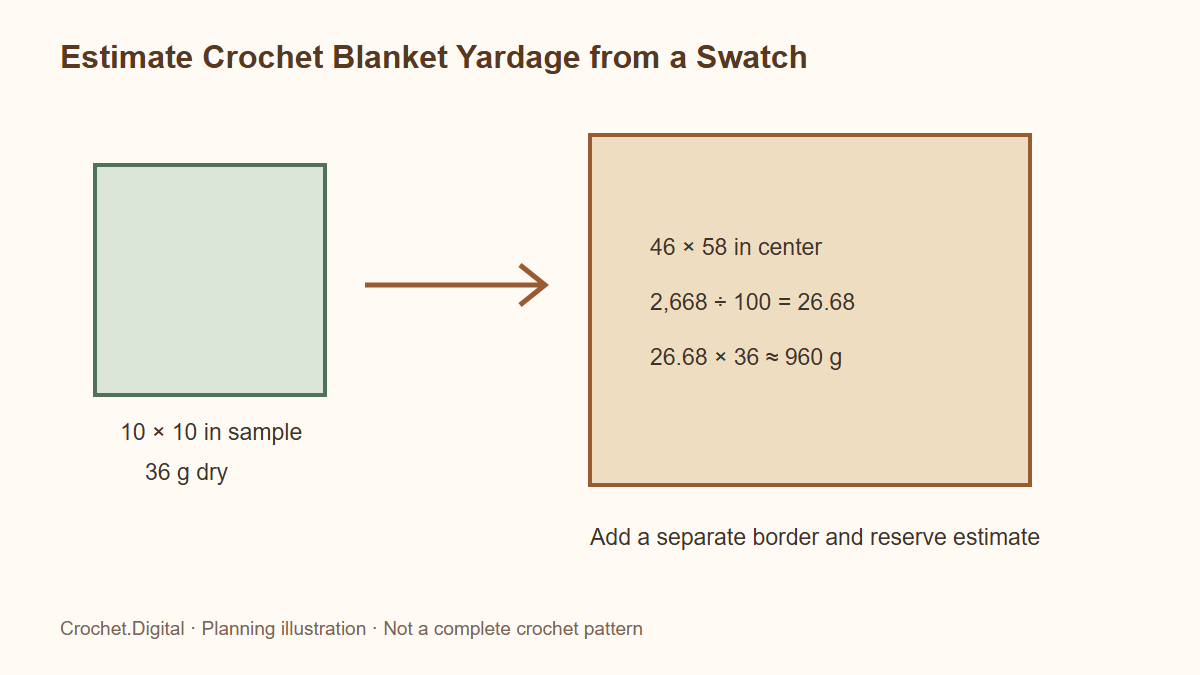
Estimate Crochet Blanket Yardage from a Swatch
Estimate crochet blanket yarn with a weighed swatch, area calculations, per-color planning, border samples, practical reserves, and whole-skein conversions.
· 11 min de lecture