Hướng dẫn
How to Plan a Crochet Blanket Before You Start
Plan a crochet blanket with practical decisions about dimensions, stitch repeats, washed gauge, yarn quantities, borders, color changes, and finishing.
Crochet.Digital · · 11 phút đọc
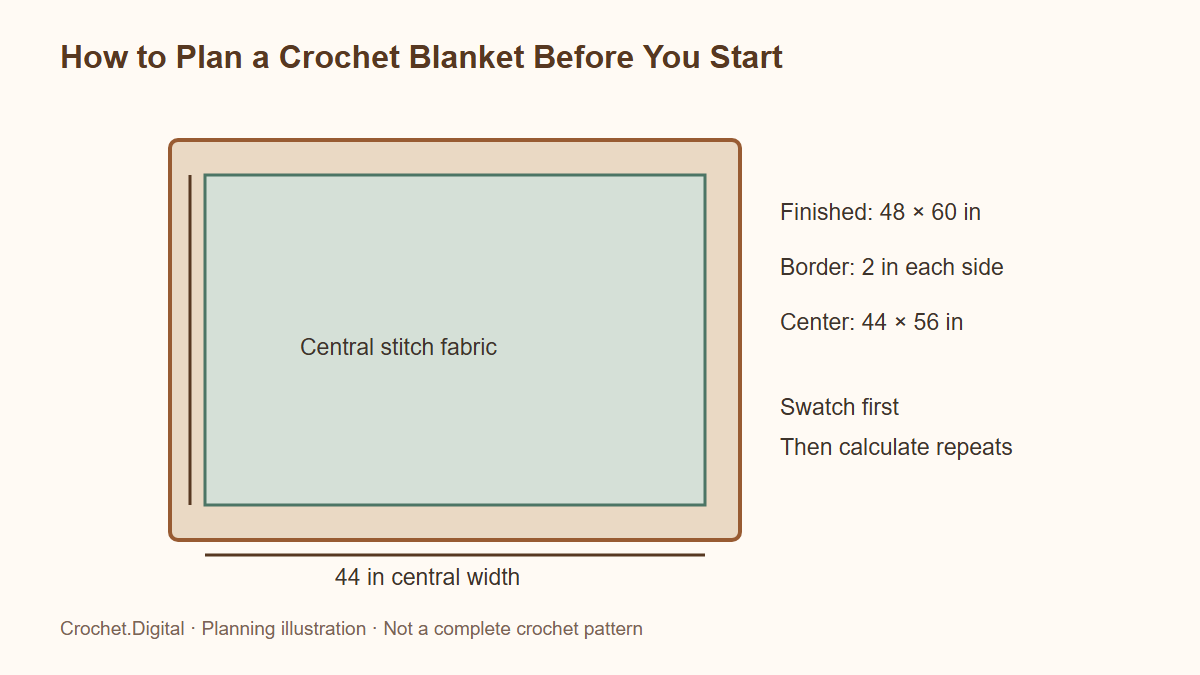
A crochet blanket becomes easier to finish when its important decisions are made before the first long foundation chain. Size, fabric, yarn supply, color placement, and edging all affect one another. A beautiful stitch can be unsuitable for a heavily washed household throw; an ambitious color plan can create more finishing than the available time allows. Planning is not a demand to predict every stitch. It is a way to choose which details must be fixed and which can remain flexible.
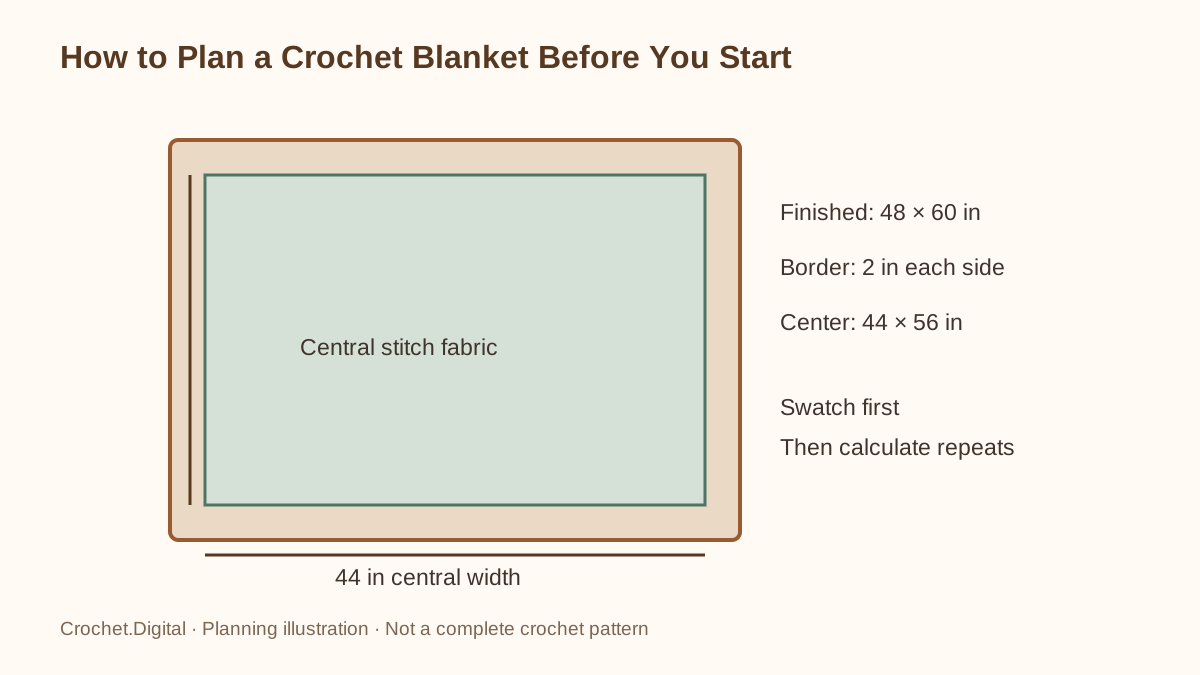 Blanket planning diagram separates a two-inch border from the central fabric and lists the finished and central dimensions.
This guide builds a working project brief for an adult lap blanket or household throw. All stitch names use US terminology. The numerical examples are planning demonstrations rather than a complete blanket pattern. When using a designer's pattern, follow its stitch definitions, repeat structure, and construction instructions, and use these calculations to understand the decisions behind them.
Start with the blanket's actual job
Write one sentence describing how the blanket will be used. A decorative throw draped over a chair has different requirements from a blanket folded across the foot of a bed. A reading blanket needs enough length to cover legs without dragging across the floor. A frequently washed family-room blanket benefits from yarn and finishing choices that make routine care realistic. A pet blanket may need a sturdy, washable fabric, but no crochet fabric should be assumed resistant to chewing or snagging.
Next list the conditions it must tolerate: the available washing equipment, the recipient's fiber preferences, storage space, and the climate in which it will be used. A blanket can be warm because it traps air, because its fabric is dense, or simply because several layers are used together. Avoid choosing solely by yarn thickness. Large open spaces can make a very bulky blanket feel less covering than a lighter, closer fabric.
Choose finished dimensions before choosing a stitch count
Measure a blanket whose coverage you already like, or mark a proposed rectangle on a bed or floor using removable tape. Sit beside it, fold it, and check whether its proportions suit the intended use. This physical check often reveals a more useful size than a named category such as throw, twin, or lapghan. Names vary between pattern publishers and do not guarantee the same finished measurements.
Decide whether the stated dimensions include the border. For a finished rectangle measuring 48 by 60 inches with a 2-inch border around every side, the central fabric should measure approximately 44 by 56 inches. That subtraction matters: working the central panel to the full finished dimensions and then adding the border produces a larger project with a larger yarn requirement. Our blanket size guide explains how to separate desired coverage from a label on a pattern.
Set a fabric goal, not just a yarn-weight goal
Choose three words that describe the desired fabric, such as supple, opaque, and washable. Use them to evaluate samples. A tightly crocheted single-crochet fabric may meet the opacity goal while feeling too stiff for a draped throw. A tall open stitch may feel supple but fail to provide the desired visual coverage. Neither stitch is wrong; the sample reveals the tradeoff before the project becomes expensive to change.
Consider both faces of the blanket. Some textured stitches look distinctly different on the reverse, and heavily raised details can catch on jewelry or feel uncomfortable against bare skin. Check the weight of a folded sample as well as its appearance when spread flat. A stitch that looks delicate in a small square can create a surprisingly heavy large blanket, especially when made with dense cotton yarn.
Make a sample large enough to tell the truth
Work a sample that contains several complete repeats in both directions, leaving a generous interior area for measurement. A tiny sample can be dominated by its edges. If the design uses stripes, include at least one representative color transition. If it uses a border, add a short sample border to two adjacent edges so the corner behavior can be assessed. Label the sample with the hook, yarn, and date rather than relying on memory.
Wash and dry the sample using the care method intended for the finished blanket, while respecting the yarn manufacturer's label. Measure only after the sample is dry and relaxed. Record the before-and-after dimensions. This reveals whether the fabric grows, contracts, or changes its drape. It also provides a useful washing trial: if the yarn releases color or takes several days to dry as a sample, a much larger blanket deserves additional thought.
Turn measured gauge into a compatible repeat
Suppose the washed sample contains 15 stitches across 4 inches in the central stitch pattern. That is 3.75 stitches per inch. A 44-inch central panel therefore suggests 165 working stitches. However, a pattern requiring a multiple of 6 plus 1 does not accept 165: valid nearby counts are 163 and 169. At the measured gauge, those counts produce central widths of approximately 43.5 and 45.1 inches respectively.
Choose the compatible count that best suits the size tolerance, then add the starting chains required by the chosen pattern. Working stitches and foundation chains are not always the same number. Some turning chains count as stitches; others only provide height. Record both numbers explicitly: for example, central working count, pattern multiple, and starting-chain instruction. This prevents a common mistake in which a sensible width calculation is followed by an incompatible starting chain.
Plan length with rows, measurements, and a stopping rule
If washed row gauge is 10 rows per 4 inches, a 56-inch central panel suggests 140 rows. A pattern with a four-row color sequence can use that number without adjustment, but a six-row sequence cannot end at the same place in its cycle. Decide whether completing the sequence or achieving an exact length matters more. A household throw often tolerates a small difference in length better than an abruptly interrupted motif.
Choose a clear stopping rule before beginning: complete a certain number of repeats, reach a measured length after a full repeat, or use a planned number of equal color bands. Keep a little yarn available for testing the stopping point. Measuring while the work is stretched across a lap gives inconsistent results, so place it on a flat surface without pulling. Recheck periodically under similar conditions rather than treating every casual measurement as a reason to change direction.
Estimate yarn from the actual stitch pattern
A yarn label's suggested project quantities cannot account for every stitch texture, blanket size, and personal gauge. For a useful project estimate, weigh a finished sample and compare its area with the intended central area. Use a scale that can distinguish the sample's weight reliably. Record whether the weight includes long tails or a sample border; those details affect how the number should be interpreted.
Imagine a 10-by-10-inch washed sample weighing 34 grams. A 44-by-56-inch central panel has an area of 2,464 square inches, or 24.64 sample areas. The starting central estimate is therefore about 838 grams. That figure still excludes the actual border, joining yarn, and a reasonable reserve for uncertainty. Our blanket yardage guide walks through converting sample weight into lengths and whole skeins without treating a rough estimate as a guarantee.
Budget separately for borders and joins
A border adds area, but its stitch density may differ substantially from the central fabric. Dense rounds of single crochet, decorative shells, and textured edging do not consume equal amounts of yarn per square inch. Make a representative edging sample if the design has a substantial border. For motifs, also test the joining method: a raised join can consume more yarn and change the blanket's dimensions compared with a slim sewn seam.
Keep a dedicated border reserve physically separate from the yarn being used for the main fabric. A labeled bag is enough. Without that separation, it is easy to spend the planned edging yarn on one more attractive stripe and discover the shortage during the final rounds. The reserve does not need to be mysterious: note the expected border style, the number of colors involved, and whether the same yarn is needed to repair or reinforce any joins.
Buy and record yarn as a project system
Check the total quantity available in each color before committing to a color sequence. When matching dye lots matters for the yarn, obtain the needed quantity together where possible and keep the labels. Similar-looking balls purchased months apart can differ subtly. If different lots must be used, make a sample showing them together and choose an intentional placement rather than discovering the difference after several large bands have been completed.
Photograph the yarn labels and record the weight and length per ball. Include the fiber composition and care information in the project notes. The Craft Yarn Council's standard yarn weight system provides a reference vocabulary for yarn categories, but the washed fabric still determines whether a particular yarn meets this project's needs. Two yarns carrying the same broad weight description can behave quite differently in the chosen stitch.
Draw the color sequence to scale
A color list is less informative than a simple stripe map. Draw the planned bands with approximate relative widths, then view the arrangement from a distance. A narrow high-contrast stripe can appear more prominent than a wide low-contrast band. If color quantities are limited, assign them by planned rows and expected consumption rather than dividing the blanket into visually equal sections and assuming equal yarn use.
Check the reverse and the edges of the colorwork sample. Frequent short stripes create many tails, while carrying yarn along an edge introduces its own bulk and tension decisions. There is no universal winner. Choose a finishing workload you are willing to complete, and incorporate it into the schedule. For related planning, see a practical crochet project color palette, especially when a yarn looks attractive alone but disappears beside its neighbors.
Build a realistic completion schedule
Time a representative work session after the stitch pattern feels familiar. Include the small activities that occur during normal crocheting: counting, moving markers, checking instructions, and preparing the next color. Divide the remaining rows by the number usually completed in that session. This creates a useful personal estimate without pretending that every row in a large project takes exactly the same amount of time.
Set intermediate checkpoints at quantities that are easy to recognize, such as every ten rows or after each major stripe. At each checkpoint, count the working stitches and inspect both side edges. Finding a missing stitch near the active row is far easier than discovering that a finished blanket gradually narrowed. Keep the project portable enough for your actual routine, but support its weight so a heavy growing blanket does not constantly pull on the working loop.
Decide what to do if the plan changes
Write down which changes are acceptable. You might allow two inches of additional length, replace a final narrow stripe with the main color, or choose a simpler border if the yarn reserve becomes tight. Those are controlled adjustments. Changing yarn, hook size, and stitch pattern simultaneously in the middle of the blanket makes it difficult to predict the result and usually creates a visibly different fabric.
If a yarn shortage appears likely, pause while there is still enough yarn to test alternatives. Measure the completed area, weigh the remaining yarn, and compare the actual consumption with the original estimate. A smaller deliberate blanket is often more successful than a larger one with an improvised, mismatched ending. When following a purchased design, preserve the repeat logic and ask the designer about adaptations the instructions do not address.
Prepare a finishing and care handoff
A blanket is not complete when the last stitch is worked. Allow time to secure tails, inspect joins, wash or block according to the fiber's requirements, and dry the entire piece thoroughly before storage. Check the back for loose strands and check the corners for uneven tension. Lay it flat and confirm the final dimensions without stretching it to force the planning numbers to match.
For a gift, include the fiber information and a clear version of the manufacturer's care instructions, adapted only to care methods you have actually tested. Keep a small quantity of matching yarn for repairs if practical. Finally, save the project brief with the true yarn consumption and finished size. Those observations make the next blanket easier to plan, whether you choose another geometric throw, a motif design, or an independently designed PDF from the pattern library.
Related guides
Đọc tiếp
Hướng dẫn
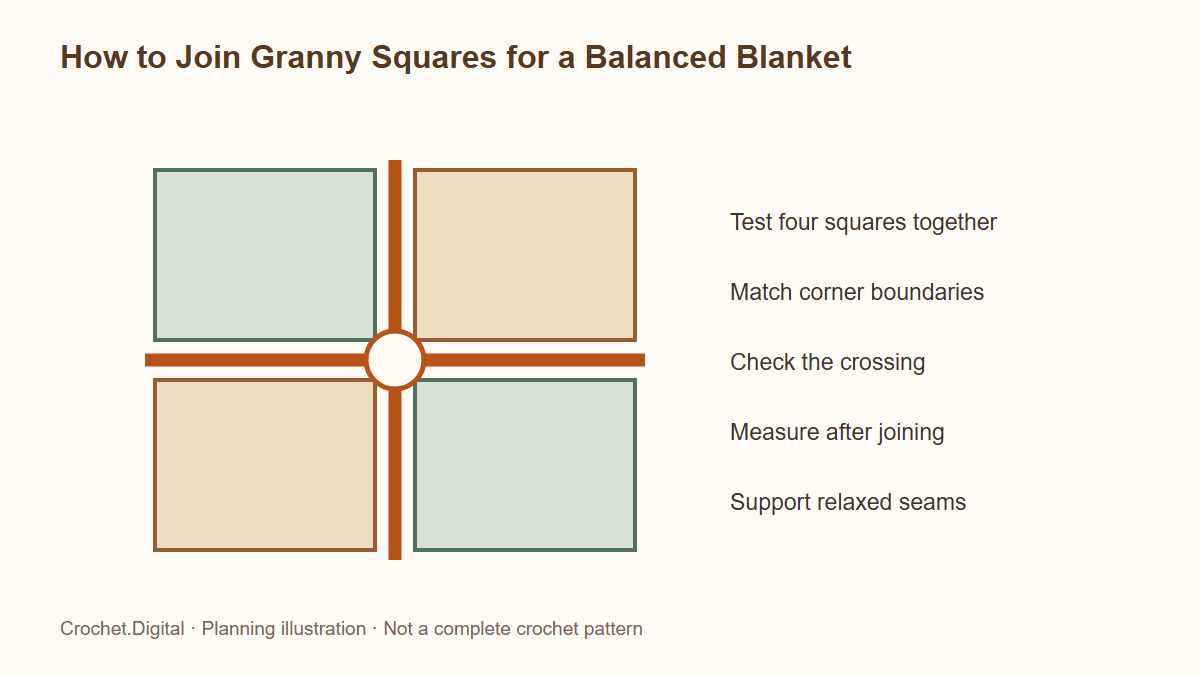
How to Join Granny Squares for a Balanced Blanket
Compare sewn and crocheted granny-square joins, align corners and stitch counts, test finished dimensions, and assemble a blanket without pulling its seams tight.
· 11 phút đọc
Hướng dẫn
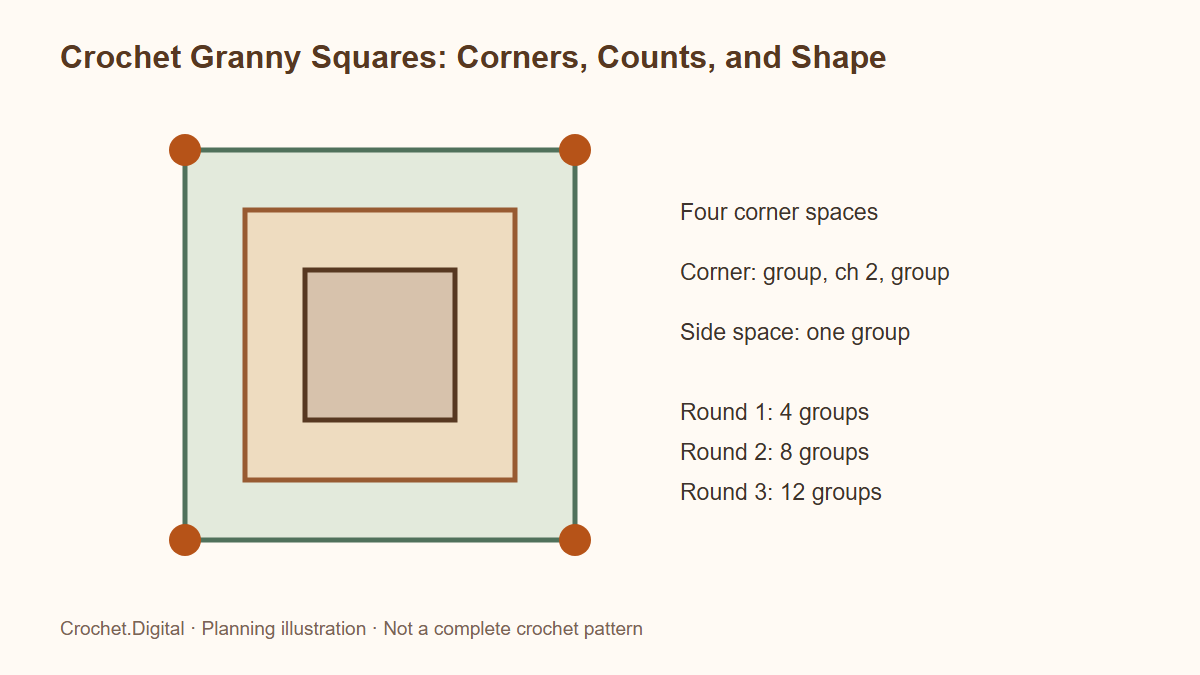
Crochet Granny Squares: Corners, Counts, and Shape
Understand a classic crochet granny square with clear corner placement, stitch-group counts, joining choices, color changes, and practical checks for flatness.
· 11 phút đọc
Hướng dẫn
How to Read Crochet Charts, Symbols, and Repeats
Follow a crochet chart by finding its key, working direction, insertion points, and repeat boundaries before checking the fabric.
· 12 phút đọc