Hướng dẫn
Crochet Blanket Sizes: Measure for Real Coverage
Choose crochet blanket dimensions by measuring real coverage, border allowance, bed overhang, stitch repeats, and the way the finished fabric will be used.
Crochet.Digital · · 11 phút đọc
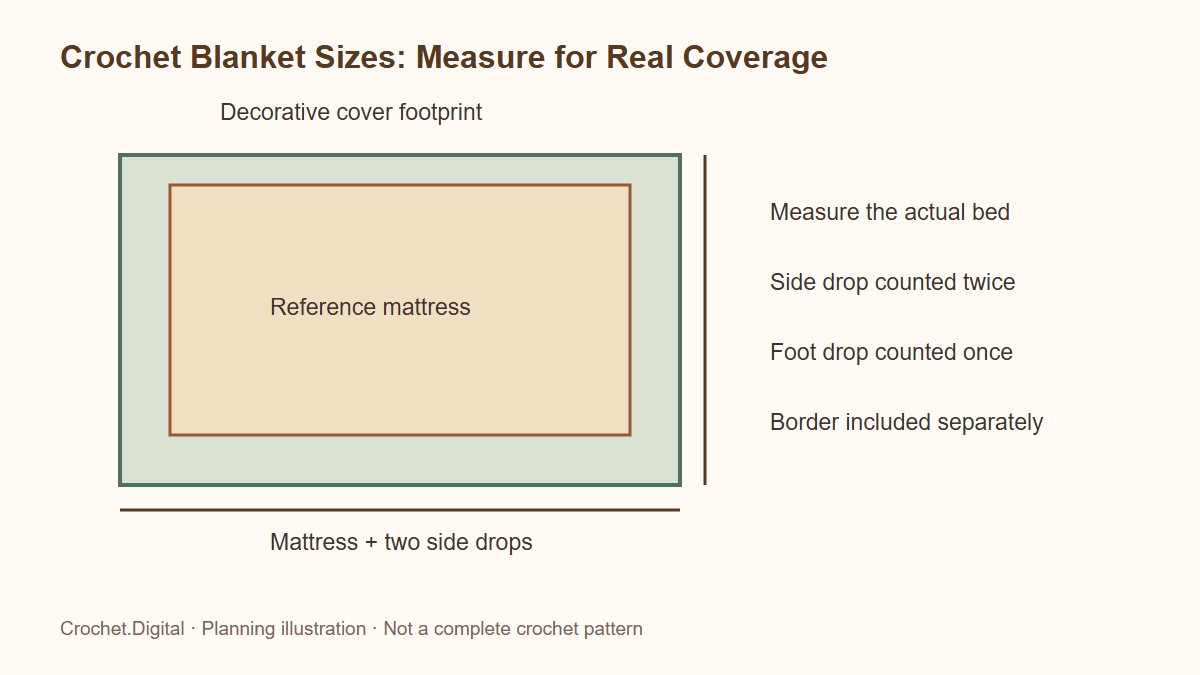
The most useful crochet blanket size is the one that covers the intended space comfortably. A pattern described as a throw or an afghan may be larger or smaller than another pattern carrying the same label. Mattresses vary in depth, chairs vary in width, and people use blankets differently. Instead of treating a size name as a fixed technical specification, start with a measuring tape and the actual situation the finished blanket must serve.
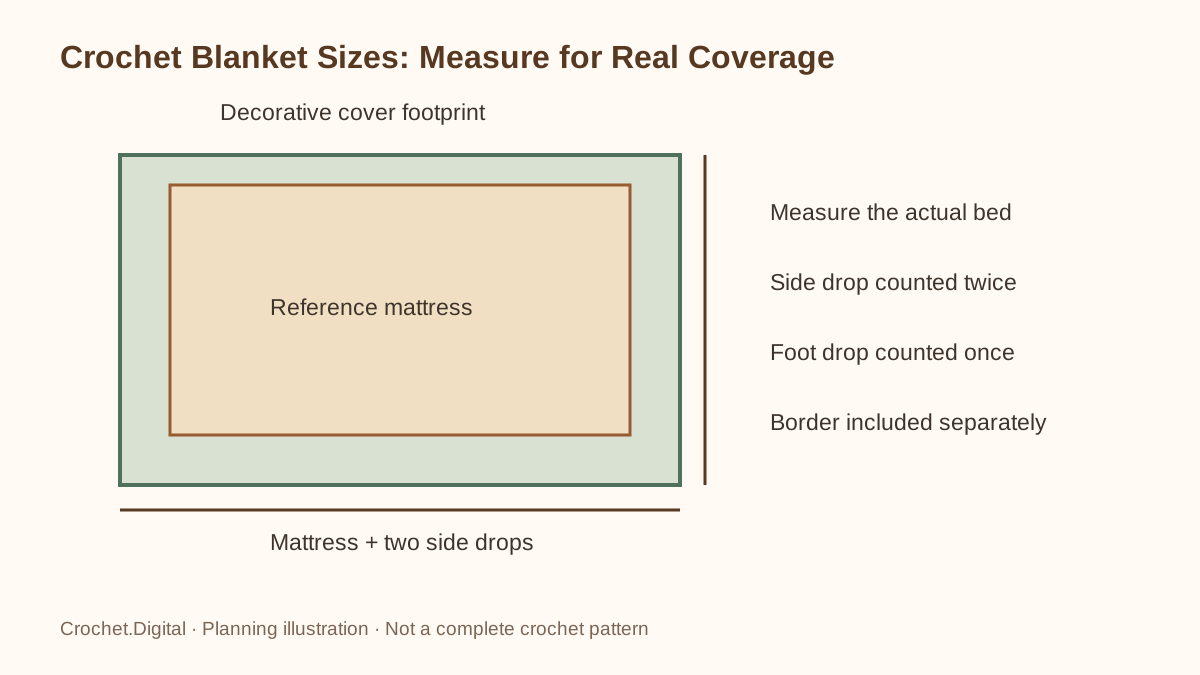 A mattress sits inside a larger decorative-cover rectangle, showing how side and foot overhang change the required blanket dimensions.
This guide explains how to turn that situation into a finished rectangle, then translate the rectangle into a workable crochet plan. The examples use adult lap blankets, sofa throws, and decorative bed covers. They are illustrative measurements rather than universal industry sizes. Crochet blankets should not be presented as safe bedding for an infant's sleep space; that is a separate safety question, not a matter that can be solved by choosing a smaller rectangle.
Separate a blanket's name from its measurements
Lapghan, throw, afghan, and bedspread describe broad uses, but they do not identify exact dimensions. Before purchasing a pattern, look for both finished width and finished length. Check whether the designer gives the measurements after blocking and whether they include the border. A photo can show proportions without providing reliable scale: a blanket draped over a small chair can appear much larger than the same blanket on a wide sofa.
Record measurements with their units. A note that says only 120 by 150 leaves room for a serious misunderstanding. Write 120 by 150 centimeters or approximately 47 by 59 inches, and avoid switching back and forth during a calculation. If using both systems, calculate in one system and convert only the final planning dimensions. Small rounding differences can otherwise accumulate when adding borders, repeats, or bed overhang.
Use a blanket you already own as a coverage sample
Choose an existing blanket that is comfortable for the intended activity, even if its fiber or appearance is not suitable for the new project. Spread it flat without pulling, measure its full width and length, and note how much of the space it covers. Then use it as normally intended: sit under it, fold it over a bed, or drape it over the chosen chair. This turns an abstract rectangle into a practical reference.
If the existing blanket is nearly right, identify the missing dimension specifically. Perhaps its width covers a seated person comfortably, but its length leaves ankles exposed. Increasing both dimensions would add unnecessary material and weight. Mark the desired extra length using a folded sheet or another light fabric. A small physical adjustment can be more informative than selecting a substantially larger named size.
Measure a seated lap blanket around the user
For a lap blanket, consider the distance across the lap and down each side, as well as the length from waist or chest to the desired stopping point. A blanket intended to cover knees during reading does not need the same length as one intended to wrap around shoulders and feet. Ask the recipient how it will be used rather than assuming that body height alone determines the correct dimensions.
Leave room for comfortable repositioning. A rectangle that exactly matches the flat distance between two points may feel restrictive when the user changes position. On the other hand, excessive length can drag or bunch around a chair. If mobility equipment is involved, keep the blanket clear of moving parts and seek the user's own preferences about manageable size. A craft sizing chart cannot determine an appropriate setup for every chair or individual.
Plan sofa coverage with arms and cushions in mind
Measure the part of the sofa that should be covered, not automatically the sofa's full outside width. A personal throw may only need to cover one seated person. A decorative throw folded across the backrest needs different proportions, while a shared blanket may need enough width for two people without constant pulling. Write the intended arrangement next to the dimensions so a later adjustment does not accidentally solve a different problem.
Allow for how the blanket will be displayed when it is not in use. A very large heavy rectangle can be awkward to fold across a narrow armrest. A smaller blanket with a substantial border may look more balanced there. Make a quick folded mockup using a sheet and check both the spread and folded appearance. This is especially useful for bold stripes or a central motif that should remain visible when folded.
Calculate bed overhang explicitly
A decorative bed cover can be planned as mattress width plus twice the desired side overhang. Its length can be planned as mattress length plus the desired foot overhang, with a separate decision about whether any material should tuck beneath or cover pillows. These are design choices, not automatic additions. Measure the actual mattress because nominal bed names do not describe every regional size or mattress depth.
For example, suppose a mattress measures 60 inches wide and 80 inches long. A decorative cover with 8 inches of overhang on each side and at the foot would begin with a target of 76 by 88 inches, before deciding how the top edge should sit. This example is only arithmetic. It does not imply that every mattress with those dimensions should receive the same cover or that every crochet fabric will hang identically.
Check the role of mattress depth and frame height
A deep mattress can consume a surprising amount of a blanket's apparent overhang. Measure from the top sleeping surface down to the point where the blanket should stop, and consider any bed frame that should remain visible. A blanket that reaches the floor in one bedroom may appear much shorter on a higher bed. Do not add the frame height blindly unless floor-level coverage is the actual design goal.
Also consider obstacles such as footboards and storage drawers. Long hanging edges may interfere with the way the bed is used. A practical decorative cover sometimes works better with modest side coverage and a neatly folded foot section than with a very large rectangle. Test the proposal with an existing sheet. The aim is to choose a useful outline before purchasing enough yarn for a large project.
Decide whether the border belongs inside the target size
A planned border contributes to both width and length. If the finished blanket should be 50 by 64 inches and the border should measure 3 inches on every side, the central panel should be about 44 by 58 inches. The border is subtracted twice from each finished dimension because it appears on two opposite edges. A common planning error is to subtract it only once.
Not every border grows evenly in both directions. A decorative edging may have projecting points, scallops, or corner details that make its outermost dimension different from the visually solid rectangle. Define how the final blanket will be measured: across the body of the fabric, from the tips of opposing scallops, or to another clearly stated boundary. For a gift or pattern modification, writing this down avoids confusion later.
Translate finished width into compatible stitches
Use washed stitch gauge measured in the intended stitch pattern. If 4 inches contain 16 working stitches, the density is 4 stitches per inch. A 44-inch central width suggests 176 working stitches. If the chosen stitch pattern requires a multiple of 8 plus 1, valid counts near that target are 169 and 177. Their estimated widths are 42.25 and 44.25 inches before the border.
Choose based on the project's tolerance rather than forcing the gauge to accommodate an arbitrary number. Starting chains may include additional chains for turning or setup, so copy the designer's foundation instruction separately from the number of working stitches. A useful planning note contains the measured density, the valid repeat count, the estimated central width, and the expected finished width after edging. See planning a crochet blanket for a complete project brief.
Calculate rows without interrupting the pattern sequence
Length calculations use washed row gauge, not stitch gauge. A sample containing 12 rows in 4 inches gives 3 rows per inch, so a 58-inch central length suggests 174 rows. If the design uses a four-row sequence, the nearby complete totals might be 172 or 176 rows, depending on any setup and finishing rows. Those totals predict slightly different lengths, and either may be more appropriate than ending halfway through a decorative sequence.
Color arrangements can impose another repeat. A six-stripe cycle containing four rows per stripe occupies 24 rows, so a desired stopping point may need to respect both the stitch pattern and the color cycle. Draw the last few rows before deciding. It is easier to accept a small planned length adjustment than to reach the intended length and discover that the design appears visibly unfinished.
Size square and rectangular motif blankets
For a motif blanket, measure a finished, washed motif using the intended yarn and hook. Then test the join because joining can add a gap, compress edges, or create a raised line. Do not assume that multiplying an unfinished square's width by the number of motifs will predict the final blanket accurately. A small group of joined motifs provides a more useful measurement than a single loose square.
Imagine six squares across, each contributing 7 inches once joined, with a border adding 2 inches on every side. The finished width is approximately 46 inches. If the joining method creates an additional measurable spacing between squares, include only the five internal gaps across that row, not six. Our guide to joining granny squares explains why the join should be part of the sizing sample.
Allow the fabric to finish changing before measuring
Crochet changes shape during handling, washing, and drying. Measure the blanket under the same relaxed conditions used for the swatch. Do not pull corners outward to make a number match the plan. A heavy blanket hanging over the edge of a table can stretch while it is being measured, especially if the fabric is open or has little recovery. Support the full piece as much as practical.
Record more than one measurement if the shape is uneven. Compare the top, middle, and bottom widths, and check whether the side lengths agree. A larger border will not automatically correct a central panel that steadily narrowed because stitches were lost. Investigate the stitch count and edge construction before choosing a cosmetic solution. Blocking can improve presentation, but it cannot reliably replace missing fabric.
Resize a purchased pattern with controlled changes
Look for explicit resizing notes before changing a pattern. Some blanket designs are easily adjusted by adding complete repeats; others include charts, centered motifs, or corner constructions that depend on a particular count. Read the entire relevant section and check whether a different width changes the border setup. A border written for one stitch total may need a different arrangement when the central panel changes.
Change one variable at a time. If the goal is only a narrower blanket, keeping the same yarn, hook, and stitch gauge while reducing valid repeats is easier to predict than simultaneously changing yarn thickness. When the design contains large pictorial motifs, consider whether removing a repeat alters the visual balance. You can compare adaptable designs in the pattern library, but always use each designer's own measurements and instructions.
Match the size to storage, laundering, and project weight
The desired rectangle should fit the recipient's routine as well as the furniture. A large cotton bed cover can become heavy, and its wet handling requirements may be inconvenient even if the finished measurements look perfect. Consider the capacity and instructions of the available washing equipment and the drying space before deciding on an oversized piece. Follow the yarn label's care requirements rather than assuming all blanket yarns are machine washable.
Estimate the yarn requirement after choosing a workable size. Doubling both width and length multiplies area by four, not two, and can transform the cost and handling of the project. The blanket yardage guide provides a sample-based method. Finish the planning page with the target dimensions, allowed tolerance, central-panel dimensions, and border allowance. Those four numbers make the eventual stitch and row decisions much easier to evaluate.
Related guides
Đọc tiếp
Hướng dẫn
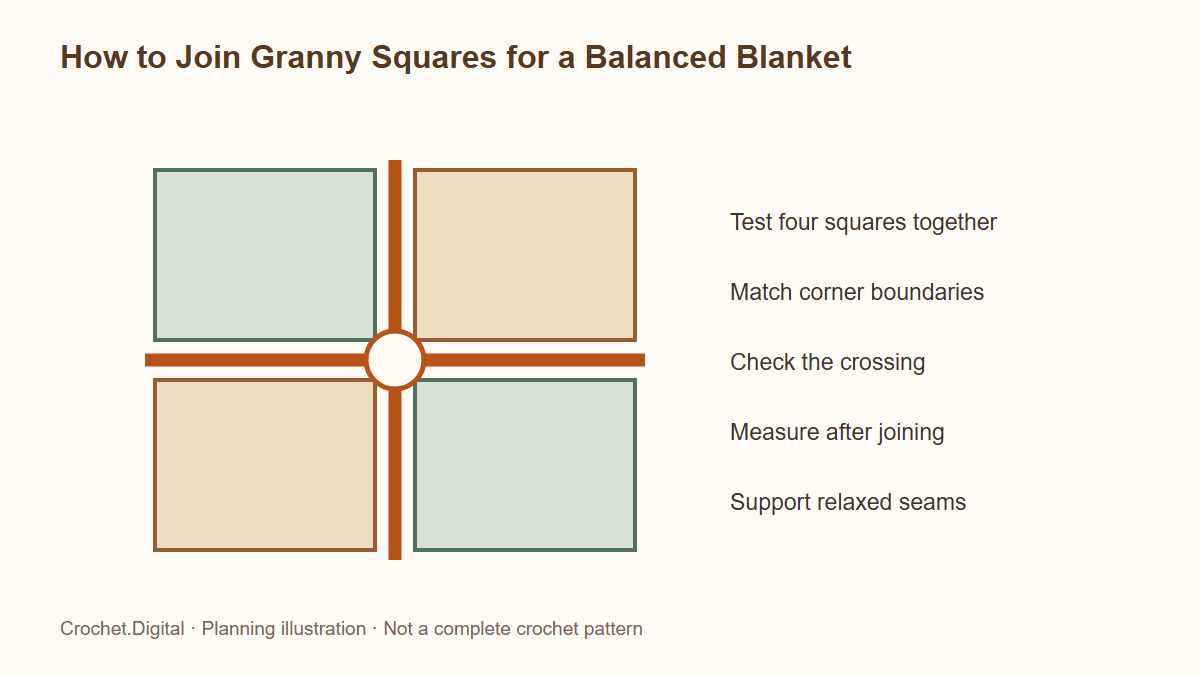
How to Join Granny Squares for a Balanced Blanket
Compare sewn and crocheted granny-square joins, align corners and stitch counts, test finished dimensions, and assemble a blanket without pulling its seams tight.
· 11 phút đọc
Hướng dẫn
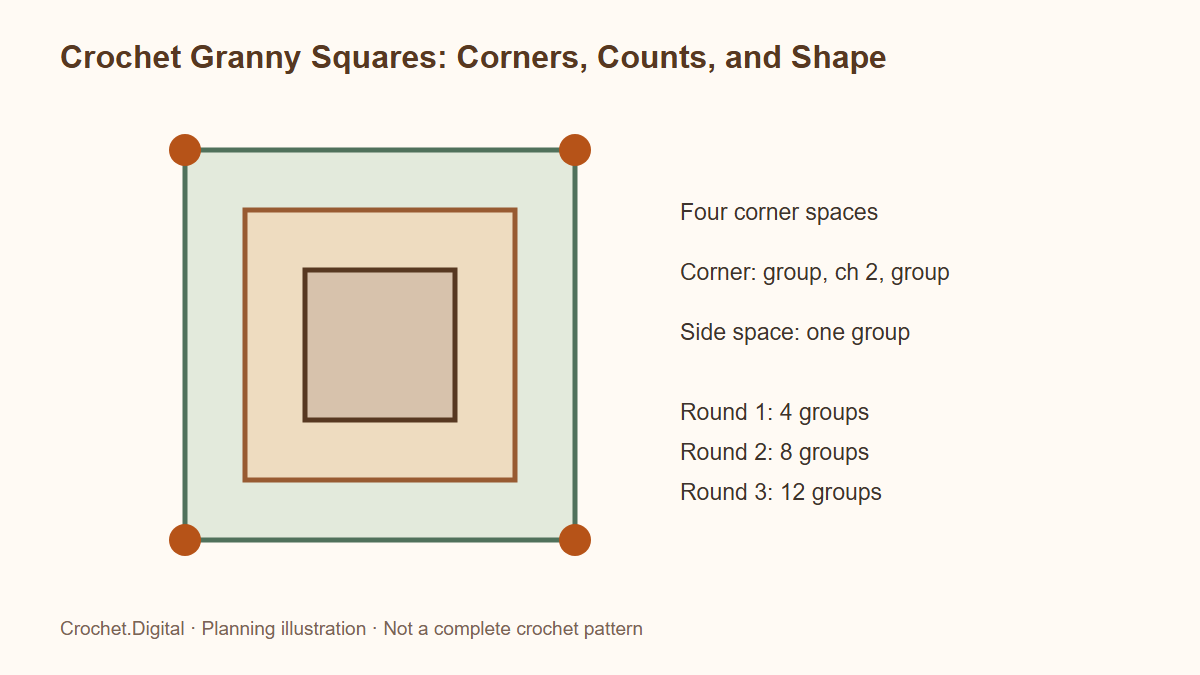
Crochet Granny Squares: Corners, Counts, and Shape
Understand a classic crochet granny square with clear corner placement, stitch-group counts, joining choices, color changes, and practical checks for flatness.
· 11 phút đọc
Hướng dẫn
How to Read Crochet Charts, Symbols, and Repeats
Follow a crochet chart by finding its key, working direction, insertion points, and repeat boundaries before checking the fabric.
· 12 phút đọc