Tips
Crochet Tension Too Tight: A Practical Gauge Check
Diagnose too-tight crochet with finished gauge, loop formation, yarn resistance, and controlled hook-size comparisons.
Crochet.Digital · · 11 min de lecture
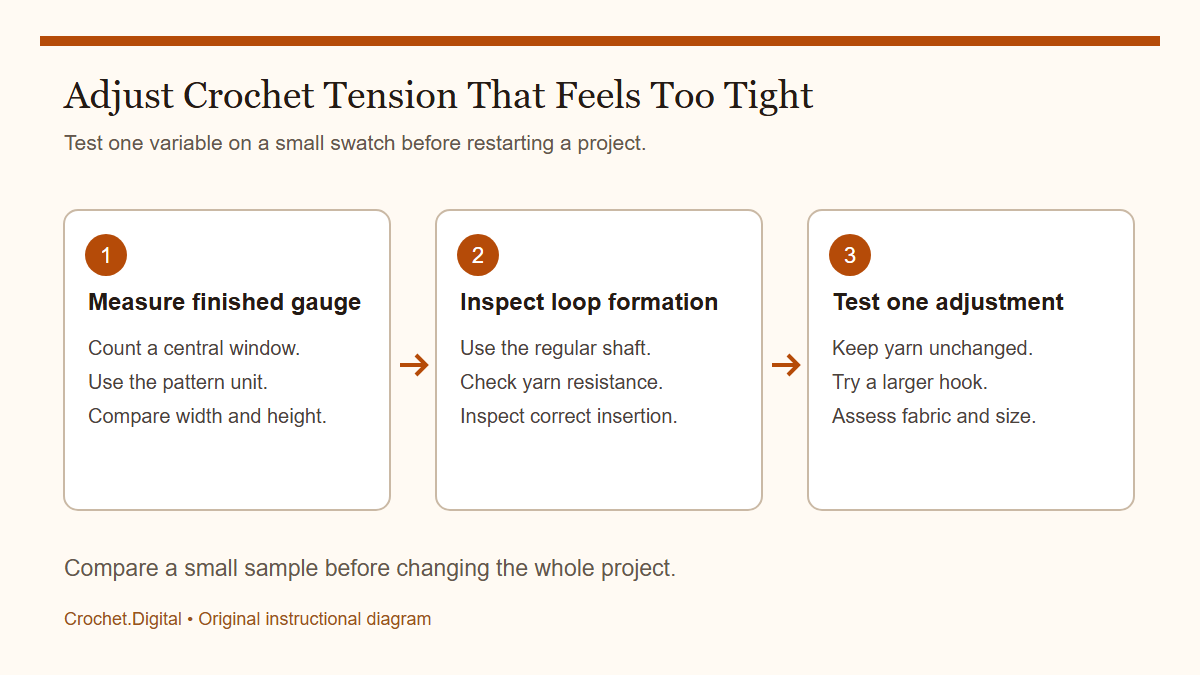
Crochet tension is too tight for a project when the fabric and stitch size do not suit the pattern's requirements or intended use. Dense stitches are not automatically wrong: a firm basket and a draping shawl need different fabrics. The useful question is whether your stitches are smaller, stiffer, or harder to work than the design requires. Diagnose the issue with a representative sample, a reliable gauge measurement, and a check of how the yarn moves through your hands. This guide uses US crochet terminology.
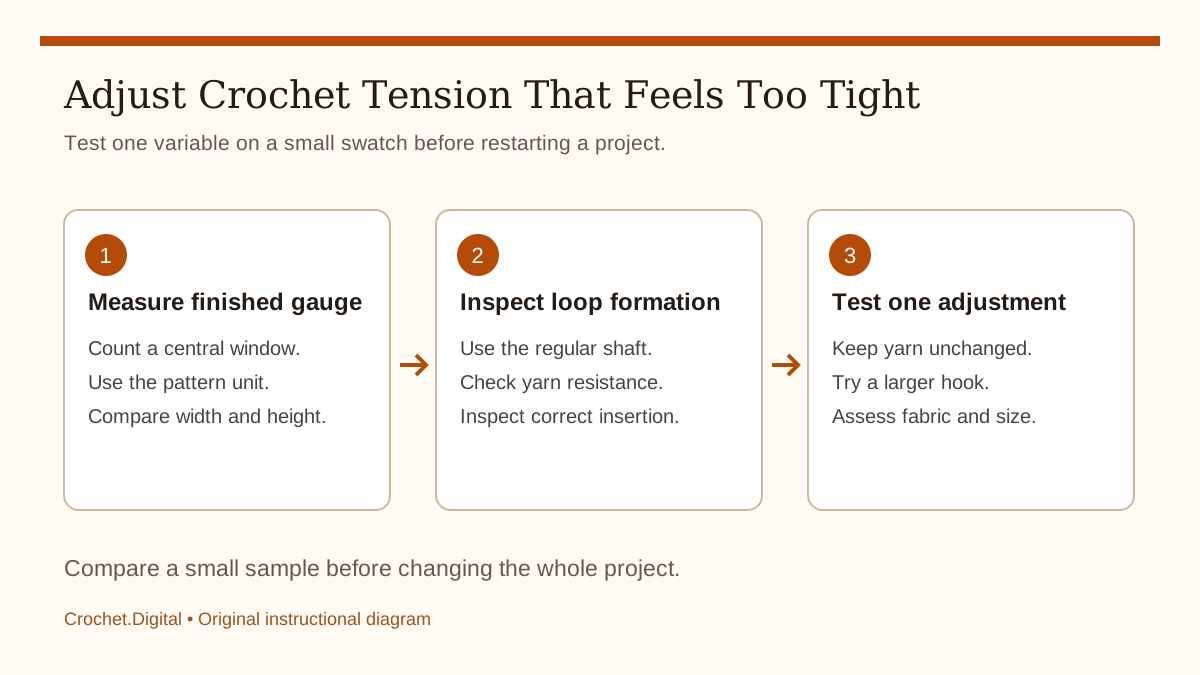 Diagnose too-tight crochet with finished gauge, loop formation, yarn resistance, and controlled hook-size comparisons.
Separate a tight feel from a gauge mismatch
A stitch can feel difficult to enter because the yarn is fuzzy, split, or firmly twisted, even when its finished dimensions match the pattern. Conversely, stitches may be easy to work yet still produce more stitches per inch than required. Notice the sensation, but measure the fabric before deciding on a solution. The pattern's stated gauge and the fabric's intended behavior provide a more useful reference than how tightly another crocheter appears to hold the yarn.
Also check whether the sample is in the correct stitch pattern. A gauge statement for a washed shell pattern cannot be assessed with an unwashed square of single crochet. Follow the specified hook, yarn, stitch pattern, and finishing instructions as closely as possible for the first test. You can then make informed substitutions rather than comparing two fabrics that were never meant to have the same measurements.
Measure a central window
Make the sample larger than the measuring area so edge stitches do not dominate the result. Let it rest on a flat surface, then count stitches across a central window using the unit specified by the pattern. A four-inch window and a ten-centimeter window are close but not identical. Keep the stated unit consistent throughout your calculations. Do not stretch the sample until the count seems to match.
Suppose the pattern expects sixteen stitches across four inches and your sample has twenty. Your stitches are smaller across that window. Twenty stitches over four inches equals five stitches per inch, while the target is four. A forty-stitch section would therefore measure about eight inches at your gauge instead of ten inches at the target gauge. This example explains why a modest-looking mismatch can become a large fit problem.
Check the finished fabric, not only fresh stitches
Wash and dry the sample according to the project instructions and the yarn label before treating its dimensions as final. Some fabrics relax or change texture after finishing. Record both the before and after measurements so you know what changed. A sample that is tight on the hook but reaches the intended gauge after the specified care treatment may not require the same adjustment as one that remains too small.
Finishing should not become a way to force unsuitable fabric into compliance. If a sample must be stretched aggressively and pinned under strong tension to reach the required size, ask whether it will retain that size in use. A wearable item should have a useful resting fabric. The comparison method in measuring before and after blocking helps document that difference.
Inspect where the active loop is formed
The hook's throat and tip are narrower than its regular shaft. If you repeatedly tighten loops around the narrowest part, the resulting loops can be smaller than intended. Watch a few stitches slowly. Notice whether the working loop reaches the shaft before the next action, and whether you pull the yarn back afterward to reduce it again. That pullback can undo the size established by the tool.
Practice forming several ordinary stitches with the same comfortable loop size on the regular shaft. Avoid deliberately making enormous loops as compensation, because that can create a different inconsistency. You are looking for repeatable movement, not an exaggerated loose style. Compare a short sample made with this attention to loop formation against a sample made in your normal rhythm, keeping the hook and yarn unchanged.
Check yarn resistance before changing your grip
A ball that catches under the project, a center-pull strand tangled inside the skein, or yarn wrapped around another tool can increase resistance unexpectedly. You may respond by pulling harder, making the next stitches smaller. Pull out a short length of yarn and work from that freely moving supply. If the fabric becomes noticeably more even, investigate the supply path rather than assuming that your hand position alone is responsible.
Keep the yarn from dragging across rough surfaces or catching on a bag opening. A project bowl or container should allow the strand to move without sharp friction. You do not need a specialized accessory to test this: a clear space beside your work is enough. The purpose is to remove intermittent resistance so the amount of yarn in each stitch is controlled by your technique rather than a snag.
Review the foundation independently
A tight foundation chain can constrict the bottom edge even when later rows have appropriate gauge. Compare the width of several later rows with one another. If they match while the foundation bows inward, the problem may be localized to the start. Changing the hook for the entire body could make otherwise correct fabric too loose. Diagnose the foundation and the body as separate parts of the construction.
For a new sample, test a more relaxed chain or a different foundation method if the design permits it. A larger hook for the chain is one option to investigate, not a universal prescription. The foundation must still have a useful structure and the correct number of placements. Work several rows above each trial foundation and let the sample rest before comparing the outline.
Try a larger hook systematically
If the finished sample contains too many stitches over the pattern's measuring window, a larger hook is a reasonable variable to test. Move to a clearly labeled millimeter size and make another representative sample. Do not change yarn, stitch pattern, and hook simultaneously. You need to know whether the tool change moved the gauge in the intended direction and whether the resulting fabric still suits the project.
Check both stitch and row gauge after finishing the new sample. A larger hook may improve width while changing row height enough to affect a shaped garment. A pattern may allow length to be adjusted by adding rows, but armholes and sleeve shaping can depend on row counts. Read the construction notes before deciding that matching only the stitch gauge has solved every sizing question.
Consider the yarn's construction
A firm, highly twisted yarn may feel different from a soft, airy yarn with a similar weight-category label. Their diameters, compression, and surface friction can affect the fabric. A category number is a starting point for substitution, not a guarantee of identical results. Compare the recommended yarn with your substitute using actual samples rather than relying solely on the label's broad category.
Inspect whether the yarn has multiple plies, a chain construction, a halo, or a smooth rounded surface. Those features can change how clearly stitch tops are visible and how readily the hook passes through them. If you are repeatedly entering only part of a strand, a splitting problem may feel like tight tension. The guide to crochet yarn splitting explains how to distinguish the two.
Match density to the intended object
A basket may need enough structure to stand, while a scarf may need flexibility against clothing. A stuffed crochet shape often needs fabric dense enough to contain its filling, but excessive tightness can make shaping and assembly difficult. Evaluate a sample by bending, folding, and handling it in a way relevant to the object. Gauge numbers alone do not describe every practical quality of the fabric.
Avoid assuming that the densest possible fabric is always the most durable or most professional. A very stiff garment may fit poorly despite neat-looking stitches. A dense decorative piece may require a different finishing plan from an open lace item. The pattern's intended use should guide the decision. If you choose a different density deliberately, treat it as an adaptation with corresponding size and yardage consequences.
Check row height as a separate measurement
Count rows in the same central window and in the same finished state used for stitch gauge. Tightness can affect height differently from width. For example, a sample might match the required stitches across four inches but contain more rows than the pattern expects. That does not mean the width measurement was wrong. It means two dimensions of the fabric need to be considered independently.
For a simple rectangle, you may be able to work to a measured length while preserving the stitch pattern. For shaped pieces, follow the designer's adjustment guidance or calculate carefully. Do not automatically lengthen every tall stitch in an attempt to change row gauge, because that can alter texture and consistency. Make a small controlled sample and compare both dimensions after the same care treatment.
Avoid forcing the hook through the fabric
If insertion repeatedly requires substantial force, pause and inspect the stitch top, hook size, and yarn path. Make sure you are entering the intended loops rather than a tighter side strand. A stitch marker or a contrasting sample can help reveal the correct placement. Repeatedly forcing through the wrong location can damage the yarn and make subsequent rows even harder to interpret.
Slow down long enough to form a few clearly identifiable stitches. Check their tops from both sides, then resume a comfortable pace. This is a technical inspection rather than a requirement to work at an artificially slow speed forever. If you need to stop because the activity is uncomfortable, do so; no fabric target requires pushing through discomfort. Keep the focus on changing the construction setup rather than increasing force.
Use a one-variable comparison sheet
Label sample A with the original hook and handling method. Label sample B with the same hook but a freer yarn supply and consistent shaft-sized loops. Label sample C with a larger hook if the first two still produce too-small stitches. Record the finished stitch gauge, row gauge, dimensions, and texture for each sample. These notes show whether a technique change or a tool change produced the improvement.
Include the yarn product, fiber content, and care treatment in the record. A sample without those details becomes difficult to interpret later. Keep the actual swatches if you expect to return to the yarn. Comparing a new project with a labeled physical sample is more reliable than trying to remember how firm a fabric felt several months earlier. It also reduces the temptation to make multiple undocumented changes at once.
Repair the project at an informed stopping point
If the existing fabric is too small for its intended fit, decide whether to unravel before completing more of the piece. A garment panel with an incorrect width usually needs more than an edging adjustment. For a decorative object where dimensions are flexible, you may decide to keep the fabric if its density is useful. Make that decision using measurements and construction requirements rather than the amount of time already invested.
If you restart, save the successful sample and note exactly which hook and method it uses. Recheck gauge after a few inches of the actual project, because a small swatch and a heavy panel can be held differently. For controlled removal of old fabric, see frogging and reusing crochet yarn. Recover the strand gently and assess its condition before putting it into the replacement piece.
Use labels as guidance, not a promised gauge
The Craft Yarn Council yarn-weight system groups yarns and provides useful starting guidance. Your pattern and your finished sample remain necessary for a specific project. Two crocheters can use the same labeled hook and produce different dimensions. Matching the intended fabric is the objective; copying someone else's hand tension is not a measurement method.
When selecting a new crochet pattern, read its gauge and finishing information before buying the full yarn quantity. A representative sample lets you test the relationship between tool, yarn, and technique at a manageable scale. If tension is too tight, identify whether the problem concerns count, dimensions, insertion, or fabric feel, then change one supported variable and verify the result.
Related guides
À lire aussi
Tips
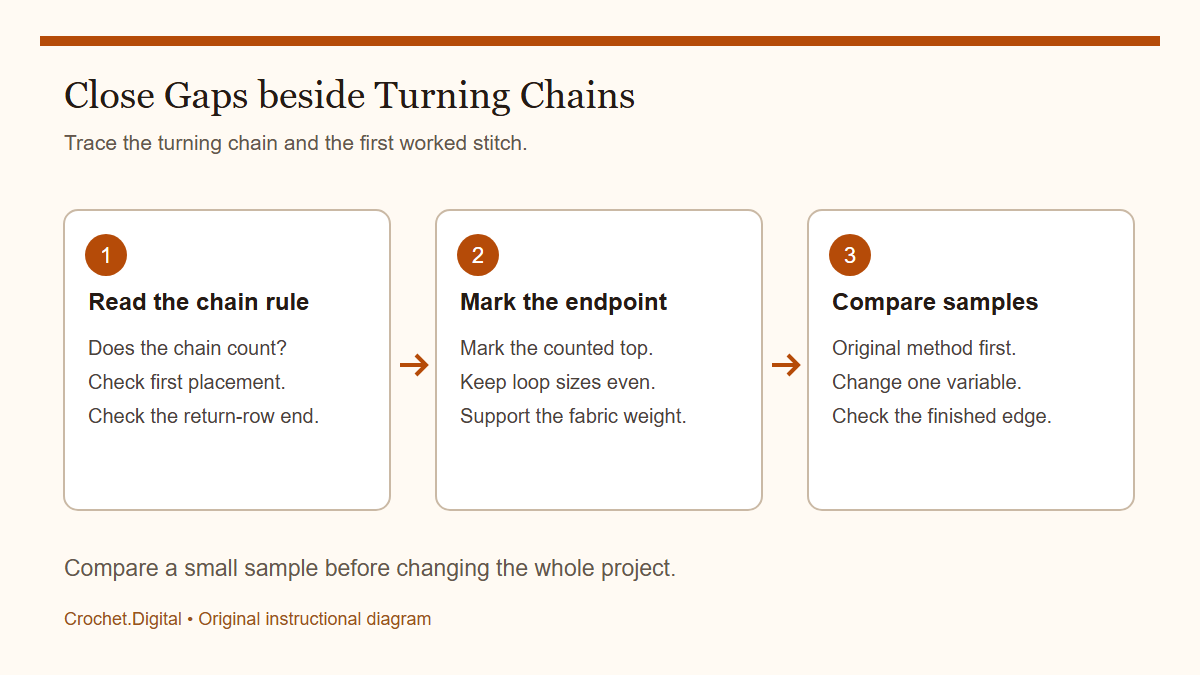
Crochet Turning-Chain Gaps: What to Check First
Check counts, chain height, and endpoint placement before changing the starting method at the edge of a crochet row.
· 11 min de lecture
Tips
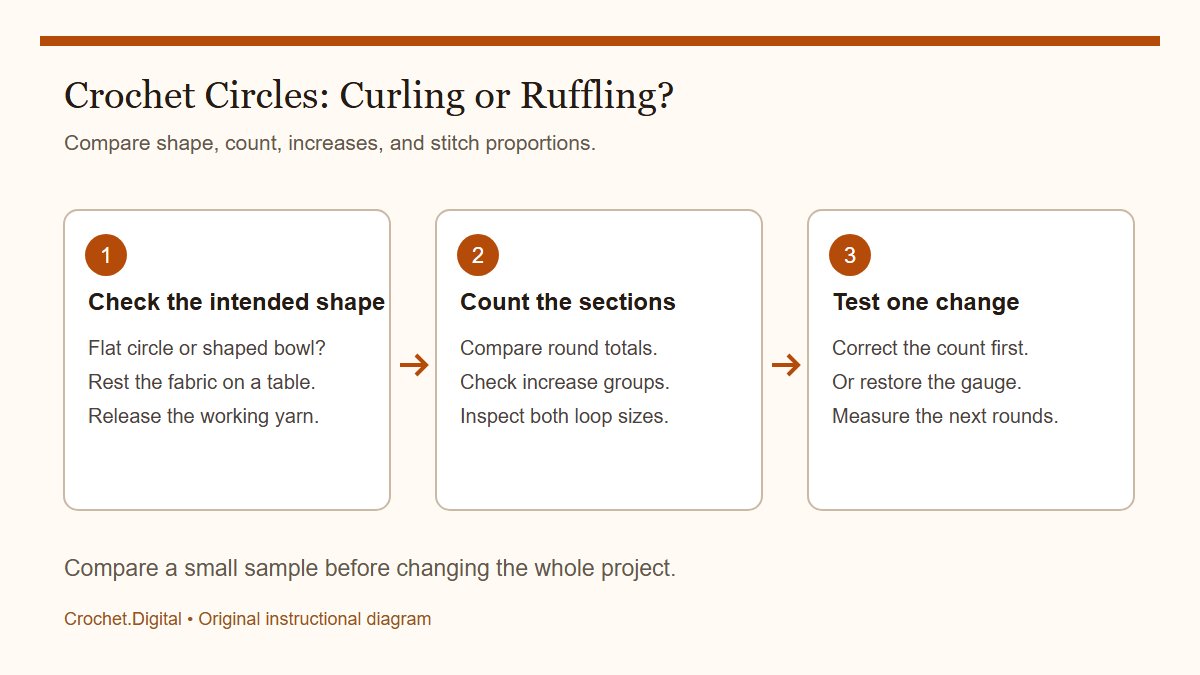
Crochet Circle Curling or Ruffling: Diagnose the Shape
Compare stitch counts, increase placement, and resting measurements to diagnose a curling or ruffled crochet circle.
· 11 min de lecture
Tips
Why Your Crochet Blanket Is Getting Wider
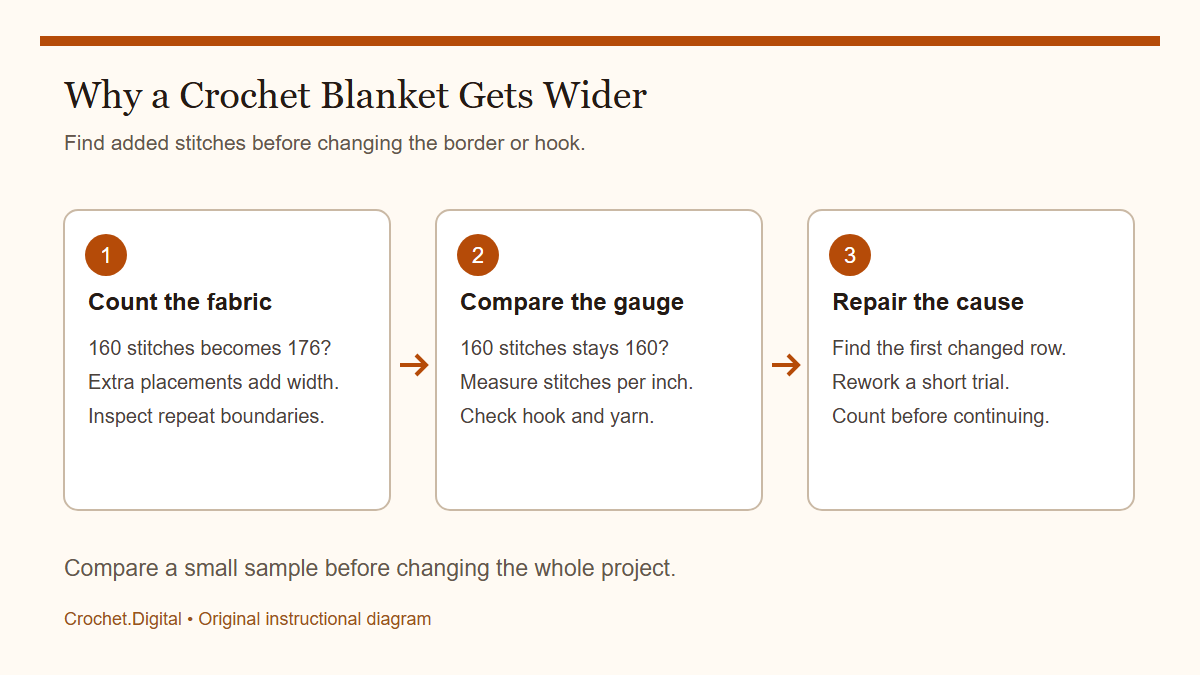
Find accidental increases, repeat errors, and changing gauge when a crochet blanket widens, then choose a repair that preserves its stitch pattern.
· 12 min de lecture