Tips
Crochet Turning-Chain Gaps: What to Check First
Check counts, chain height, and endpoint placement before changing the starting method at the edge of a crochet row.
Crochet.Digital · · 11 min de lecture
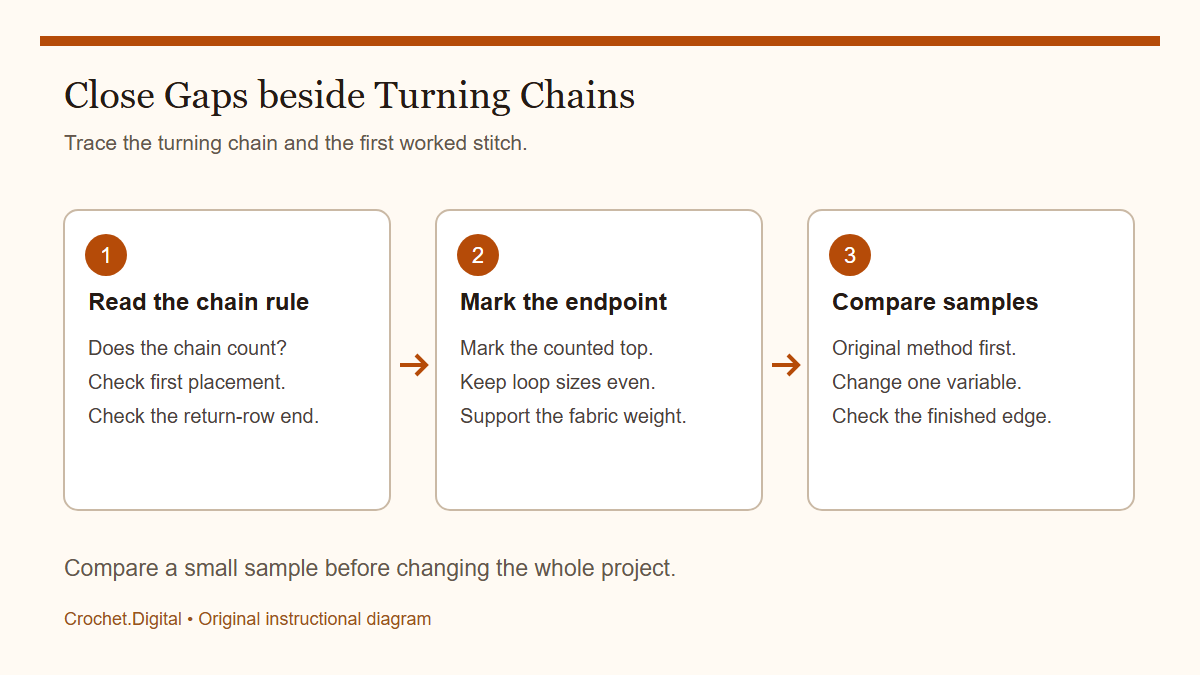
A gap beside a turning chain is not automatically evidence that a crochet row is wrong. A chain is constructed differently from a regular stitch, and its height and flexibility can leave a visible opening at an otherwise correct edge. However, gaps can also reveal a skipped placement, an extra edge stitch, or inconsistent counting. Before choosing a different starting technique, count the row and identify exactly which loop the pattern expects you to work into. This guide uses US crochet terminology.
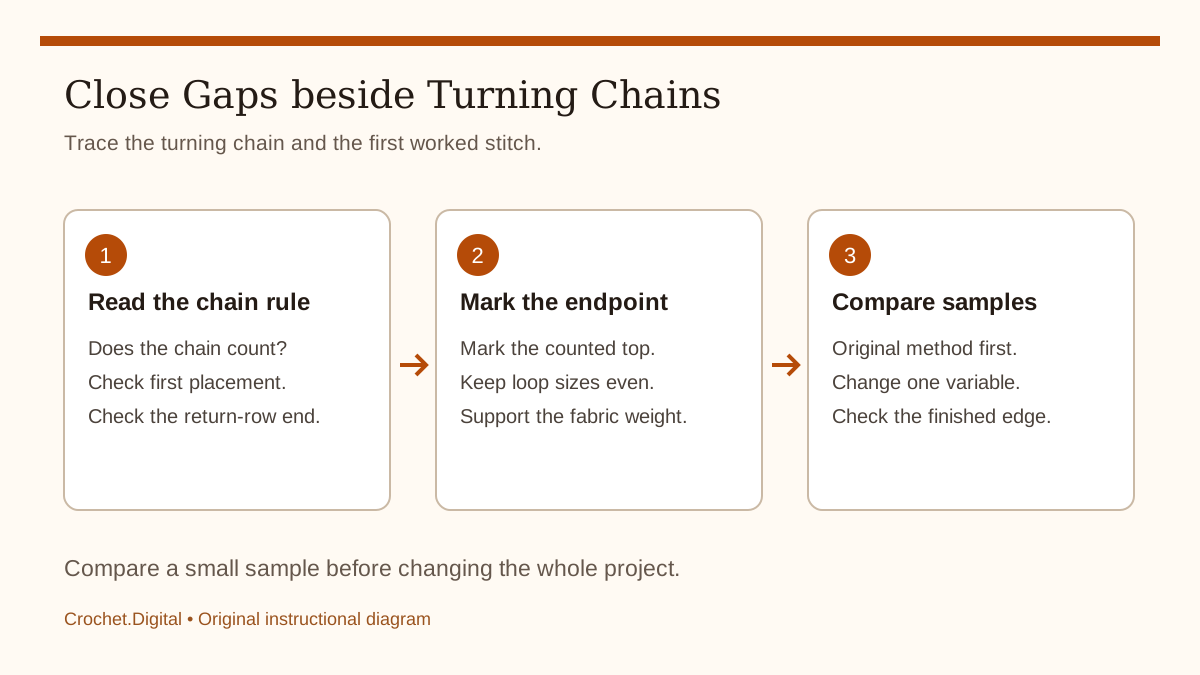 Check counts, chain height, and endpoint placement before changing the starting method at the edge of a crochet row.
Identify the kind of gap you see
An opening between the turning chain and the first ordinary stitch differs from a hole left by skipping an actual stitch. The first may be a feature of the starting method; the second changes the structure. Lay the fabric flat and trace the bases of the edge stitches. If the first ordinary stitch starts one position farther inward than instructed, the gap may reflect incorrect placement rather than an overly tall chain.
Look at several rows rather than one isolated turn. A regular opening on alternating sides often follows the normal back-and-forth construction. A gap that grows larger on successive rows may accompany a count or tension change. A gap appearing only after a stitch-pattern transition deserves a check of that transition's instructions. Naming the location and pattern of the opening makes your next test more focused.
Read the designer's counting convention
Find the note explaining whether the turning chain counts as a stitch. It may appear in the introductory instructions, in a special-stitch definition, or beside the first row. Some designs use an uncounted chain and work the first stitch into the first base. Others treat a chain as the first stitch and begin the next ordinary stitch in a different position. Follow the specific convention rather than assuming it matches your previous project.
Check the return-row instructions too. A chain that counts as a stitch normally affects where the final stitch of the following row belongs. If you count it at the beginning but ignore it at the far end, the fabric can lose a stitch. If you do not count it but later work an extra stitch into it, the fabric can widen. The rule must account for both ends of the row.
Count before changing the chain length
Count a recent complete row and compare it with the stated total. Mark groups of stitches on a wide piece so the count can be repeated reliably. Include clusters and chain spaces according to the pattern's own instructions. If a row intended to have thirty stitches contains twenty-nine, shortening the turning chain will not put the missing stitch back into the fabric. Locate the incorrect placement before making an appearance-based adjustment.
Also inspect the stitch bases when the total is correct. An extra first stitch and a skipped final stitch can cancel numerically while shifting the fabric sideways. A row count is useful evidence, but it does not prove that the stitches occupy the right positions. Place markers in the intended first and last bases of the next row, then compare the worked endpoints with those markers.
Compare chain height with stitch height
A turning chain that extends well above neighboring stitches can leave a larger opening. Yet making the chain shorter is not always an improvement. An edge that is too short can pull the side inward or make rows difficult to join. Assess the chain when the piece rests naturally rather than while you are pulling the working yarn. The goal is an edge compatible with the fabric, not simply the smallest possible hole.
Make a small sample using the specified chain length and the actual project yarn. If you want to test an alternative, make a second sample rather than changing midway through the first one. Include several rows so you can see the repeating outline. Compare both samples after the same finishing treatment. A difference that looks dramatic while the stitches are fresh may become less important when the fabric has settled.
Watch the active loop while turning
An oversized active loop can exaggerate a turning-chain gap even when the number of chains is correct. The loop may stretch as you reposition a large piece or pull yarn from the ball. Before making the next stitch, bring the loop onto the hook's regular shaft and restore its usual size without tugging the fabric itself. Watch the loop, rather than trying to solve the problem by gripping the whole project more tightly.
Support a heavy blanket or panel while turning. If its weight hangs from the active loop, your first chain may begin much larger than the rest. Keep the yarn supply free to move as well. Uneven resistance from a snagged ball can make one turn tight and another loose. For a broader diagnosis of loop-size changes, see crochet tension that is too loose.
Mark the top of a counted chain
A chain top can be harder to recognize than the top of a regular stitch. Put a removable marker through the top chain as soon as you make it if the chain counts as a stitch. On the return row, the marker identifies the intended endpoint. Avoid placing it around the whole chain column, because that marks a space rather than the specific loop you may need to enter.
After working into the marked endpoint, check the new row total and move the marker to the new first counted stitch. Use the same method for several rows before judging whether it helps. A reliable endpoint marker often solves a placement problem without any change in chain length or stitch technique. It is particularly valuable with dark colors, thick yarn, or stitches whose tops lean toward the edge.
Understand uncounted turning chains
When the chain does not count, the first actual stitch commonly supplies the first counted stitch of the new row. The chain still provides working height, but it is not an additional stitch in the row total. Working into both the first base and the chain at the other end can therefore introduce an unintended increase. Follow the pattern's final placement rather than filling every visible loop at the side.
Uncounted chains can produce a useful edge, but they are not automatically interchangeable with counted chains. A pattern's seam, button band, border, or color change may depend on the specified structure. If you adapt a method, document the new counting convention and check how the later finishing instructions will use that edge. A neat sample alone does not guarantee compatibility with the entire project.
Test a chainless starting stitch separately
Some crocheters prefer a chainless starting method for tall stitches. Such techniques try to create a first stitch whose appearance more closely resembles its neighbors. Learn the exact method on spare yarn and identify which part counts as the first stitch. The result may have a different top loop or side structure from the original chain, so its endpoint should be marked until you can recognize it confidently.
Do not combine an improvised chainless start with an extra ordinary stitch simply to make the edge feel secure. That can alter the count while hiding the cause beneath a dense edge. Work a marked rectangle using the alternative from beginning to end, then compare its dimensions, seam loops, and border pickup points with a rectangle made as written. Choose a consistent system rather than mixing methods at random turns.
Consider stacked starting stitches carefully
A stacked starting technique builds height through a sequence of shorter stitch actions rather than a conventional chain column. The resulting edge may look more substantial, which can be useful in some fabrics. However, the construction needs to be understood precisely. A stacked start still occupies the number of stitch positions specified by its instructions; the individual actions do not automatically become several separate counted stitches.
Test how the top of the starting stitch behaves on the return row. Can you identify it without guessing? Does working into it create an edge with the same height as neighboring stitches? Is there enough structure for the intended seam? These practical questions matter more than whether a technique is promoted as gap-free. Any starting method can look uneven if its loop sizes or endpoint accounting change from row to row.
Keep color changes consistent at the edge
A color change at a turn can make an ordinary opening appear more prominent because the contrasting yarn outlines it. Before changing the stitch structure, inspect the same edge in a single-color sample. You may discover that the opening was always present but less visible. Decide whether the contrast is acceptable for the design and whether a border or seam will cover the edge in the finished item.
When changing colors, follow the pattern's timing for the final yarn-over and starting chain. Pulling the new color tight to conceal a gap can shorten the edge and create a different distortion. Leave enough flexibility for the fabric to rest naturally, then secure the tails using a method suited to the stitch structure. The guide to amigurumi color changes discusses why visible transitions need both placement and tension checks.
Account for borders and seams
A raw edge that will be enclosed in a seam does not necessarily need the same appearance as an exposed scarf edge. The seam may use the side loops or the full depth of the turning chain. Replacing that structure can change how easily matching pieces line up. Read finishing instructions before committing to an alternative, especially if the designer specifies a particular pickup ratio or seam placement.
For an exposed edge, a border can create a deliberate finish when the body count and dimensions are correct. Test the border over a short section. Too many stitches along row ends make waves, while too few pull the side inward. A border should follow the natural length of the fabric rather than forcing a shorter chain column to stretch. Compare the trial after the same washing and drying treatment planned for the project.
Use a small comparison worksheet
Label three samples A, B, and C. Keep yarn, hook, stitch pattern, and row count the same. In A, use the written method. In B, change only the allowed chain length. In C, use a clearly defined alternative starting stitch. Record which element counts as the first stitch in each sample. This prevents an attractive result from being accepted when it actually contains a different number of stitches.
Measure the sample width, side length, and central gauge after finishing. Then inspect the gaps from a normal viewing distance, not only in a close-up photograph. Select the method that works for the whole construction. If the original method is structurally correct and the alternative introduces uncertainty at the endpoints, the original may still be the better choice. A useful comparison weighs repeatability alongside appearance.
Repair an existing piece proportionately
If the gaps accompany missing or extra stitches, return to the first incorrect row and repair the placement error. If the counts and dimensions are right, decide whether the appearance needs changing at all. Switching methods halfway through can create a conspicuous transition. A consistent edge that will later be seamed or bordered may be preferable to a small section made with a different starting structure.
For a piece whose exposed edge is important, remake a short trial before unraveling the whole section. Photograph the comparison and check that the replacement method still supports the correct count. The article on uneven crochet edges provides a broader diagnostic sequence. Unravel with a written restart point rather than relying on the hope that a new method will automatically produce straight sides.
A practical decision rule
Keep the written method when counts, dimensions, and finishing compatibility are sound and the gaps are acceptable. Correct stitch placement when the count is wrong. Consider an alternative only after testing its counting rule and edge behavior in a separate sample. This approach avoids turning a cosmetic preference into a structural error. It also gives you notes that remain useful when the same situation appears in another project.
The Craft Yarn Council abbreviation reference can help decode standard US terms, but a pattern's own definitions control its special starting techniques. When browsing crochet patterns, read the turning and finishing notes before beginning. The best edge method is one you can work consistently, count correctly, and integrate with the finished item, rather than a method chosen solely because it promises to remove every visible gap.
Related guides
À lire aussi
Tips
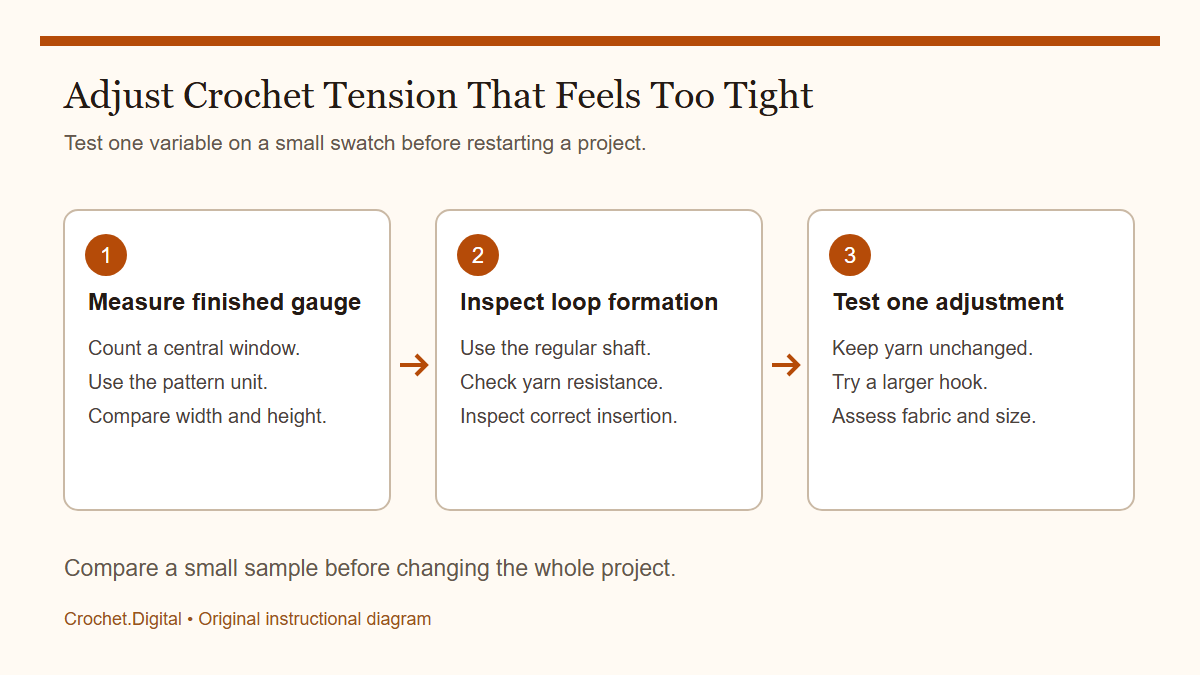
Crochet Tension Too Tight: A Practical Gauge Check
Diagnose too-tight crochet with finished gauge, loop formation, yarn resistance, and controlled hook-size comparisons.
· 11 min de lecture
Tips
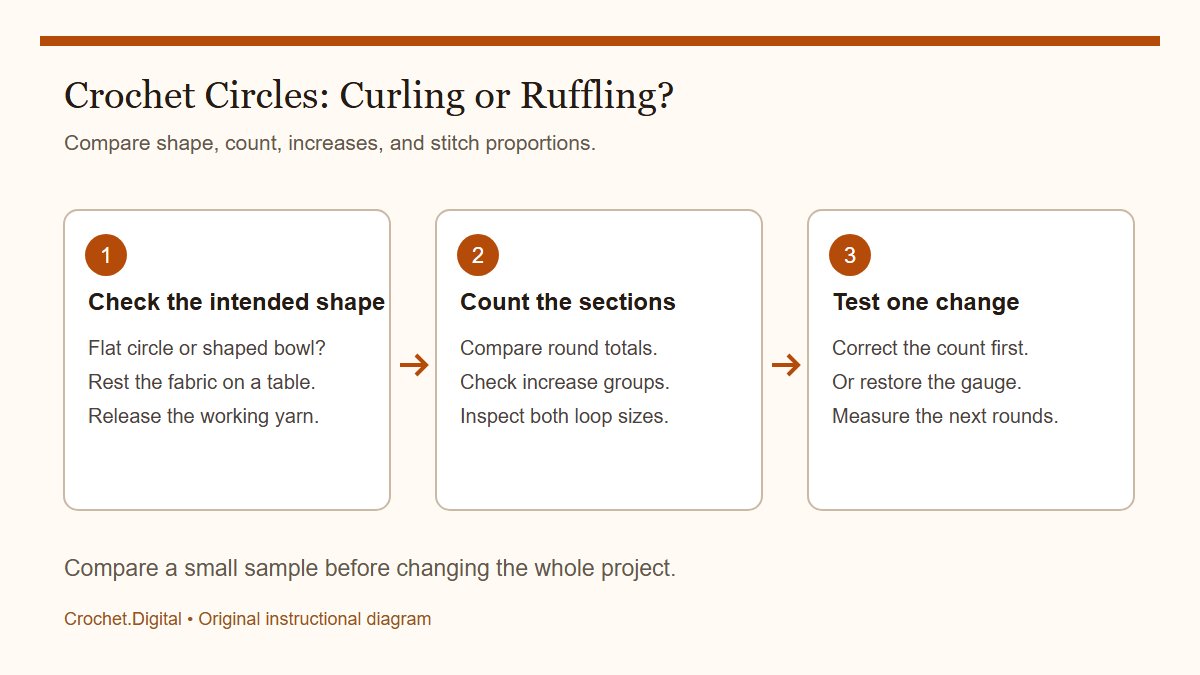
Crochet Circle Curling or Ruffling: Diagnose the Shape
Compare stitch counts, increase placement, and resting measurements to diagnose a curling or ruffled crochet circle.
· 11 min de lecture
Tips
Why Your Crochet Blanket Is Getting Wider
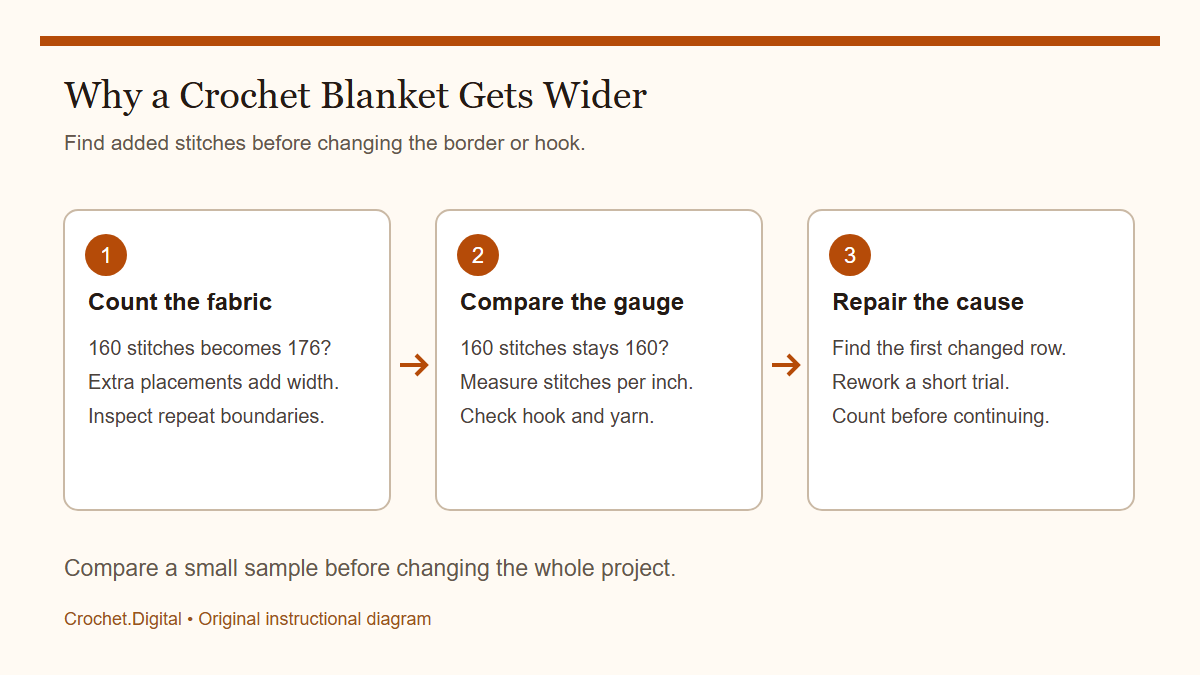
Find accidental increases, repeat errors, and changing gauge when a crochet blanket widens, then choose a repair that preserves its stitch pattern.
· 12 min de lecture