Beginner
Crochet Tools for Beginners: A Practical Starter Kit
Build a small crochet kit around a readable yarn, a comfortable hook, and simple tools that help you see and count your work.
Crochet.Digital · · 12 phút đọc
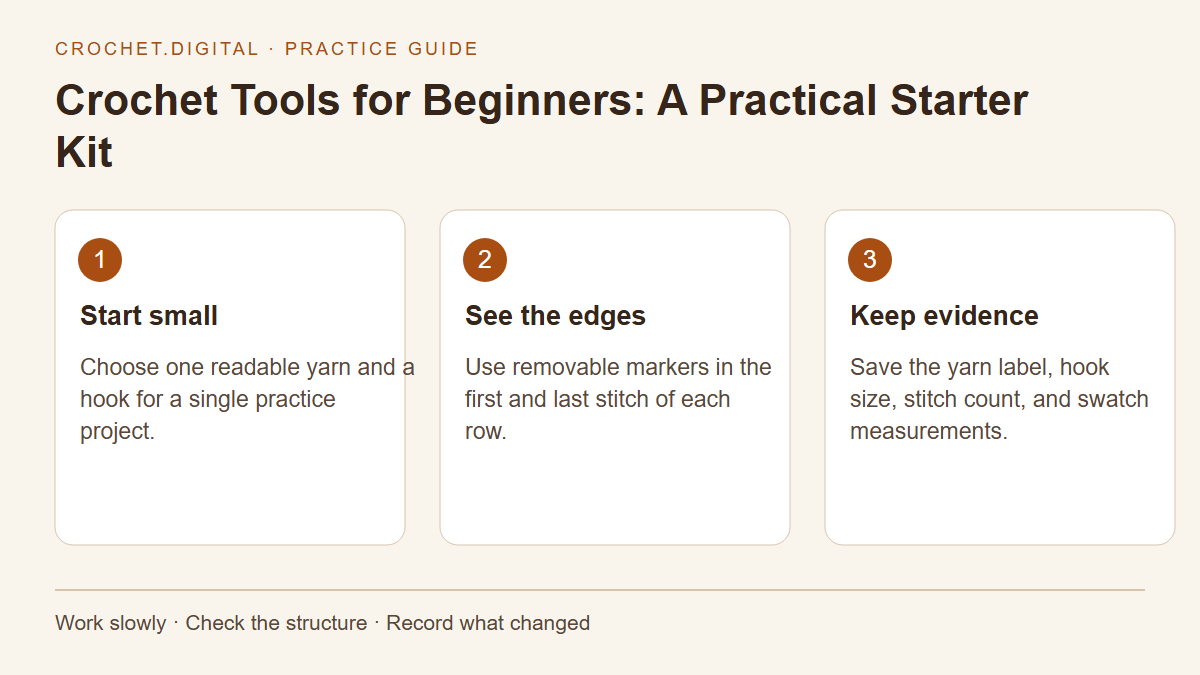
You can learn crochet with one hook and one ball of yarn, but a few carefully chosen tools make the first weeks much easier. The most useful starter kit helps you see the stitches, hold a comfortable working loop, count without guessing, and finish a sample securely. It does not need every hook size or a collection of accessories chosen before you know what you enjoy making. Start with tools for a single practice project, use them long enough to notice what is missing, and let those observations guide your next purchase.
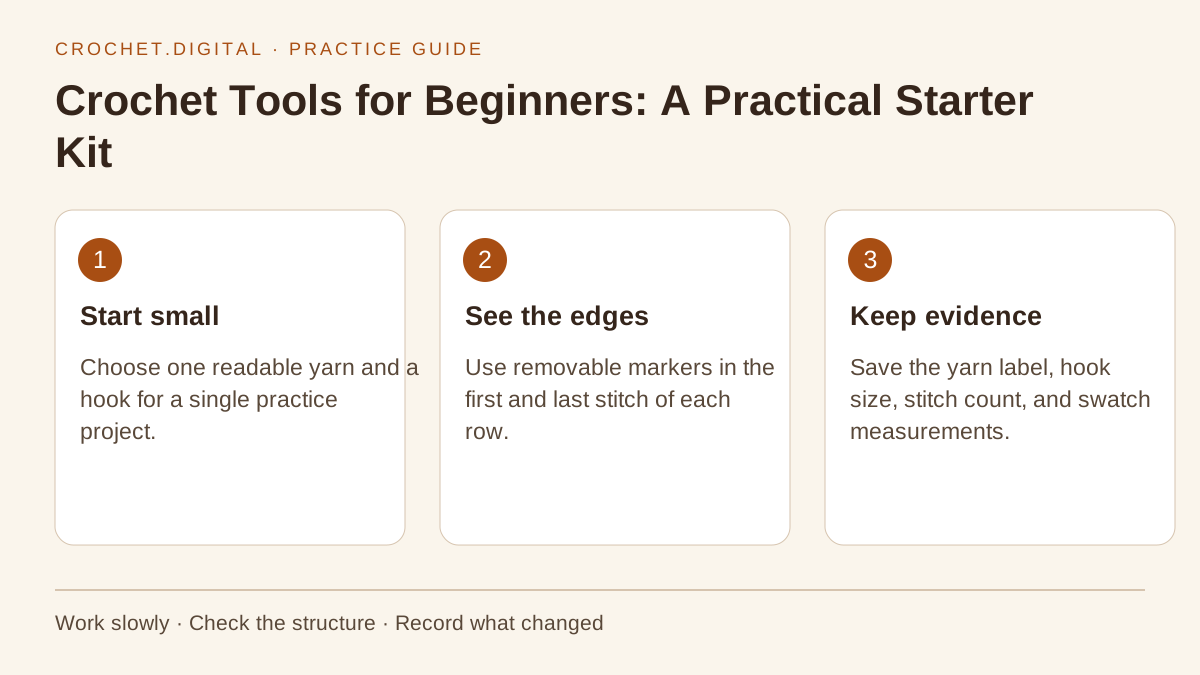 Crochet Tools for Beginners: A Practical Starter Kit: a practical sequence to use beside your project.
Choose your first project before choosing a whole kit
A small rectangle of ordinary stitches gives you better information than an ambitious garment. A practice square, simple coaster, or flat scarf sample asks you to make a foundation chain, work into the same number of stitches, turn consistently, and recognize the edges. Those are skills that transfer to many later patterns. A fitted sweater introduces measurements and construction at the same time; a tiny toy adds tight rounds and shaping. Both can be enjoyable later, but neither needs to determine the equipment for your first evening.
Read the materials list of the project you actually intend to try. Write down the yarn thickness, fiber, suggested hook in millimeters, and any special notions. If the list contains a zipper, stuffing, several colors, or a long set of special tools, choose a simpler practice sample first. Buying for one clear task keeps the kit manageable and makes it easier to understand which tool solves which problem.
Use smooth, light yarn that makes the stitch structure visible
For early practice, choose a smooth yarn with enough body to show the little V shapes along the top of the fabric. A light or medium solid color is easier to inspect than black, very dark navy, or a busy multicolored yarn. Avoid heavily brushed, eyelash, bouclé, or unusually slippery yarn while you are learning to identify the insertion point. Those yarns are not inferior; they simply hide the evidence you need when a row gains or loses a stitch.
A medium yarn can be a convenient place to begin, but do not treat the category number as a guarantee of easy handling. Compare the actual strands and the fabric they produce. Some tightly twisted cottons split less than a loosely plied cotton; some acrylics have a clearer outline than a fluffy blend. Ask whether you can separate one stitch from the next under your usual room lighting. That visual test matters more than an attractive label or a large bargain bag of unfamiliar leftovers.
Select a hook by its millimeter size and working shape
The size stamped in millimeters describes the hook's working shaft. Match the starting size to the project or yarn recommendation, then expect to adjust it when you measure your own fabric. A letter or number label may be useful within a familiar brand, but it is less dependable when comparing different systems. Record the millimeter size in your notes, together with the brand or hook style if you later find that two nominally equal tools produce different results.
Look at the hook itself rather than only its handle. The head must catch the yarn, and the throat must let the loop slide without repeated snagging. The straight working area needs enough space for the loops used in your chosen stitch. A very short exposed shaft can feel restrictive when practicing taller stitches or clusters. None of these details establishes a universal best hook. They give you specific things to compare when one tool consistently fights your hands and another lets the same movement happen smoothly.
Try the grip before committing to an expensive set
Some crocheters hold a hook more like a pencil, while others hold it more like a knife. Either grip can produce controlled stitches. Let the hook rest in your hand and practice a few slow yarn-over motions without squeezing. Notice whether the handle presses into the palm, whether your thumb has a stable resting place, and whether the hook head stays easy to orient. A thick handle may help one person relax and make another person grip harder.
Comfort also depends on the task. A hook that feels good for loose double crochet may feel different when working tight toy fabric. Try a small sample instead of judging a handle only in the package. If your hand hurts, pause and change the activity; do not use a premium handle as a reason to push through discomfort. You are learning a repeated movement, and short sessions with relaxed hands teach you more than a long session spent holding tension in your shoulders.
Buy a few removable stitch markers
Removable markers are especially helpful in the first and last stitch of a row. Mark the actual stitch top after you make it, not a nearby chain that merely looks similar. When you return along the next row, the marker shows the edge stitch you would otherwise be tempted to skip. In a continuous round, move a marker to the first stitch of each new round. This gives the round a defined beginning without adding a joining stitch that the pattern did not request.
Choose markers that open and close without splitting the yarn. A contrasting scrap of smooth yarn can also mark a location, although it can slide out more easily and may be harder to move repeatedly. Avoid a marker so heavy that it stretches a tiny stitch. Start with several inexpensive markers in two colors: one color for row edges or the round start and another for a place you want to check. A small, clear marker system is more useful than a large box whose colors mean nothing.
Keep scissors sharp enough for a clean, controlled cut
You need scissors that cut the yarn neatly without sawing or pulling at the strand. A small pair dedicated to yarn is convenient because it stays with the project, but it does not have to be decorative or specialized. Keep the points closed in a protective case when carrying them. If children share your workspace, store scissors and needles where they cannot be picked up accidentally. A project bag is storage, not a substitute for choosing a safe location for sharp tools.
Do not cut the yarn close to the final stitch simply because the fabric looks finished. You need a usable tail for weaving through the fabric. The appropriate length depends on yarn, stitch structure, and the finishing method; leaving more than a tiny clipped end gives you room to work and inspect the result. If a pattern asks you to leave a long sewing tail, measure that tail before cutting. It is much easier to save the required length than to join a new strand exactly where a seam begins.
Use a yarn needle that suits the yarn
A yarn needle needs an eye large enough for the strand and a body that can pass through the fabric without forcing a large hole. A blunt tip is often convenient for weaving around stitch paths; a sharper tip may be useful when a specific finishing technique deliberately passes through yarn strands. Choose the tool for the task rather than assuming every needle in a multipack is interchangeable. Test it on a practice swatch before finishing the edge of a project you care about.
Thread the needle without untwisting the whole tail into a fluffy brush. If the yarn refuses to pass through the eye, use a larger eye or a suitable threader rather than repeatedly trimming the tail shorter. Move the needle in small steps, keeping its path visible. When the fabric must stretch, weave with that stretch in mind instead of pulling the tail into a tight straight cord. A good finishing tool lets you secure the tail while preserving the behavior of the surrounding stitches.
Choose a ruler for stitches and a tape for larger measurements
A firm ruler is easier to position across a small swatch than a floppy tape that bends into the fabric. Use it to measure a central area without stretching the sample. For a garment, a flexible tape is more practical around a body or along a curved edge. Keep the units consistent with the pattern. Four inches and ten centimeters are close enough to be confused in casual conversation but are not identical measuring windows; use the one the instructions specify.
Check that the tape has a trustworthy beginning and readable markings. Some tapes have a short blank area before zero, and some inexpensive printed tapes become distorted with wear. Lay the tape against a ruler occasionally if a measurement seems suspicious. When recording a swatch, write the stitch count, row count, measuring width, and treatment of the sample. The measuring tool supplies a distance; your notes supply the context that makes that distance useful later.
Make counting visible instead of relying on memory
A row counter can be useful, but pencil marks on paper can work just as well. Choose a method you will actually update at the moment a row is completed. If you tend to forget whether you pressed a counter, write the row number beside a short observation, such as the color change or the number of stitches. A tally that can be checked against the fabric is more trustworthy than a number stored separately from every other detail.
For a repeat, count in groups that match the instructions. Marking every tenth stitch of a long chain can help you locate an error without beginning again at one. Keep those counting markers distinct from markers that define the start of a round. If the pattern says to repeat a sequence six times, tick off six repeats rather than estimating from the amount of fabric on your lap. Counting is part of construction, and simple recording tools reduce the amount of attention you must spend remembering previous decisions.
Store the project with its identity intact
A plain bag or box keeps the hook, yarn label, markers, and notes together. Add a note that says which hook you used, what row or round you last completed, and whether the working loop is secured. If the project is put away for a week, those three details prevent a great deal of guesswork. A label from the yarn is also valuable because its fiber, care, color, and lot information may no longer be obvious once the ball is partly used.
Secure the active loop with a removable marker before setting the hook aside. Pulling the loop extremely long can prevent immediate unraveling, but it may also snag on other items in the bag. Keep small tools in a separate closed pouch so they do not disappear into a half-finished blanket. If you have several projects, use one small information card for each. Good storage is less about owning a beautiful container and more about being able to restart accurately.
Wait before buying specialized accessories
Blocking mats, pins, a ball winder, a yarn bowl, and a large hook set can be useful when their purpose is clear. They are not all prerequisites for learning a foundation chain. You can assess a practice swatch on a clean flat surface, following the yarn's care instructions, without buying a complete finishing station immediately. Do not improvise heat treatment merely because you lack a particular accessory; the fiber's care requirements still apply.
A ball winder solves a different problem from yarn tangling caused by a damaged skein. A blocking board helps establish repeatable dimensions but cannot correct an incorrect stitch count. A row counter tracks a decision but cannot identify the first stitch for you. Before buying an accessory, finish the sentence, “This will help me do…” with one specific task. If the answer is only that a kit appears more complete, wait until a real project makes the need clearer.
Test the kit in a short, repeatable session
Make a chain of twenty-one stitches, then practice twenty single crochet stitches across, using US terminology and working the first stitch into the second chain from the hook. Mark the first and last stitch. For subsequent rows, chain one, turn, and work twenty stitches, treating that turning chain as uncounted for this exercise. Count at the end of each row. This is a practice convention, not a rule to impose on a pattern that gives different edge instructions.
After several rows, ask practical questions about the equipment. Can you see the stitch tops? Does the hook split the yarn repeatedly? Do the markers fit without stretching the stitches? Can you measure the center of the sample? Can you thread and weave a tail? Those observations reveal whether the kit supports the work. Change one troublesome item at a time, keeping the yarn and stitch otherwise the same, so you know which change actually helped.
A small shopping checklist
- One smooth, readable ball of yarn suitable for the chosen practice project.
- One hook in the project's suggested millimeter size, with a comfortable grip.
- A few removable markers that contrast with the yarn.
- Scissors, a suitable yarn needle, a ruler, and a flexible measuring tape.
- A notebook or a simple digital note and a container that keeps the kit together.
The best first kit is the one you can understand. Each item should have an obvious role while you make, count, measure, or finish the fabric. Once you have a few successful samples, you will know whether your next useful purchase is another hook size, a different yarn fiber, more markers, or a tool for a specific construction method. That knowledge is a better foundation for future projects than buying every accessory at once.
Keep learning with your next practice session
Compare hook materials and shapes. Read a yarn label. Build a useful marker system. When you are ready to use these skills in a project, browse the independent crochet and knitting PDF patterns and read the materials, sizing, and skill notes before choosing.
Reference: The Craft Yarn Council standards provide a useful reference for checking the terminology and conventions used in a pattern. The instructions and practice examples in this guide use US crochet terminology unless stated otherwise.
Related guides
Đọc tiếp
Beginner
How to Make a Slip Knot for Crochet
Make an adjustable starting loop, identify the working yarn and tail, and move from the knot into your first counted chains.
· 12 phút đọc
Beginner
US vs UK Crochet Terms: Translate a Pattern Correctly
Match US and UK stitch names to the same physical movements while preserving every count, location, and turning-chain instruction.
· 12 phút đọc
Beginner
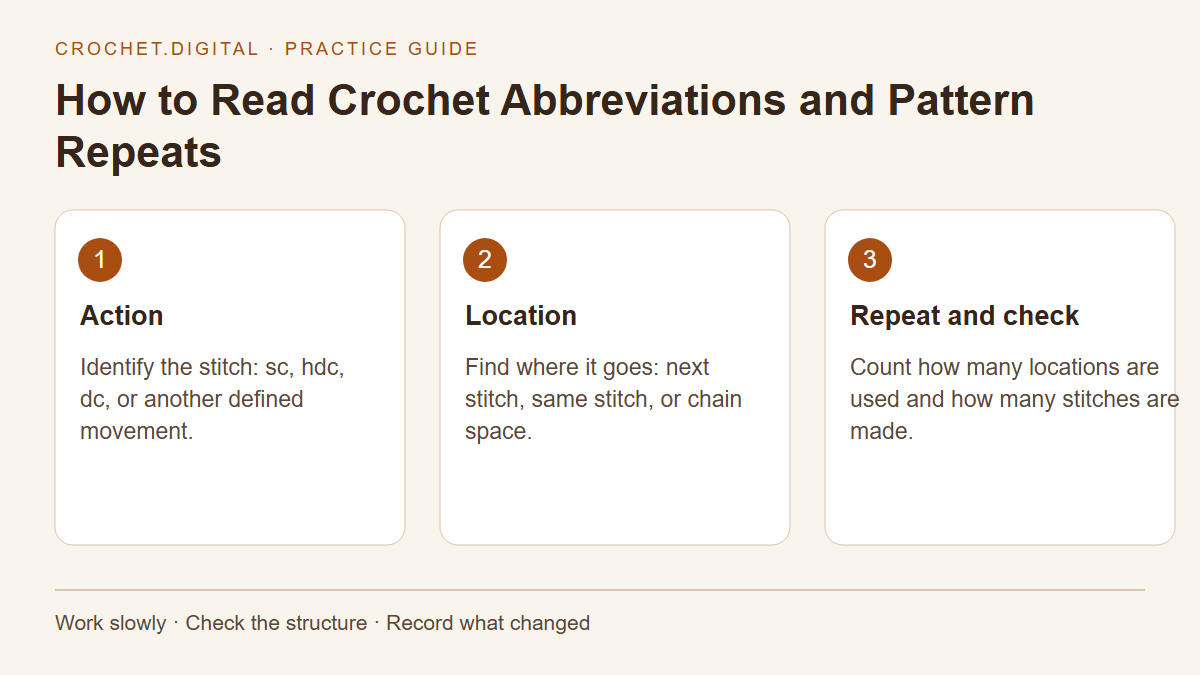
How to Read Crochet Abbreviations and Pattern Repeats
Decode crochet instructions by separating the stitch, its location, and the number of repeats, then checking the finished count.
· 11 phút đọc