Beginner
How to Read Crochet Abbreviations and Pattern Repeats
Decode crochet instructions by separating the stitch, its location, and the number of repeats, then checking the finished count.
Crochet.Digital · · 11 phút đọc
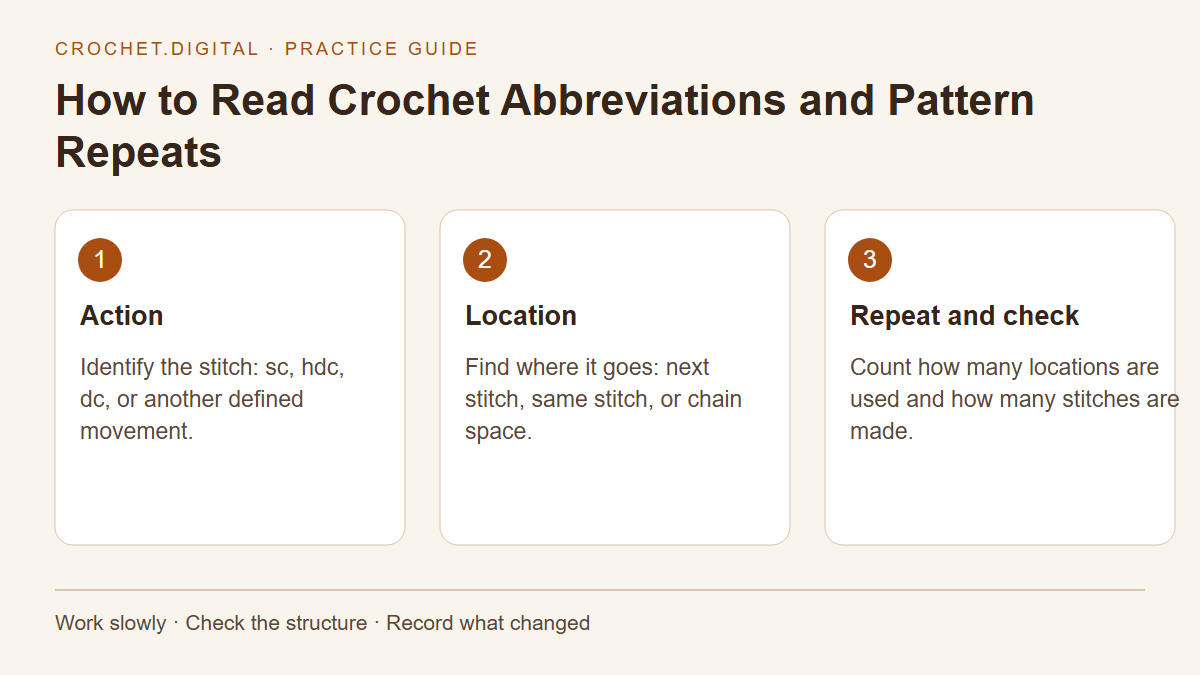
Crochet abbreviations are a compact way of describing actions, locations, and repetitions. Reading them becomes easier when you stop treating a row as one long code and divide it into those three parts. Ask what stitch you will make, where you will make it, and how many times you will repeat the instruction. Then check the stated stitch count. A short line of text can describe an entire row accurately, but only when its punctuation and the pattern's own definitions stay attached to the abbreviations.
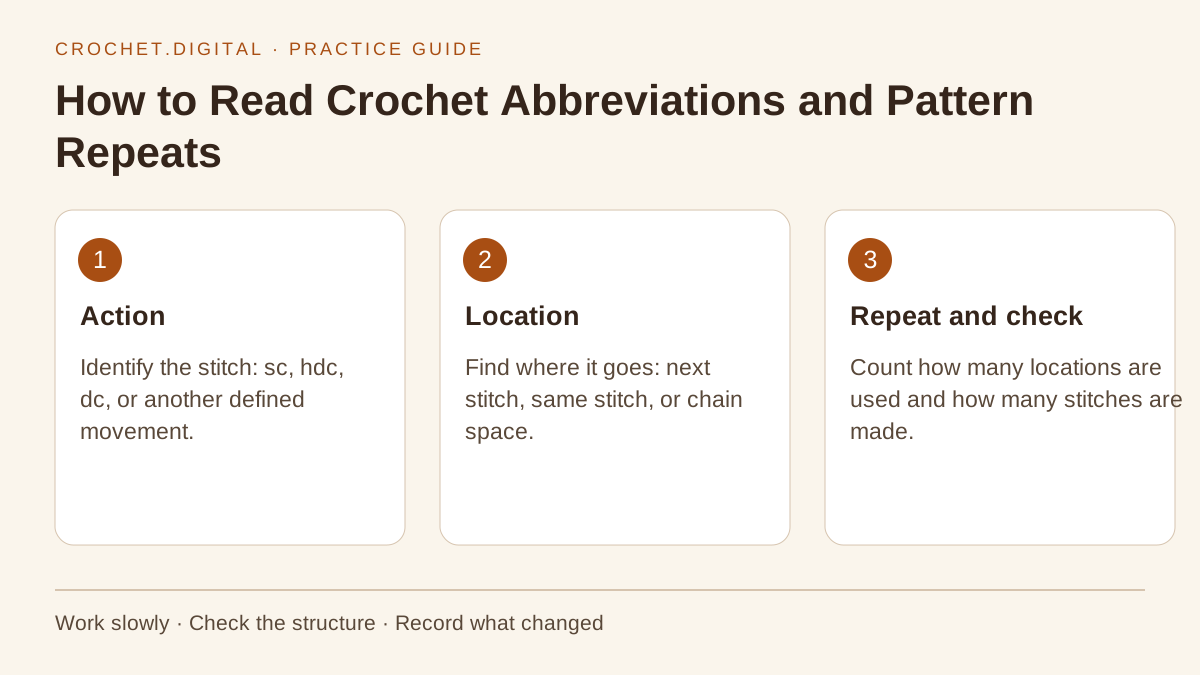 How to Read Crochet Abbreviations and Pattern Repeats: a practical sequence to use beside your project.
Begin with the pattern notes, not the first row
Find the terminology statement before working any stitches. This guide uses US crochet terms. The same abbreviation can name a different stitch in a UK pattern, so recognizing the letters is not enough. Look for an explicit statement such as US terminology or UK terminology. If the pattern does not state its system, inspect the stitch definitions and ask the designer before committing to a large section. A recognizable photograph is a clue, not a dependable translation method.
Next find the abbreviation list and any special-stitch instructions. Designers can define their own shorthand for a combination used repeatedly throughout the pattern. A shell might contain five double crochet stitches in one pattern and a different combination in another. A cluster can also have several forms. Write the pattern's definition beside the row where it is first used. The local definition takes priority over a general glossary because it describes the particular fabric you are making.
Separate an action from a location
In “sc in next st,” sc is the action and next st is the location. In “dc in next ch-2 sp,” dc is the action and the chain-two space is the location. The second instruction does not tell you to insert the hook into an individual chain unless the notes say so. A space is the opening created by the chains, whereas a stitch is a particular loop structure. Confusing the two can move an entire repeat sideways while still producing the expected number of stitches.
Read a new instruction aloud in ordinary words before doing it. “Single crochet in the next stitch” makes the relationship clear. When several actions share one location, keep them together: “two double crochet stitches in the same space.” You may find it useful to circle the location in a printed pattern and underline the stitch abbreviations. That visual distinction prevents the location phrase from disappearing when you are concentrating on the unfamiliar stitch itself.
Recognize the small words that control the fabric
The most important part of a sentence is sometimes not the stitch name. Next, same, each, around, between, remaining, and across all change where the hook goes. “Work in each stitch” normally distributes the work over successive stitches. “Work in the same stitch” concentrates more than one action in one place. “Around the post” locates the hook around the body of a stitch rather than beneath its top loops. Read those words at the same speed as the abbreviations.
Words about direction deserve equal attention. Turn changes the direction of working for the next row. Do not turn tells you to continue with the same face toward you. Join usually adds a specific connection at a stated location, but the joining method should be read in full. Do not insert a slip stitch merely because the end of a round looks like a natural place to join; some rounds continue in a spiral and have no join at all.
Learn a useful core before memorizing a large glossary
The basic US stitch abbreviations are ch for chain, sl st for slip stitch, sc for single crochet, hdc for half double crochet, dc for double crochet, and tr for treble crochet. You will also see st or sts for stitch or stitches, yo for yarn over, and rep for repeat. Knowing this small group lets you decode many beginner patterns. You can look up less common terms when you actually encounter them instead of trying to memorize every possible variation before starting.
Do not assume an abbreviation describes a separate physical object. A yarn over is an action in the process of making a stitch; it is not usually counted as a completed crochet stitch by itself. Similarly, a turning chain can have an edge role without being counted as a stitch, or it can stand in for a counted stitch. The notes establish that choice. Keep a distinction between the movements you perform and the units you count at the end of the row.
Read numbers attached to stitches carefully
“2 sc in next st” tells you to make two single crochet stitches in one location. “Sc in next 2 sts” tells you to make one single crochet in each of two locations. Both instructions produce two new stitches, but the first consumes one old stitch and increases the row, while the second consumes two old stitches and keeps the count steady. This is an excellent example of why word order matters even when the visible numbers look identical.
Use a tiny diagram when the wording is difficult. Draw one dot for each available stitch in the previous row and one mark for each new stitch. Put both new marks over one old dot for an increase. Spread the marks over two old dots for ordinary stitches. You do not need an artistic chart; you need to see whether the instruction consumes the correct number of locations. This technique also exposes a missing skipped stitch or an extra action at the end of a repeat.
Keep punctuation with its instruction group
Parentheses and square brackets commonly group actions. An asterisk often marks the beginning of a repeated section. Their exact use is defined by the pattern, so read the sentence after the closing bracket as well as the section inside it. “Repeat from * three more times” means that you have already worked the section once and will work it three additional times. “Work the bracketed section four times” usually means four total executions. Those can describe the same total, but only when you interpret the wording precisely.
For a repeated line, place a removable marker or a written tick after each completed group. Do not rely on the visual length of a row to tell you how many repeats you have worked. If a pattern has repeats within repeats, use two different tally columns. One tracks the small stitch group; the other tracks the larger block of rows or rounds. The punctuation is giving you a structure for managing the work, not merely shortening the designer's typing.
Translate a sample row into a count equation
Consider this practice instruction: “Ch 1, turn, sc in each of next 2 sts, 2 sc in next st; repeat the stitch sequence across.” Suppose the three-stitch sequence is worked six times and the turning chain is uncounted. Each repeat consumes three old stitches and produces four new stitches. Six repeats therefore consume eighteen stitches and produce twenty-four. This arithmetic tells you the instruction is an increase row. It also tells you that a twenty-stitch previous row would need separate edge instructions.
Write the consumed and produced counts on separate lines. Many crochet errors arise because a crocheter counts only the new stitches and overlooks the locations they require. Chain spaces, skipped stitches, and groups worked in one location can make those two totals different. A count equation does not replace actually checking the fabric. It gives you a way to decide whether your interpretation is plausible before spending an hour following an incorrect version of the row.
Understand decreases and unfinished stitch groups
A term such as sc2tog generally means single crochet two together, but consult the pattern's instructions for the intended method. A decrease combines work from more than one old stitch into fewer new stitch tops. A cluster may look similar while being worked entirely into one location. The finished shape can therefore be different even when the number of loops on the hook looks familiar during the movement. The placement words tell you which structure you are building.
When learning a special decrease or cluster, write its stages as a checklist: begin the first partial stitch, begin the next partial stitch where directed, then complete the group. Count the remaining loops on the hook at each stage. If you finish the first stitch automatically, the final group will not match the instruction. Working a special stitch on a small sample is faster than trying to identify a partly completed error in a crowded garment row.
Distinguish stitch count notes from working instructions
A number at the end of a row is often a check rather than an action. A line ending with “(24 sts)” normally tells you the expected result. It does not ask you to make twenty-four additional stitches. Similarly, a parenthetical note may identify the size being worked or remind you which face of the fabric is showing. Read the layout of the entire pattern so that a familiar punctuation mark does not automatically trigger the wrong interpretation.
For a multi-size pattern, highlight one size consistently before beginning. A sequence such as “work 10 (12, 14, 16) rows” presents a choice, not a repeat. Copy the correct value into your project notes and cross-check it against the size heading. If you change sizes or make a customized version, write the change explicitly. Otherwise an old highlight can keep directing you toward a value that no longer belongs to the project on your hook.
Use markers to connect shorthand to real stitches
Written instructions become easier to trust when you can point to their locations in the fabric. Mark the first and last stitch of a row, the first stitch of a round, or the edge of a repeated group. Move each marker deliberately as its role changes. If the pattern says to work to the marker, establish whether the marked stitch itself is included by reading the next clause. A marker tells you where a location is; it does not define the designer's sentence for you.
For a long row, check the count at useful landmarks rather than only at the far edge. If a repeated group consumes eight stitches, mark a few groups before starting the row. When the new stitches do not line up with those boundaries, stop immediately. The nearest marker narrows the area where you need to look. This is especially helpful when the row mixes solid stitches with chain spaces and the individual stitches are not equally obvious.
Make a personal translation sheet without rewriting the pattern
Keep the original instructions visible and create a separate note for terms that are new to you. Include the abbreviation, the expanded wording, and one reminder about its placement or counting. For example, your note for a chain-space instruction might say that the hook goes around the chain arch rather than through an individual chain. Do not copy only the expanded stitch name and discard the location, because that is where many important differences live.
When a row is particularly complex, rewrite just that row in your own working language. Number the actions and add a box for every repeat. After completing the row, compare the fabric, your rewritten note, and the original sentence. If the rewrite accidentally adds a stitch or loses a skip, correct the note before using it again. A personal translation sheet is a learning tool; the designer's full pattern remains the reference for structure and intended results.
Practice with a line you can check
Use a small swatch of twelve single crochet stitches. For one practice row, chain one, turn, and work one single crochet in each stitch, leaving the turning chain uncounted. Confirm that twelve stitch tops remain. On the next row, work the sequence of one single crochet in the next stitch and two single crochet in the following stitch six times. You should consume twelve old stitches and produce eighteen new stitches. Mark the beginning of each pair if you lose track.
Return to an ordinary row of eighteen stitches and compare the width with the original twelve-stitch section. The fabric makes the shorthand's effect visible. This exercise is intentionally small: its purpose is to connect a sentence, a count equation, and a recognizable change in shape. Once those agree, you can approach a larger pattern with a repeatable method. Read the definitions, identify actions and locations, preserve the punctuation, and check the result at the end of the row.
Keep learning with your next practice session
Check US and UK stitch names. Understand repeat multiples. Check stitch and row counts. When you are ready to use these skills in a project, browse the independent crochet and knitting PDF patterns and read the materials, sizing, and skill notes before choosing.
Reference: The Craft Yarn Council standards provide a useful reference for checking the terminology and conventions used in a pattern. The instructions and practice examples in this guide use US crochet terminology unless stated otherwise.
Related guides
Đọc tiếp
Beginner
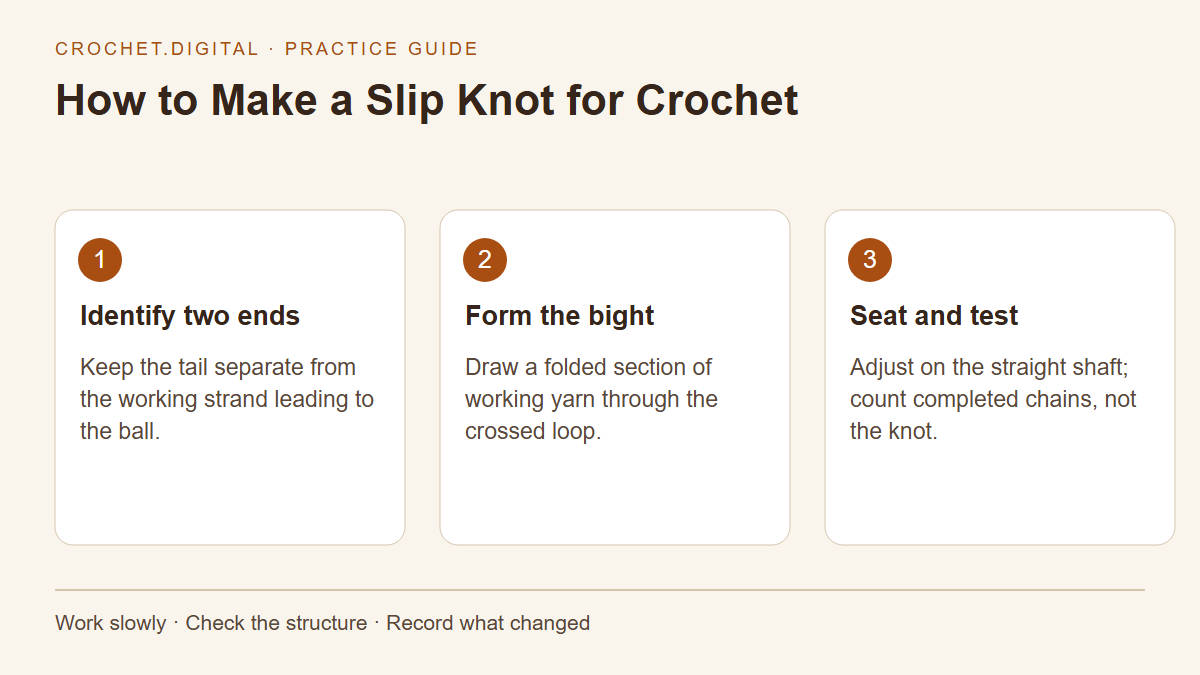
How to Make a Slip Knot for Crochet
Make an adjustable starting loop, identify the working yarn and tail, and move from the knot into your first counted chains.
· 12 phút đọc
Beginner
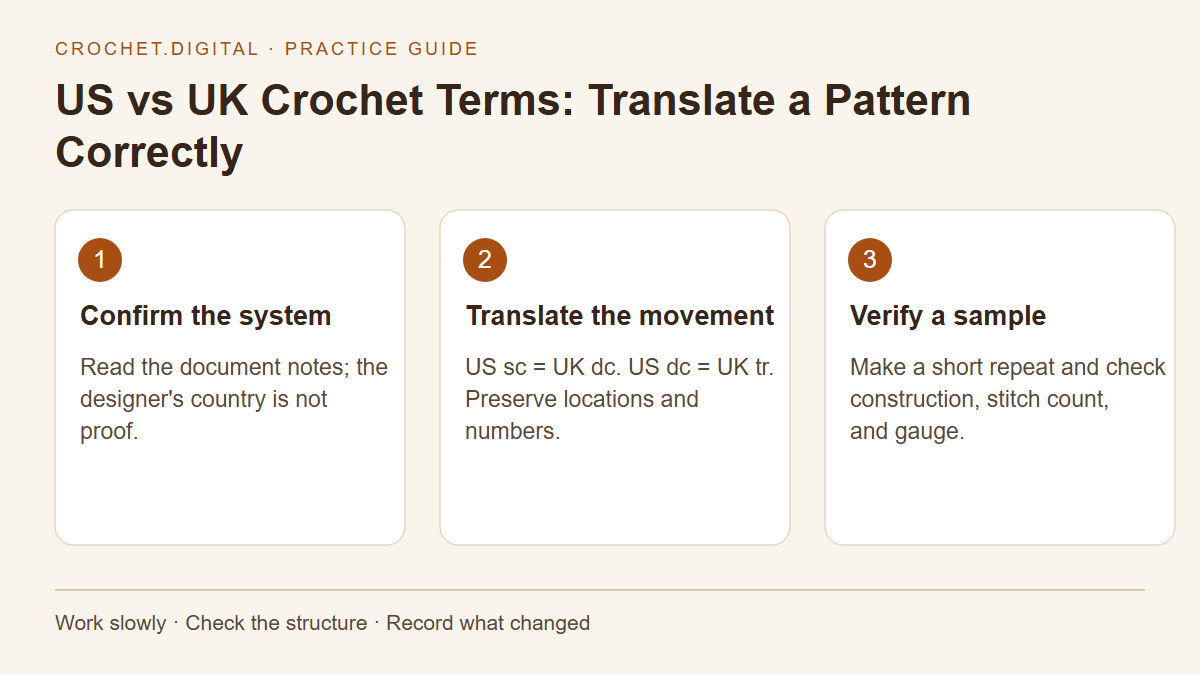
US vs UK Crochet Terms: Translate a Pattern Correctly
Match US and UK stitch names to the same physical movements while preserving every count, location, and turning-chain instruction.
· 12 phút đọc
Beginner
Crochet Tools for Beginners: A Practical Starter Kit
Build a small crochet kit around a readable yarn, a comfortable hook, and simple tools that help you see and count your work.
· 12 phút đọc