Tips
Why Crochet Edges Are Uneven and How to Fix Them
Check stitch counts, turning-chain rules, edge height, and tension before choosing a repair for uneven crochet edges.
Crochet.Digital · · 11 phút đọc
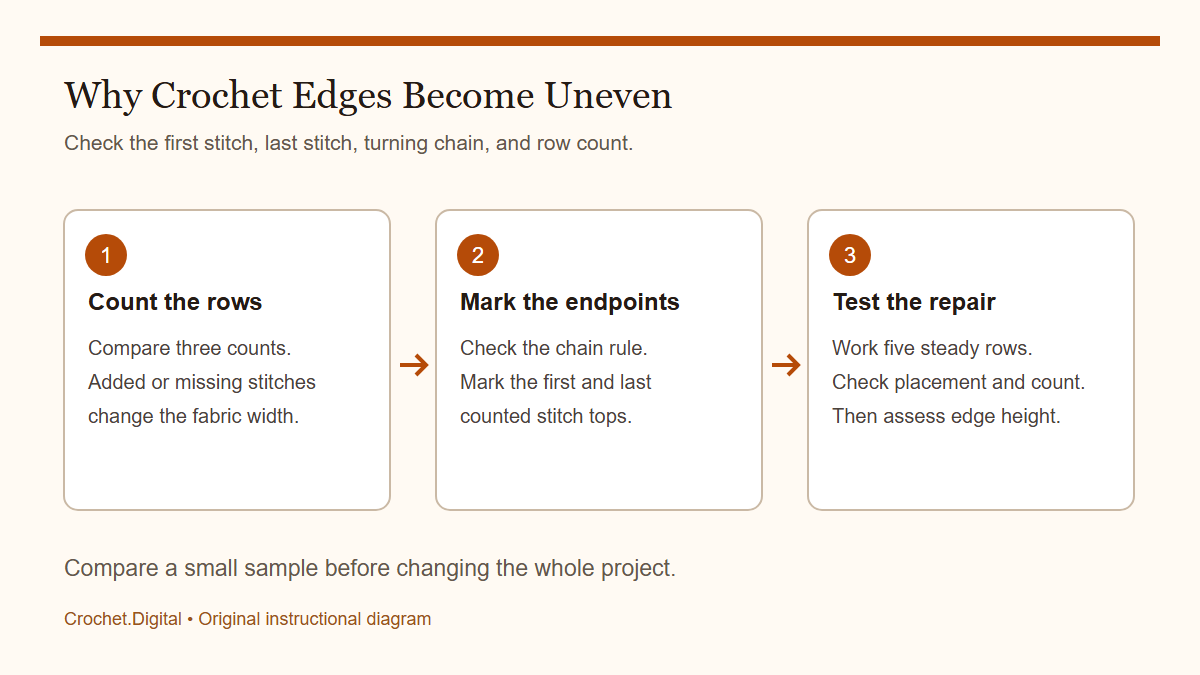
Uneven crochet edges can look similar while having quite different causes. A missed stitch removes fabric, an accidental increase adds fabric, and a loose turning loop changes the outline without necessarily changing the count. Before adding a border or unraveling half a project, identify which of those situations you have. Lay the piece flat without pulling it into shape, count several complete rows, and compare the two edges with the pattern's instructions. This guide uses US crochet terms and assumes a piece intended to have straight sides.
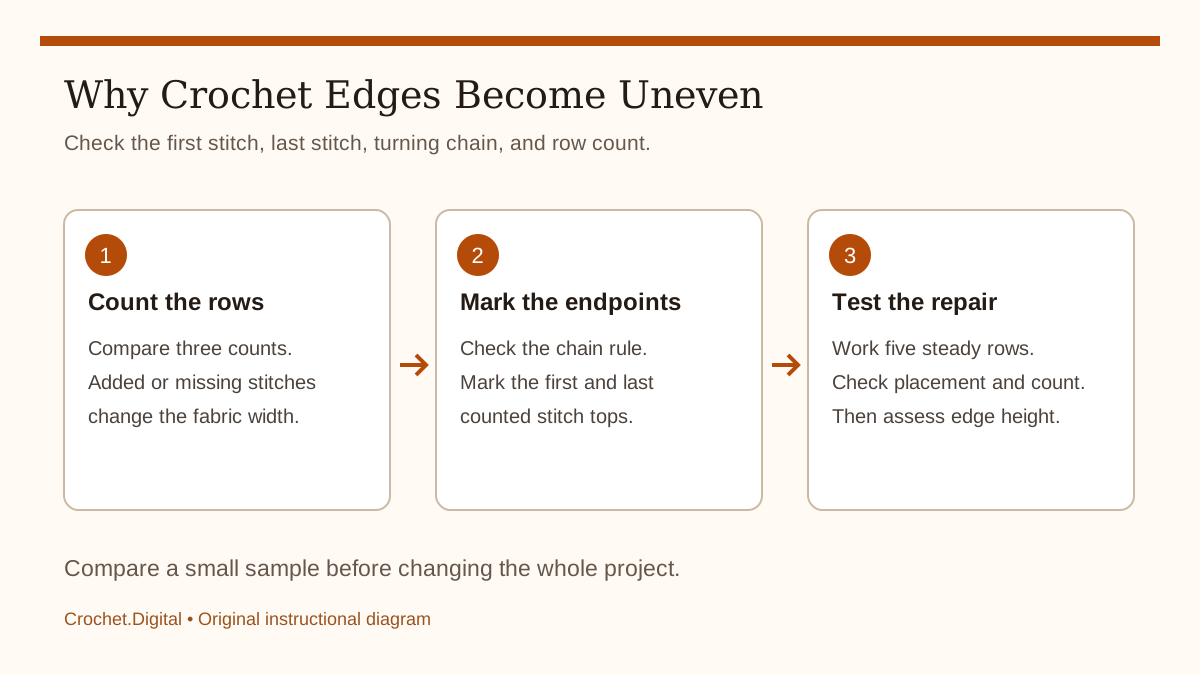 Check stitch counts, turning-chain rules, edge height, and tension before choosing a repair for uneven crochet edges.
Describe the outline precisely
A staircase that moves inward after each row usually deserves a stitch-count investigation. A gradual flare can indicate repeated increases. Small alternating gaps beside otherwise straight rows may instead reflect the height and structure of a turning chain. If the entire piece narrows smoothly while the number of stitches stays constant, your gauge may be changing. These descriptions are more useful than saying the edge is simply bad, because each points toward a different test.
Check the intended shape before diagnosing a fault. Garment armholes, shaped shawls, and some decorative stitch patterns are meant to slope. Compare the current row number with the schematic and shaping instructions. Photograph the fabric on a plain surface with a ruler beside it. An image taken straight above the work makes it easier to distinguish a genuine change in width from an edge that only looks distorted because it is hanging over your knee.
Count three complete rows
Begin with the most recent finished row rather than the row currently on the hook. Count the tops of the stitches across the fabric. A normal stitch top usually looks like a small V, but clusters and chain spaces may be counted differently in a particular design. Use the count specified by the pattern. Place removable markers every ten or twenty stitches on a wide piece, then count the groups again from the opposite end.
Repeat the count on two earlier rows. Imagine a rectangle intended to contain forty double crochet stitches per row. If its recent counts are forty, thirty-nine, and thirty-eight, you have evidence that stitches are disappearing. If the counts remain forty throughout, look next at height, tension, and the exact endpoint placements. A measurement alone cannot reveal whether the same number of stitches has merely become tighter or whether an actual stitch has been omitted.
Find out whether the turning chain counts
Read the pattern notes rather than importing a rule from another project. In many single crochet patterns the turning chain does not count as a stitch. Some taller-stitch patterns count a turning chain as the first stitch, while others use a separate starting method. The important point is to apply one stated convention consistently at both ends of every row. A chain that counts at the beginning must also receive the appropriate final stitch on the return row.
A frequent combination error is counting a turning chain as the first double crochet and also putting a double crochet into the first stitch beneath it. That can add an extra stitch. The reverse problem occurs when you omit the top of a counted turning chain at the far edge. Both errors can be hidden by the openness of a tall stitch pattern. Marking the endpoint makes the intended placement much easier to see. See turning-chain gaps for a closer comparison.
Mark the first and last counted stitches
Put a removable marker into the top of the first counted stitch as soon as you make it. Before turning, identify the final counted stitch of the completed row and mark that top as well. These markers are temporary navigation aids, not permanent decorations. Move each one as the next row is worked so the current endpoints remain clear. A marker left five rows below the hook cannot tell you where the next stitch belongs.
If a turning chain counts as a stitch, place the marker through its top chain. Do not hang it around a random loose strand beside the chain, because that may identify a side space rather than the stitch top you need to enter. At the end of the next row, check the marker against the expected count before inserting the hook. This small pause is particularly useful in dark yarn or textured fabric where the last stitch leans toward the side.
Locate the first row that changed
When the count is wrong, count backward until you find a complete row with the intended number. Inspect the boundary between that row and the next one. A missed endpoint can leave a small shelf, while an increase often produces two posts sharing one base. Look at both the front and back of the fabric. Sometimes an edge loop is easier to identify from the reverse side even though the actual stitch must be worked from the normal working side.
Write down the cause before unraveling. A note such as “missed marked final double crochet on row twelve” is more helpful than “redo twelve rows.” It tells you what habit needs to change when you remake the section. If the stitch pattern is complicated, use a contrasting lifeline to identify a known correct row, following a complete set of stitch tops rather than random side loops. For a systematic approach, use the steps in crochet mistake recovery.
Separate an edge-height problem from a missing stitch
A tall, flexible turning chain can create a visible opening beside shorter or firmer ordinary stitches. The row count may still be correct. Make a small sample with the same yarn and hook, using the original turning method for several rows. Then make a separate sample using an alternative that the pattern permits. Compare the two samples after the same finishing treatment. An edge that looks neater before washing may behave differently afterward.
Do not change a counted turning chain to an uncounted start halfway through a garment without understanding the new counting rule. The edge structure may also provide loops for a seam or button band. A beautiful isolated starting stitch can be inconvenient if it leaves no consistent place for later finishing. Choose the method for the whole construction, document it, and keep the first and last stitch accounting consistent throughout the piece.
Watch the last three stitches of each row
Tension often changes near a turn. You might grip the yarn more tightly as the fabric becomes awkward to hold, or release it so completely while turning that the first loop becomes oversized. Observe the final three stitches and the first three of the next row. If their size differs from the center stitches while the count remains stable, changing the placement alone will not solve the outline problem.
Support the fabric's weight rather than letting a large blanket pull on the active loop. Turn the work deliberately, and bring the loop onto the regular shaft of the hook before forming the next stitch. Keep the yarn supply free of snags. A ball caught beneath the project creates intermittent resistance that can make edge stitches smaller. Change one handling habit at a time so you can tell which adjustment actually affects the result.
Measure the fabric in its resting state
Lay the work on a surface large enough to support it fully. Smooth it gently with your palms, then leave it to settle. Measure the width above the foundation, in the middle, and near the working edge. Record the row numbers for those measurements. A change of one inch across five rows suggests a different scale of problem from a change of one inch across fifty rows, even if the two outlines look similar at first glance.
Also measure stitch gauge in the center of an early section and a recent section. If the stitch count is unchanged but recent stitches occupy more space, the fabric is becoming looser. A different hook, yarn batch, or working rhythm may be responsible. The comparison process in measuring before and after blocking helps you distinguish construction differences from changes introduced during washing and drying.
Use a border for finishing rather than replacement fabric
A border can tidy the appearance of a structurally sound edge. It may also provide an even line for joining motifs or create a deliberate frame around a blanket. It cannot replace a missing column of stitches through the body of a panel. If one sweater piece is significantly narrower than its matching piece, putting the same border on both preserves the mismatch and may create another problem at the seam.
Test any border along a representative section before working the entire perimeter. The number of stitches needed along row ends depends on the row height, stitch width, and edging stitch. One border stitch per row end is not a universal rule. Too many stitches can ruffle, while too few pull the edge inward. Spread any necessary adjustments evenly and lay the trial section flat repeatedly instead of judging it while it is folded in your hand.
Work a controlled five-row trial
After identifying a likely cause, remake only a short section using the corrected rule. Keep the same hook and yarn. Count every row and move the endpoint markers carefully. If you were missing the last stitch, the new trial should maintain the intended count without needing to be stretched straight. If the count now holds but the outline still changes, investigate tension instead of adding another placement adjustment at the same time.
A controlled trial is useful because several mistakes can partially cancel one another. An extra first stitch and a missed last stitch may preserve the total count while shifting the whole fabric sideways. Check both the count and the base of each edge stitch. A correct total does not automatically prove that the stitches have been placed in the right locations. Comparing the trial with a small clearly marked sample can reveal that sideways migration.
Decide how much to repair
Unravel when the error changes fit, motif alignment, seaming length, or your ability to follow later instructions. A garment panel that loses several stitches may no longer match the other panel. A blanket with one isolated irregular loop may remain perfectly usable if its dimensions and repeat are intact. Make that choice with the stitch counts and measurements available, rather than deciding solely from how frustrating the repair feels.
If you choose to keep an irregularity, record its position and any planned finishing adjustment. Mark the affected row in your notes. This prevents confusion when you return after a break or compare two matching pieces. It also stops you from treating a deliberate repair as a new mistake later. A project notebook is especially helpful when several panels are being worked at different times or with different yarn colors.
Build a quick endpoint checklist
At every row end, confirm the count, locate the marked endpoint, and compare the edge stitch height with its neighbor. At the end of a working session, lay the fabric flat and look for a new step or flare. If you stop in the middle of a row, note the row number and the number of stitches remaining. These brief checks make it much easier to resume accurately without reconstructing an entire stitch pattern from memory.
The Craft Yarn Council abbreviation list is useful for interpreting standard US terms, while a designer's notes remain the authority for that pattern's special counting conventions. When choosing your next crochet pattern, look for explicit row counts and turning instructions. Reliable edges come from knowing which loops count, where the row starts, and where its final stitch belongs.
Example: a panel shifts without becoming narrower
Suppose you chain for a thirty-stitch double crochet panel and consistently count thirty stitches in every completed row. Nevertheless, the left side slopes inward and the right side slopes outward. Inspect the bases rather than adding or removing stitches. You may be placing an extra stitch beside the starting chain, then skipping the far endpoint to keep the total at thirty. The stitch count is stable, but the first placement is moving the fabric sideways.
Mark the thirty intended bases in the last correct row. Start the return row according to the pattern's turning-chain rule and work only into those bases. If the chain counts, it occupies one of the thirty positions; if it does not, it occupies none. At the other end, finish in the marked final position rather than stopping when the outline looks familiar. Work a second marked row and compare the vertical alignment. This example explains why an even count is a starting point for diagnosis, not the only check. Placement and count must describe the same set of intended stitches.
Related guides
Đọc tiếp
Tips
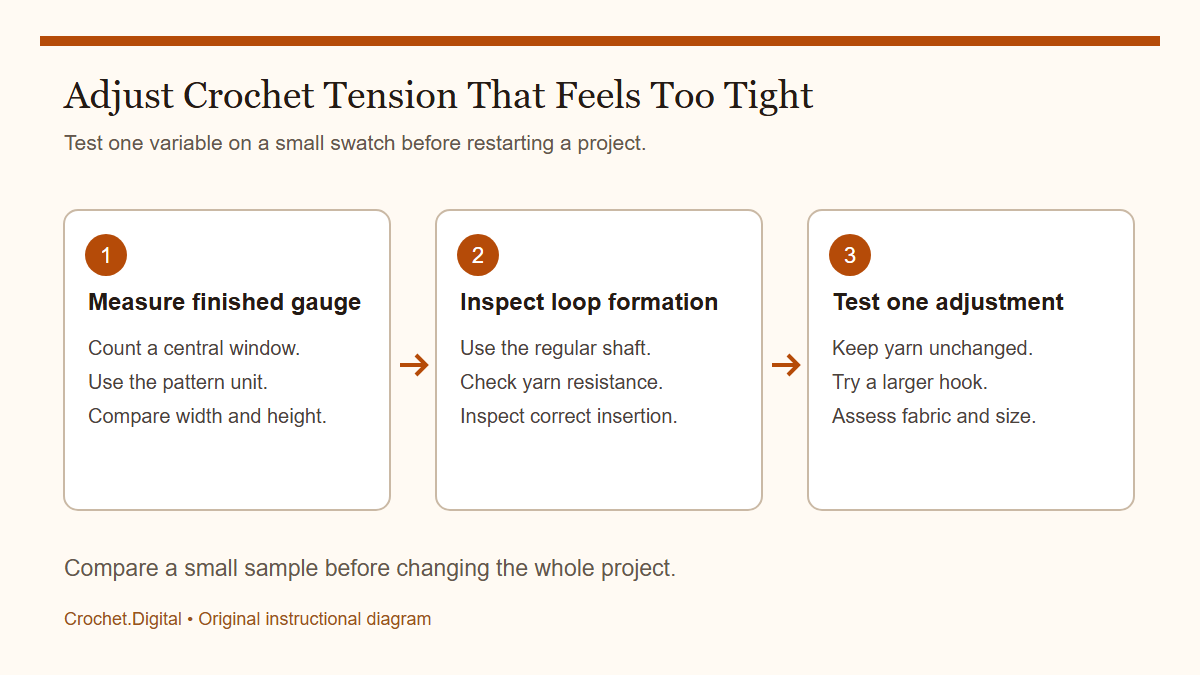
Crochet Tension Too Tight: A Practical Gauge Check
Diagnose too-tight crochet with finished gauge, loop formation, yarn resistance, and controlled hook-size comparisons.
· 11 phút đọc
Tips
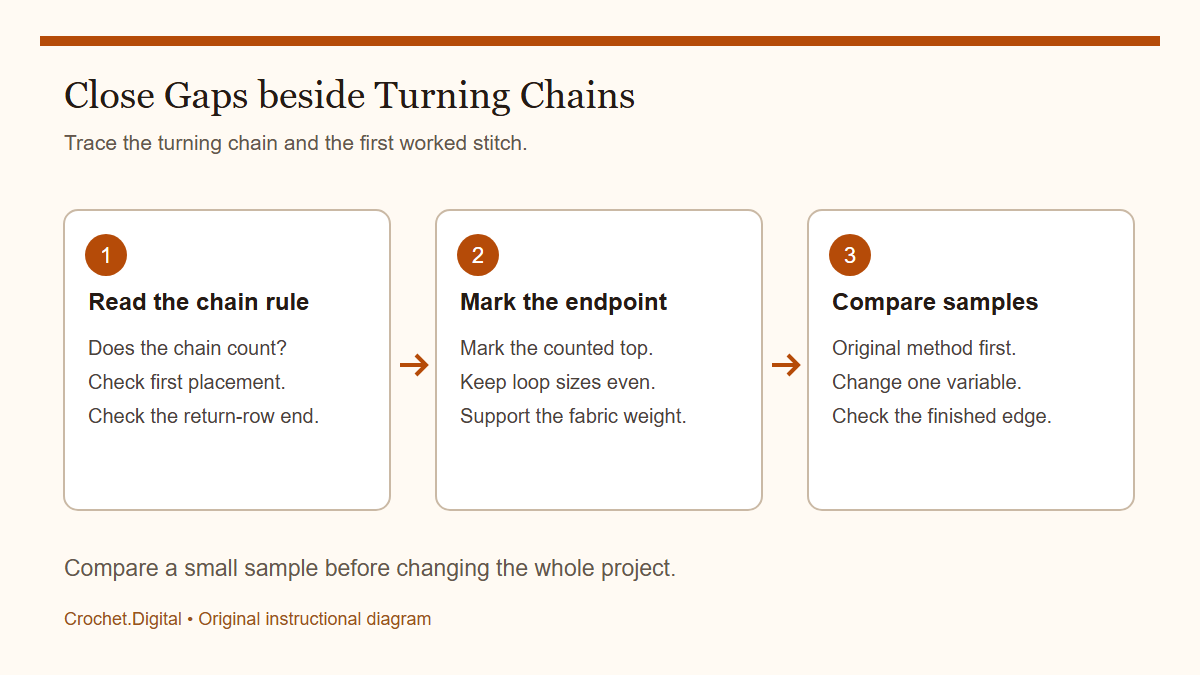
Crochet Turning-Chain Gaps: What to Check First
Check counts, chain height, and endpoint placement before changing the starting method at the edge of a crochet row.
· 11 phút đọc
Tips
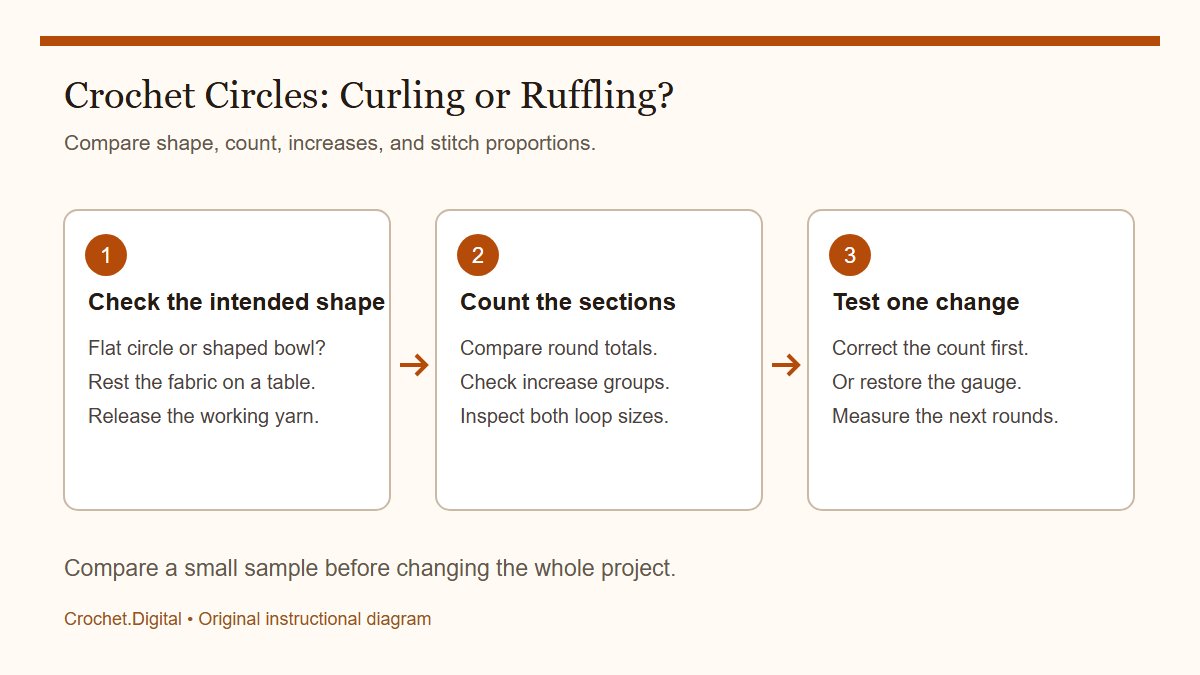
Crochet Circle Curling or Ruffling: Diagnose the Shape
Compare stitch counts, increase placement, and resting measurements to diagnose a curling or ruffled crochet circle.
· 11 phút đọc