Tutorials
How to Read Crochet Charts, Symbols, and Repeats
Follow a crochet chart by finding its key, working direction, insertion points, and repeat boundaries before checking the fabric.
Crochet.Digital · · 12 min read
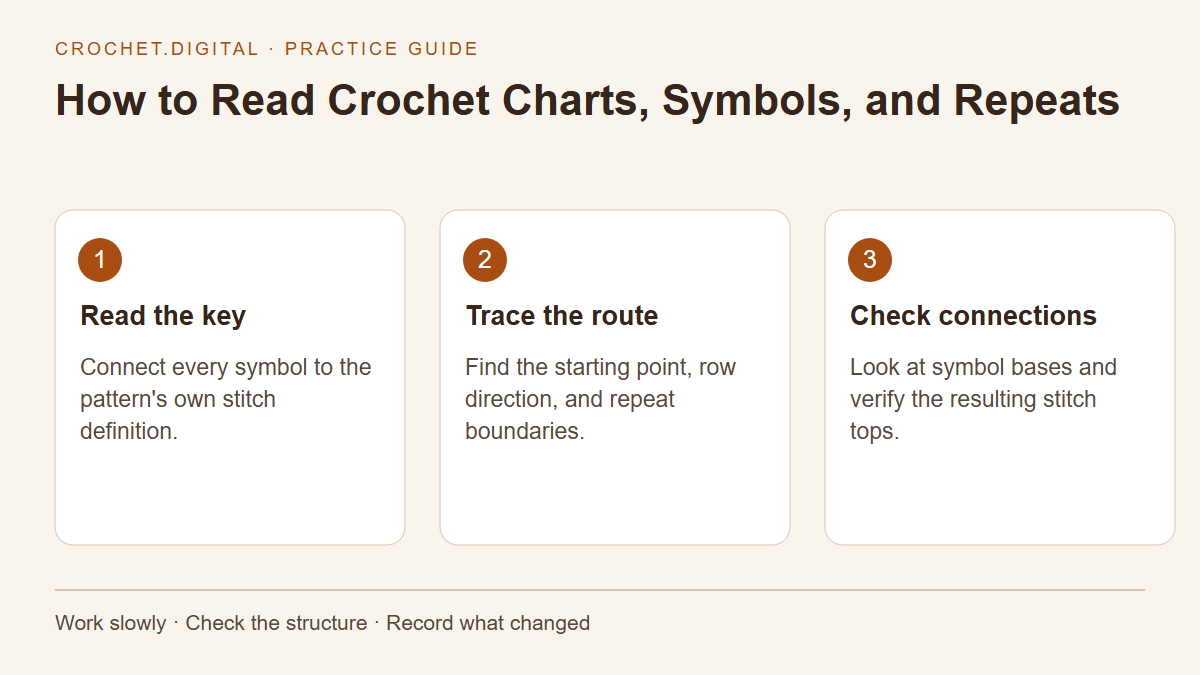
A crochet chart shows where stitches sit in relation to one another. Instead of asking you to remember a long sentence, it lets you trace a route through a drawing of the fabric. To use it reliably, identify the chart key, the starting point, the direction of each row or round, and the repeat boundaries before making any stitches. Then read one symbol at a time while checking where its base is anchored. The shape of the drawing is useful, but the key and the pattern notes remain the authority.
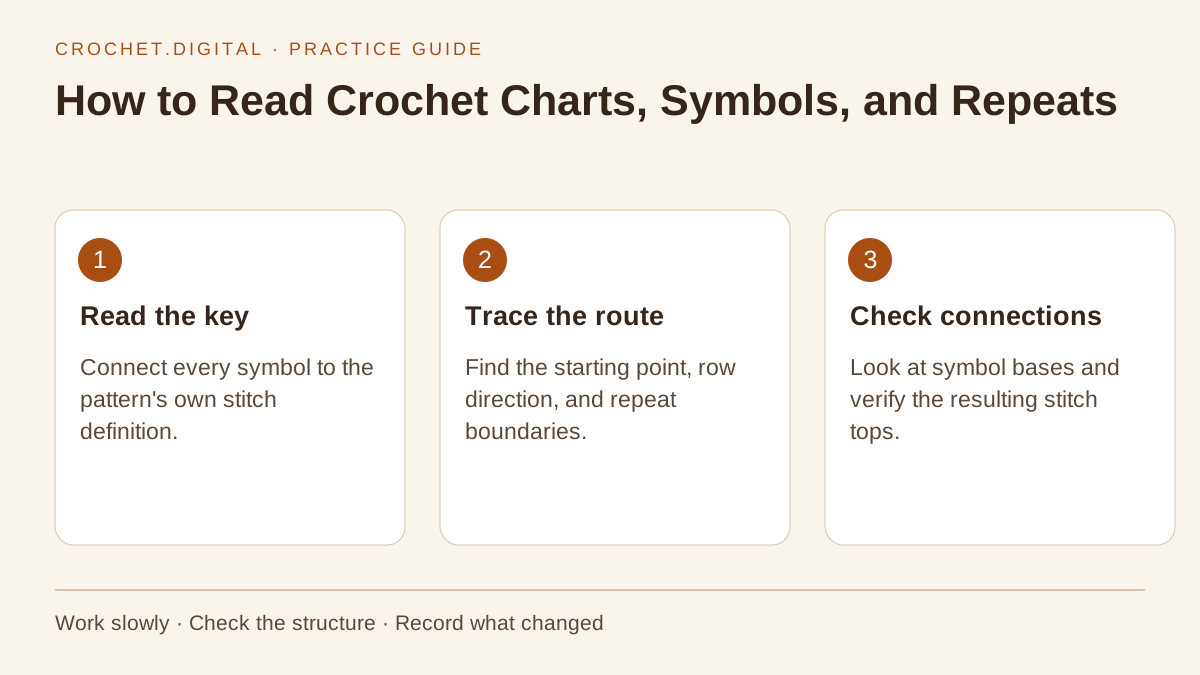 How to Read Crochet Charts, Symbols, and Repeats: a practical sequence to use beside your project.
Start with the key and terminology statement
A chart key connects each symbol to a stitch or other instruction. Read it even when the drawing looks familiar. A publication can use a special symbol for a cluster, a joining point, or a stitch that is defined elsewhere in the pattern. A dot might mark a slip stitch in one key and have another purpose in a different diagram. Do not copy a remembered interpretation into a chart whose own key gives a different meaning.
This guide uses US stitch names. If the chart key uses UK terminology, translate the names before starting. The physical symbol and stitch may be the same even when the label differs: a US double crochet is a UK treble. Write a small working key beside the chart for the symbols that actually occur in your project. A short, accurate key is easier to consult than a large reference sheet containing many stitches you do not need.
Find the beginning before following the symbols
Look for a starting arrow, a row number, a round number, or a clearly marked foundation. A flat chart may begin with a chain drawn along its lower edge. A motif may begin around a center ring. Some diagrams show only a stitch repeat and assume that the foundation and edge instructions are written separately. Read the caption carefully so that you know whether the chart is a complete construction drawing or only one part of the pattern.
If a chart begins after a foundation row described in words, work that foundation first and confirm its stitch count. Do not treat the first visible charted row as a foundation simply because it is drawn at the bottom of the image. Write the starting row number in your notes and mark the completed foundation. When returning to the project later, that small record prevents you from working a setup row twice or starting the chart one row early.
Establish the working direction for a flat chart
Many flat crochet charts show turned rows, with the reading direction alternating as the work turns. For a right-handed crocheter, a common convention is to read the first working row from right to left and the next from left to right. However, not every diagram begins at the same edge, and some charts show the right side of the work consistently while indicating the working path separately. Follow the row numbers and arrows rather than assuming a direction from habit.
Place a sticky note or a ruler just above the row you are working. Draw a small arrow in your personal notes that points in the current direction. At the end of the row, move the guide and reverse the arrow only if the pattern tells you to turn. The guide should not cover the symbols that show where the next row attaches. You want enough of the previous row visible to locate the stitches and spaces you are working into.
Read a round chart as a route around the center
A round motif chart generally grows outward from a center, but the exact starting and joining points still matter. Find the chain that begins the round, the symbol that represents the first counted stitch, and the joining location. If rounds are differentiated by color, use those colors as navigation aids rather than as yarn-color instructions unless the pattern explicitly says they represent yarn changes. A chart can use alternating ink colors simply to keep neighboring rounds readable.
Trace one complete round with a finger before crocheting it. Identify each corner, each repeated side section, and the final join. If the drawing is large or crowded, write the sequence for one side and one corner in ordinary words. Then verify that repeating those units produces the number of sides shown. This is particularly helpful for square and hexagonal motifs, where an extra corner group changes the entire outline even though the individual stitches are correctly made.
Look at the base of a symbol to find the insertion point
The top of a tall symbol tells you which stitch family it represents, but its base tells you where it belongs. Several tall symbols drawn from one base often indicate a group worked into a single stitch or space. Symbols that stand over separate bases usually belong in separate locations. A symbol spanning two previous stitches may describe a decrease or another combined construction. Confirm the meaning in the key before using the shape alone to decide.
Chain spaces are especially important. A symbol whose base sits within an arch of chains commonly directs you to work into that opening. A symbol attached to a specific chain can instead indicate working into that chain stitch. Those produce different anchor points. Compare the chart with the written instruction for the first occurrence of the feature. Once you recognize the pattern's visual convention, the later repeats become much easier to locate without repeatedly translating the whole row.
Distinguish groups that share a base from groups that share a top
A shell or fan often contains several completed stitches made into one location. A decrease or cluster may combine partial stitches into a shared finishing top. Those groups can look similar at a glance because both involve several tall marks, yet they change stitch counts differently. A shared base tells you about placement; a shared top tells you about completion. The chart key and special-stitch notes explain the exact sequence used to build the group.
For an unfamiliar group, pause and write two counts: how many old locations it consumes and how many new stitch tops it creates. A group of five completed double crochet stitches in one space produces five stitch tops. A defined cluster made from several partial double crochet stitches may produce one shared top. That difference determines where the next row can be worked. Counting only the visible tall strokes in the symbol can therefore produce a very misleading result.
Locate repeats and edge instructions separately
A chart may outline a repeat with a box, brackets, colored lines, or another boundary. The symbols inside the repeat are worked the stated number of times, while symbols outside it can form the beginning and ending edges. Do not repeat the entire drawing if the designer has deliberately shown separate edge stitches. A symmetrical-looking diagram can still use different starting and ending actions because the row begins with a turning chain rather than an ordinary stitch.
Count the input width of one repeat. If a repeat uses six available stitches and the chart shows two additional edge stitches, five repeats require thirty-two input stitches before any turning-chain allowance. The exact foundation formula depends on the chart and its setup instructions. Write the repeat width and the edge allowance on separate lines. When a long row does not fit, you can then check whether you miscounted the repeats or accidentally included an edge instruction inside every repeat.
Treat turning chains as a stated counting decision
A turning chain may be drawn as a short column of chain symbols at the edge. That drawing does not automatically tell you whether the chain counts as a stitch. Read the note that explains the edge convention. If the turning chain counts, the following row may work into its top. If it does not count, the first ordinary stitch usually occupies the first working location, and the chain is left outside the count for that exercise or pattern.
Mark the first and last counted stitch in a charted sample. Use the marker positions to connect the diagram's edges to the real fabric. At the end of each row, compare both the number of counted tops and the actual edge locations with the chart. A neat edge is not proof that the count is correct; an accidentally skipped final stitch can still look tidy for several rows while the fabric gradually narrows.
Build a small chart-reading swatch
Choose a chart repeat containing only stitches you can already make. Work enough repeats to show at least two internal boundaries and both edges. A single repeat can hide a placement error because there is no neighboring repeat to expose the mismatch. Keep the first sample to a manageable width so that you can count each row without losing your place. The goal is to learn how the drawing maps to the fabric, not to make a large project immediately.
For each row, trace the chart, work it, count the resulting stitches or defined groups, and photograph or note any feature that was difficult to identify. If you stop for the day, secure the working loop and mark the last completed row on a separate sheet. Do not rely on the position of a loose sticky note alone; it can move inside the project bag. A written row number gives you an independent restart point.
Read changes in shape before working them
A chart that widens often adds stitches or groups at particular locations. A chart that narrows removes or combines working locations. Before starting a shaping row, compare its number of input locations with the previous row and its number of new tops with the following row. This helps you distinguish a real shaping feature from extra space the diagram artist used to make crowded symbols readable. Diagram spacing is not always a scale drawing of the finished fabric.
For a curved or lacy piece, do not force the sample into the exact outline of the printed chart. Chains can be drawn as large arches for clarity, and tall symbols may be spread farther apart than the stitches will sit after finishing. Follow the stated stitch structure and gauge. Then measure or block the sample according to the yarn and pattern instructions. The chart explains connections; the finished fabric reveals their actual dimensions.
Handle left-handed reading with a consistent plan
A left-handed crocheter may need to reverse the working path relative to a chart written for right-handed crochet. First determine whether the chart is directional, whether it contains asymmetrical motifs, and whether the pattern provides a left-handed version. A simple all-over stitch repeat may adapt readily; lettering, shaped panels, and directional colorwork need more care. Reversing the physical direction can also reverse the appearance of an asymmetrical design.
Do not independently reverse the chart, the written directions, and the finished-piece orientation without tracking the effect of each change. That can lead to a double reversal. Make one small sample and label its right side, starting edge, and direction of working. Compare it with the intended construction before proceeding. If you need a mirrored piece, note that deliberately rather than discovering at assembly that two supposedly matching parts face different directions.
Use written directions and charts as cross-checks
When a pattern provides both formats, compare the first occurrence of each special feature. A written instruction can clarify a chart's crowded joining point, and a chart can show that a long sentence describes a simple repeated arrangement. If the two formats seem inconsistent, check terminology, row numbers, and whether the chart includes the setup row. Many apparent contradictions come from reading different stages of the construction rather than from an actual pattern error.
If a discrepancy remains, stop at the last row that agrees and contact the designer with a specific question. Mention the row, the symbol or phrase, and the stitch count you obtain from each interpretation. Keep your sample intact if possible so you can test the corrected instruction. Continuing several rows with a guess makes it harder to identify where the fabric first departed from the intended structure.
Make a repeatable reading routine
Before every charted row, identify the row number and direction. During the row, watch the bases of symbols so that stitches land in the correct locations. At repeat boundaries, compare the new fabric with the previous group. At the end, verify the count and the final edge or joining point. This short routine turns a dense diagram into a sequence of small decisions. It also gives you a reliable place to stop when one part does not make sense.
As you become more comfortable, you will recognize groups and textures at a glance. Keep the key nearby anyway, particularly when moving between designers. Fast chart reading is useful only when the symbols still mean what you think they mean. A chart-reading habit built around its key, route, placement, and count is more transferable than memorizing the appearance of one particular diagram.
Keep learning with your next practice session
Decode written crochet instructions. Translate US and UK stitch names. Calculate repeat widths. When you are ready to use these skills in a project, browse the independent crochet and knitting PDF patterns and read the materials, sizing, and skill notes before choosing.
Reference: The Craft Yarn Council standards provide a useful reference for checking the terminology and conventions used in a pattern. The instructions and practice examples in this guide use US crochet terminology unless stated otherwise.
Related guides
Keep reading
Tutorials
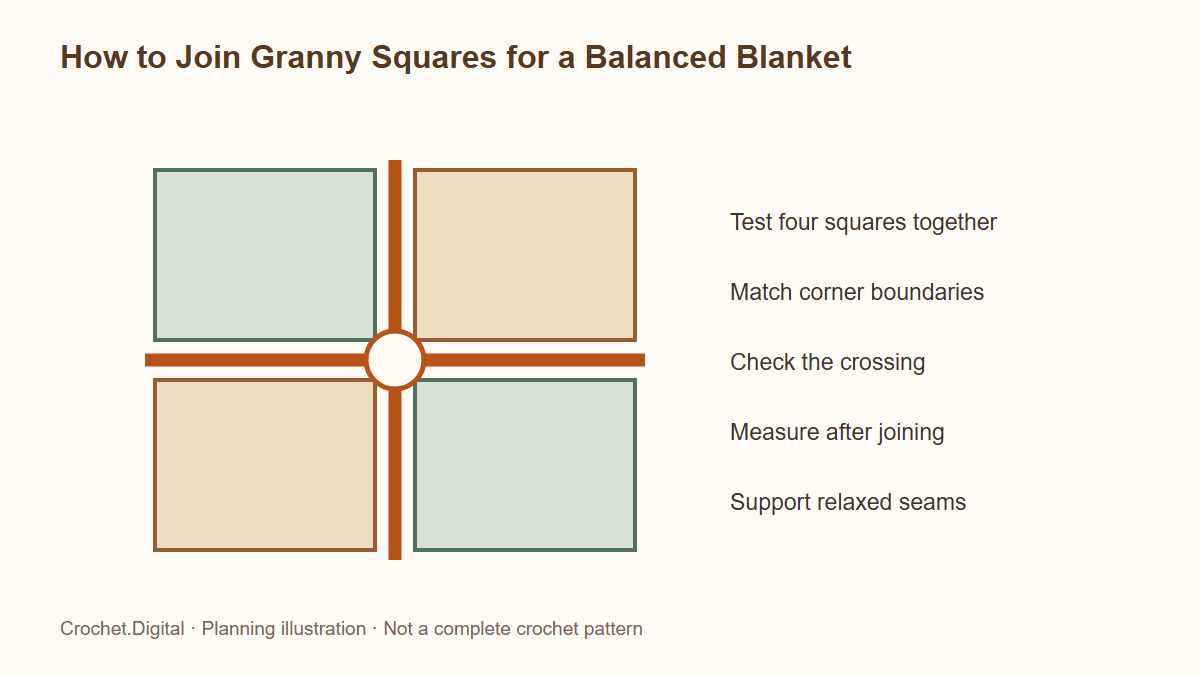
How to Join Granny Squares for a Balanced Blanket
Compare sewn and crocheted granny-square joins, align corners and stitch counts, test finished dimensions, and assemble a blanket without pulling its seams tight.
· 11 min read
Tutorials
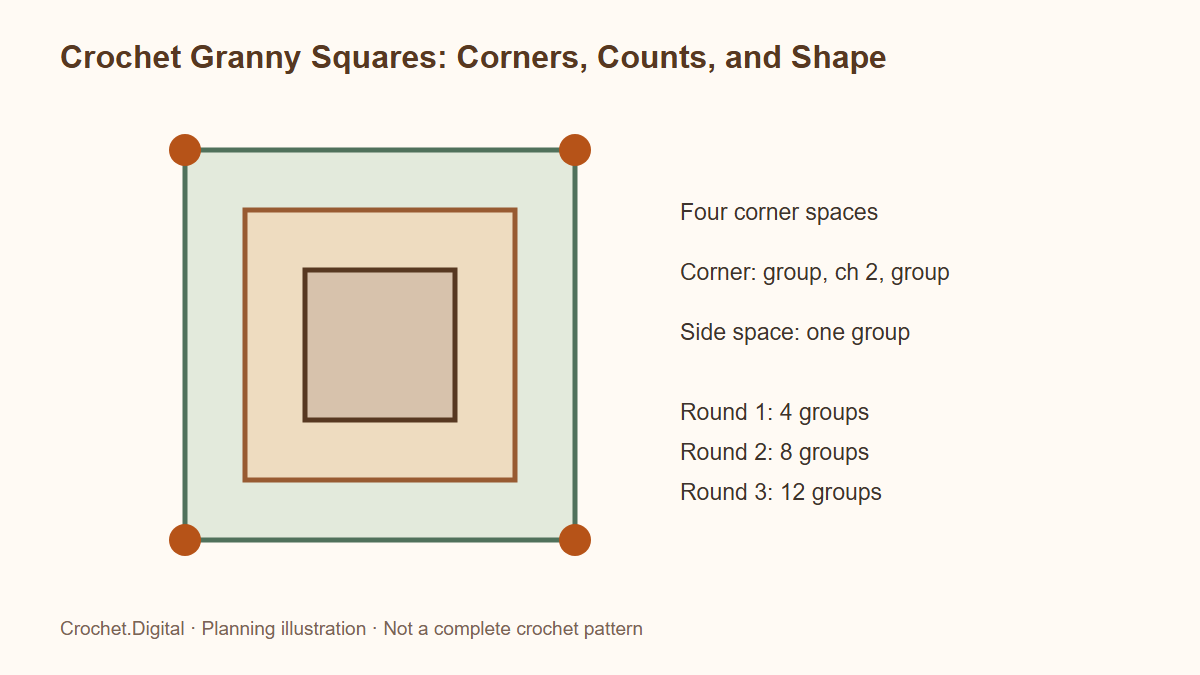
Crochet Granny Squares: Corners, Counts, and Shape
Understand a classic crochet granny square with clear corner placement, stitch-group counts, joining choices, color changes, and practical checks for flatness.
· 11 min read
Tutorials
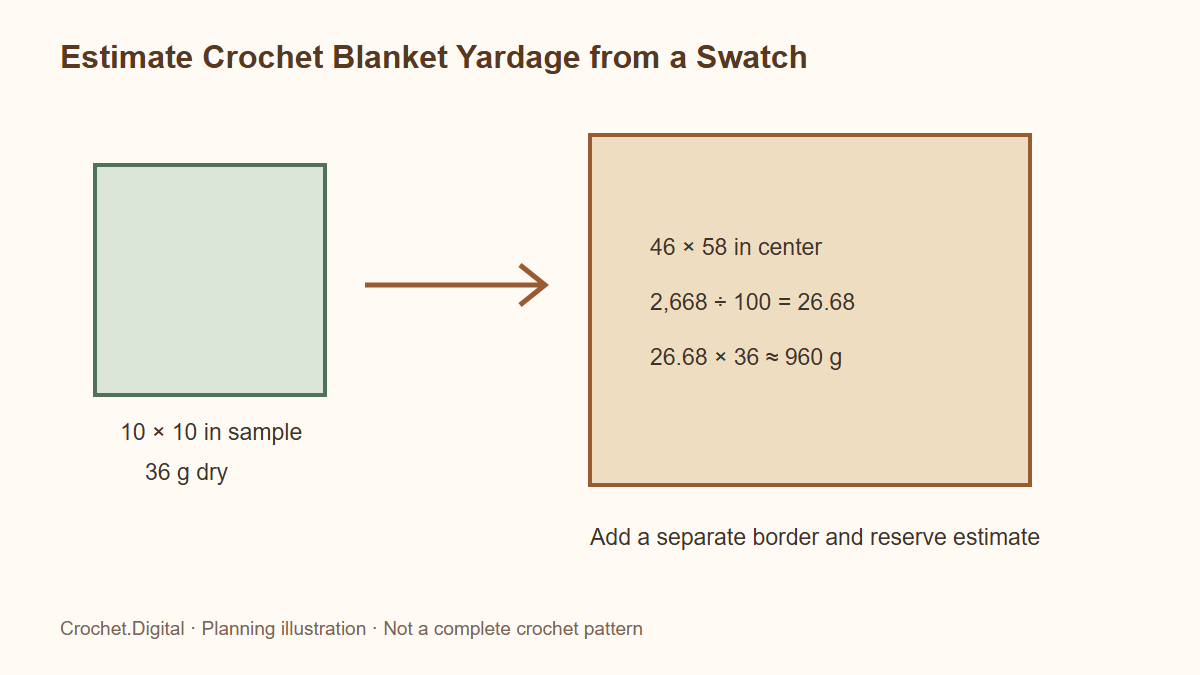
Estimate Crochet Blanket Yardage from a Swatch
Estimate crochet blanket yarn with a weighed swatch, area calculations, per-color planning, border samples, practical reserves, and whole-skein conversions.
· 11 min read