Tips
Why Your Crochet Blanket Is Getting Wider
Find accidental increases, repeat errors, and changing gauge when a crochet blanket widens, then choose a repair that preserves its stitch pattern.
Crochet.Digital · · 12 phút đọc
A crochet blanket that gradually widens is giving you useful information. The fabric either contains more stitches or repeats than intended, or the same number of stitches now occupies more space. Those are different problems, and a larger hook or tighter grip cannot reliably fix both. Stop before adding more rows, support the blanket on a flat surface, and compare counts with measurements. This guide uses US stitch names and focuses on blankets intended to remain rectangular rather than designs with deliberate increases.
 Find accidental increases, repeat errors, and changing gauge when a crochet blanket widens, then choose a repair that preserves its stitch pattern.
Measure three widths without pulling
Spread the blanket on a clean surface so its weight is fully supported. Smooth it lightly and measure above the foundation edge, across the middle, and near the latest complete row. Keep the tape perpendicular to the sides. Do not stretch the narrowest section until it matches the widest one. You want the fabric's resting dimensions, because those dimensions determine whether the blanket is genuinely expanding or simply appears wider when held differently.
Write the row number beside each width. A blanket that gains two inches over sixty rows may have a gradual gauge change; a blanket that gains two inches within four rows deserves an immediate count check. If the stitch pattern contains waves or shells, compare equivalent points in the repeat. Measuring from a peak on one row to a valley on another produces an inconsistent reference and can exaggerate the apparent difference.
Count stitches or repeats at the same stage
Read the pattern's counting instructions. Some blankets specify the total number of individual stitches, while others describe a fixed number of shells, granny groups, or mesh repeats. Count the unit the designer uses, then check any separate edge stitches. An open chain space may be part of a repeat without being counted as an ordinary stitch. Comparing unlike units is a common reason an otherwise correct blanket seems to have an impossible count.
Count the most recent complete row and a row below the point where widening first becomes visible. Divide long rows with removable markers so you can recount small groups rather than losing your place repeatedly. If the design has a sixteen-stitch repeat, marking every sixteen stitches is usually more useful than marking every ten. Record both the number of complete repeats and the number of stitches before and after them.
Distinguish more stitches from wider stitches
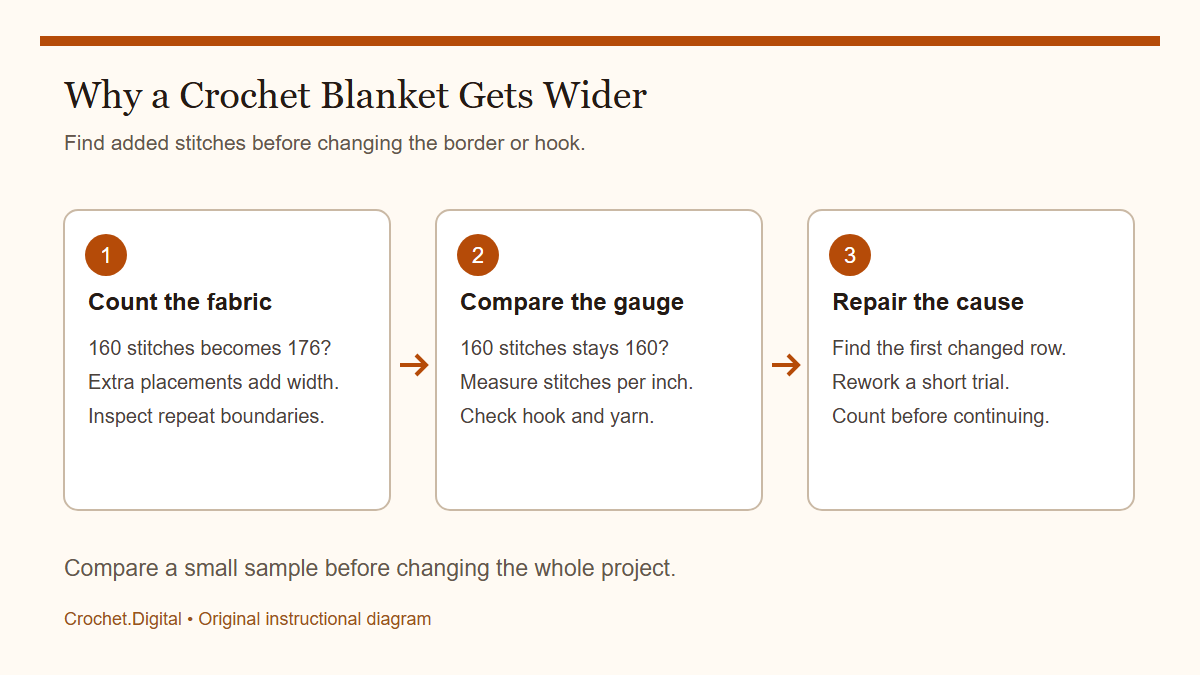
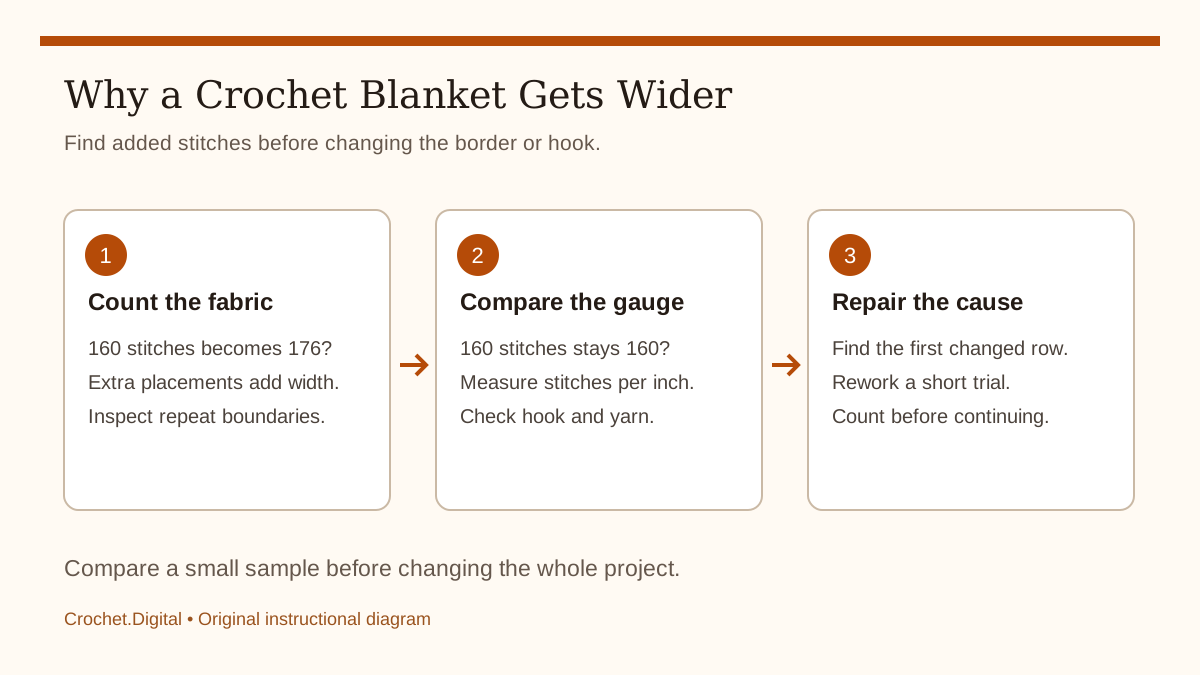
Suppose an early section has 160 stitches across forty inches. Its average is four stitches per inch. If a later section still has 160 stitches but measures forty-four inches, its stitches have become wider. If the later section has 176 stitches across forty-four inches, its average remains four stitches per inch and the width gain is explained by sixteen added stitches. In the second case, changing hook size would conceal the arithmetic instead of correcting it.
Use that distinction before choosing a repair. A count error generally requires finding and correcting extra placements. A gauge change requires a consistent yarn and hook setup, followed by a small sample that reproduces the earlier fabric. Neither measurement needs to be perfect to be useful. Even a rough comparison can show whether the dominant change is in stitch number or stitch size.
Check the start of each row
Look for two stitches sharing a base beside the turning chain. If the chain counts as the first stitch and you also work into the first stitch beneath it, you may be adding an extra stitch at the beginning. The extra placement can be surprisingly difficult to notice in fluffy yarn or an open shell pattern. Put a marker in the first counted stitch and compare its base with the pattern notes.
Be especially careful when switching between stitch patterns. A single crochet section may use an uncounted turning chain, while a later tall-stitch section may count its chain. Carrying the first section's placement rule into the second can add width immediately. Re-read the transition row as its own instruction rather than assuming that every row of the blanket begins in the same way.
Check the far edge and the turning chain
At the opposite end, a counted turning chain may need to receive the final stitch. An uncounted chain should not become an additional stitch simply because it looks like an inviting loop. Mark the intended endpoint before you turn the blanket. When you reach it on the next row, finish according to the pattern count rather than adding another stitch to make the edge look symmetrical.
A blanket can gain stitches on alternating rows if one edge is treated differently from the other. Note whether the widening occurs at every turn or only after working a particular side. Different-colored endpoint markers can help: use one color for the physical left edge and another for the physical right edge. The colors track the edges even when the work is turned over.
Inspect chain spaces and decorative gaps
Open stitch patterns often place groups into spaces rather than into individual stitch tops. It is easy to work into both a space and the neighboring stitch when only one is intended. In granny-style rows, an extra group at an edge can introduce an entire repeat. In mesh fabric, counting a chain space twice can shift the next row's placement and create a new column.
Trace one complete repeat with a blunt pointer or removable markers. Identify its starting placement, chain spaces, skipped stitches, and finishing placement. Then trace the repeat directly above it. If one row contains an extra group or extra space, you have a local structural explanation for the width change. Do this before attempting to solve the problem by changing the number of chains at the next turn.
Read repeat notation carefully
Instructions such as “repeat from the asterisk across, ending with” separate the repeating center from the final edge section. The stitches after the repeat may not be another complete repeat. If you accidentally work both a final full repeat and the separate ending, the row can gain stitches even though every individual stitch looks correctly formed. Parentheses may also identify a group worked into one space, rather than a group spread over several stitches.
Rewrite one difficult row in plain language on a separate note. For example: work three edge stitches, complete the six-stitch repeat twenty times, then work three finishing stitches. That description predicts 126 stitch positions only if the repeat truly contains six counted stitches and the edges are additional. Compare the rewritten arithmetic with the pattern's stated total before using it as a working checklist.
Examine the foundation separately
A tight starting chain can make the bottom edge narrower than the rest of an otherwise consistent blanket. In that case, recent rows may not actually be getting progressively wider; the foundation is simply constricting the first section. Compare several later rows with one another. If their counts and widths match, investigate the foundation tension rather than assuming you have continued to add stitches throughout the blanket.
For a future project, test a looser foundation method or a different hook for the chain if the pattern allows it. Make a sample first, including the first few rows of the actual stitch pattern. A foundation should support the intended width without becoming a loose fringe. Do not assume that increasing the chain-hook size by a fixed amount works for every yarn, stitch pattern, or crocheter.
Check the hook and yarn history
Compare the hook currently in use with your project notes. Hooks with similar colors or handles may have different millimeter sizes, and a replacement hook of the same labeled size can still feel different. If you changed tools after a break, make a small sample with each one. Check both the central stitch gauge and the fabric's texture rather than deciding from the handle or letter label alone.
Also inspect the yarn labels from earlier and newer balls. A similar shade from another yarn line may have a different construction or length per unit weight. Even within one project, a change from a firm smooth yarn to a softer, more compressible yarn can affect fabric size. Record the product name and relevant label details so an accidental substitution does not remain hidden behind a matching color.
Account for the blanket's weight
A large blanket can pull on your hands and the active stitches differently from a small sample. If the work hangs off your lap or table, the downward weight may distort the section you are measuring. Support the fabric, allow it to relax, and measure again. A temporary stretch under load is different from an added repeat, although both can make a recent row look broader while you are working.
Check whether you have also changed the way you feed the yarn. Pulling from a freely moving ball may produce a different rhythm from working against a tightly wound center or a snagged strand. Keep the supply accessible and pause to release tangles. For persistent loose fabric across the whole piece, use the diagnostic approach in crochet tension that is too loose.
Find the first incorrect repeat
Once you know the count has increased, move backward through the rows until you locate the last correct one. Use markers to identify its repeat boundaries. Compare the first incorrect row one repeat at a time, beginning at the side where the outline first changes. This method is faster than inspecting every stitch in a large blanket without a reference structure.
Leave a note describing the exact error before unraveling. An explanation such as “extra shell worked into the edge space on row eighteen” gives you a concrete correction. If the blanket has complicated color changes or textured stitches, take a photograph of the correct row and record which color should be on the hook when you restart. The mistake-recovery guide explains how to preserve that restart information.
Avoid compensating decreases at random
Removing several stitches in the next row may restore the total count, but it does not remove the extra width already present below it. It can also interrupt a shell, ripple, or colorwork repeat. A sudden correction may create a visible pinch in the blanket. Before using a compensating decrease, consider whether you are comfortable with the existing shape and whether the pattern can still be followed afterward.
If you intentionally keep a small count error in an informal project, distribute any correction with a written plan and test it in the stitch pattern. Do not place decreases simply where the edge looks widest. Keep the center repeat aligned and check that later borders will still have workable corners. This is a design decision about the finished piece, rather than a universal substitute for repairing a counting mistake.
Test a border instead of assuming it will square the blanket
A border can improve the appearance of small irregularities, but it cannot turn a strongly flared body into a rectangle without affecting the fabric. Test a short section along a side and lay it flat. If the border gathers the fabric, it may be using too few stitches. If it waves independently of the body, it may be using too many. Follow the designer's pickup guidance when provided.
For a blanket with a stable body and a slightly tight foundation, an edging may produce an acceptable finish, but measure again after the intended care treatment. The article on uneven crochet edges explains when finishing can help and when the structure needs attention first. A visually tidy edge should still lie comfortably rather than being forced into shape by excessive tension.
Keep a row-end record while you continue
After repairing the cause, count every row for the next few repeats. Record the row number, stitch or repeat total, and the side where the working yarn ends. Once the pattern is stable, you can reduce the frequency of full measurements while continuing endpoint checks. On a very wide blanket, fixed repeat markers make this routine much less disruptive than recounting hundreds of individual stitches from scratch.
Save an early width measurement taken after the fabric has enough depth to settle. Compare later measurements at the same stage of the stitch repeat and in the same resting position. This gives you a useful baseline if you pause the project for several weeks. Add the hook size and yarn details to the same note so you can return to the setup that produced the intended fabric.
Use the pattern as the final reference
The Craft Yarn Council's US abbreviation reference helps decode standard terms, but the pattern controls its own repeat boundaries and special counting notes. If a row's arithmetic remains unclear, compare any chart with the written directions and check for the designer's published corrections. Ask a focused question that includes the row number, expected count, and count you actually have.
When browsing crochet patterns, clear repeat instructions and stated row totals are useful features for large projects. A blanket stays rectangular through consistent placement and consistent gauge, not through holding the edges straight while you work. Count, measure, identify the earliest change, and correct one cause at a time. That sequence gives you a result you can verify instead of another guess about why the blanket is widening.
Related guides
Đọc tiếp
Tips
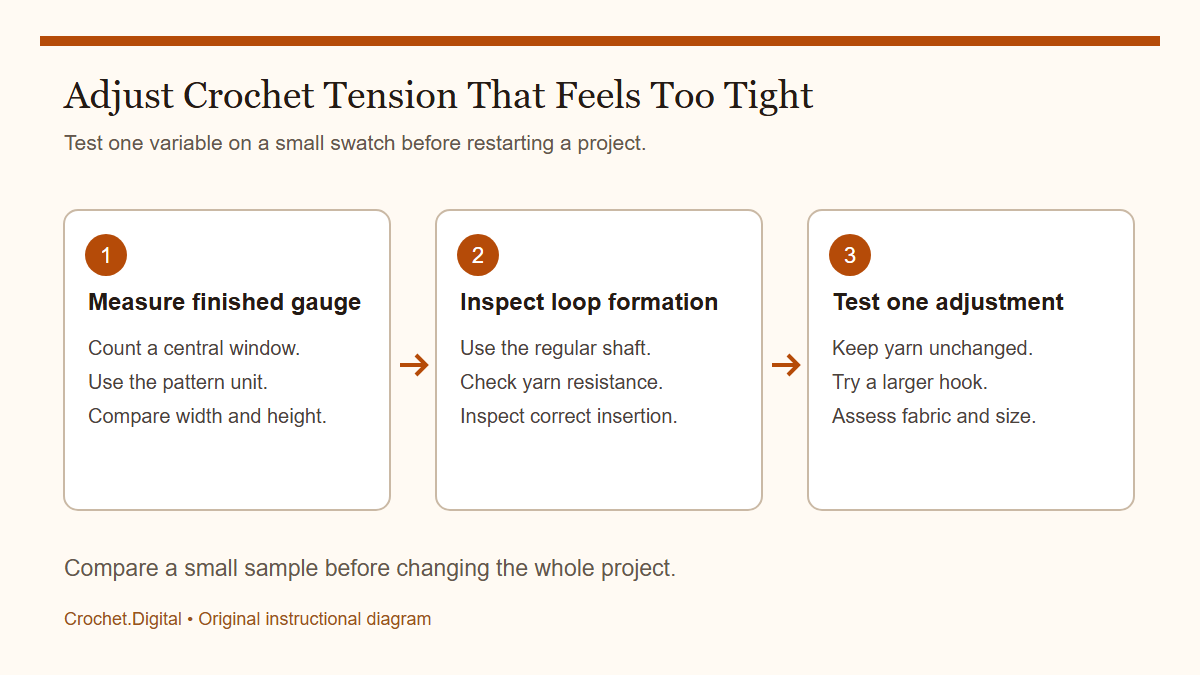
Crochet Tension Too Tight: A Practical Gauge Check
Diagnose too-tight crochet with finished gauge, loop formation, yarn resistance, and controlled hook-size comparisons.
· 11 phút đọc
Tips
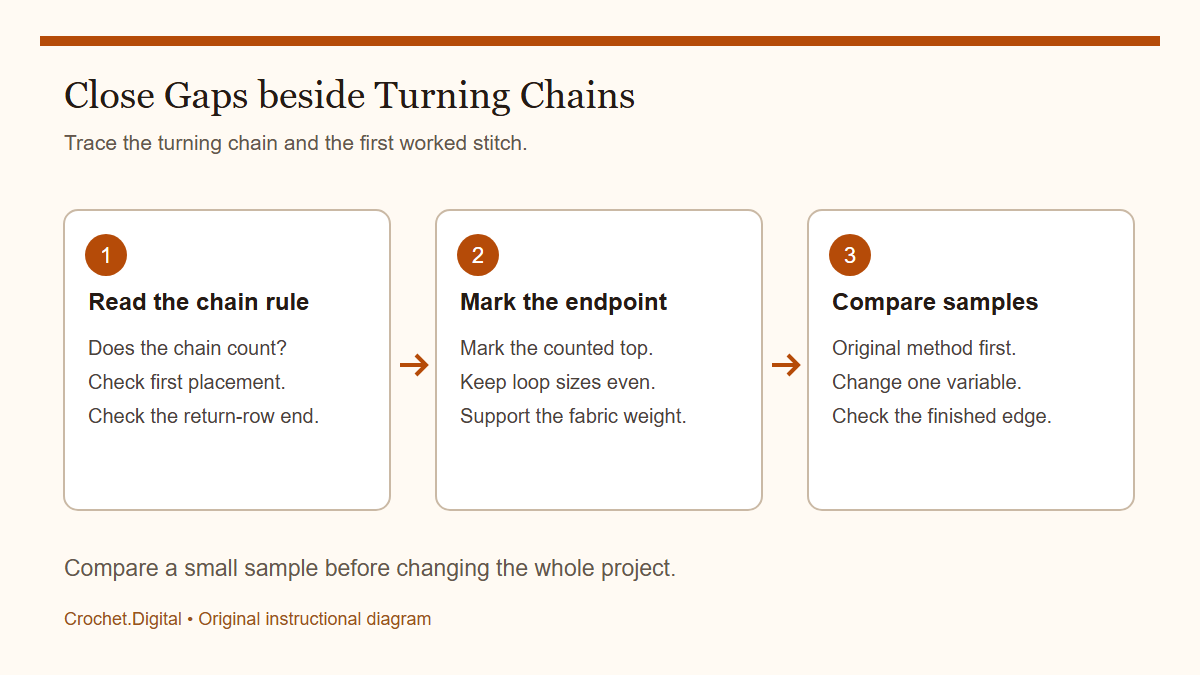
Crochet Turning-Chain Gaps: What to Check First
Check counts, chain height, and endpoint placement before changing the starting method at the edge of a crochet row.
· 11 phút đọc
Tips
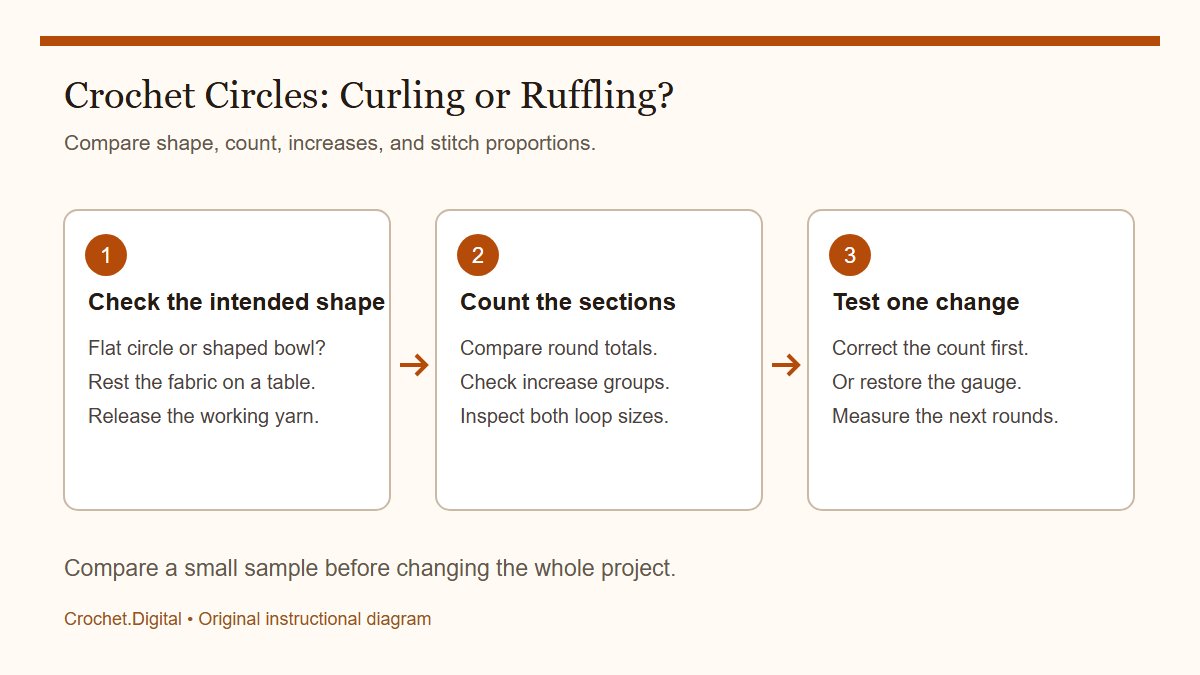
Crochet Circle Curling or Ruffling: Diagnose the Shape
Compare stitch counts, increase placement, and resting measurements to diagnose a curling or ruffled crochet circle.
· 11 phút đọc