Tips
Crochet Circle Curling or Ruffling: Diagnose the Shape
Compare stitch counts, increase placement, and resting measurements to diagnose a curling or ruffled crochet circle.
Crochet.Digital · · 11 phút đọc
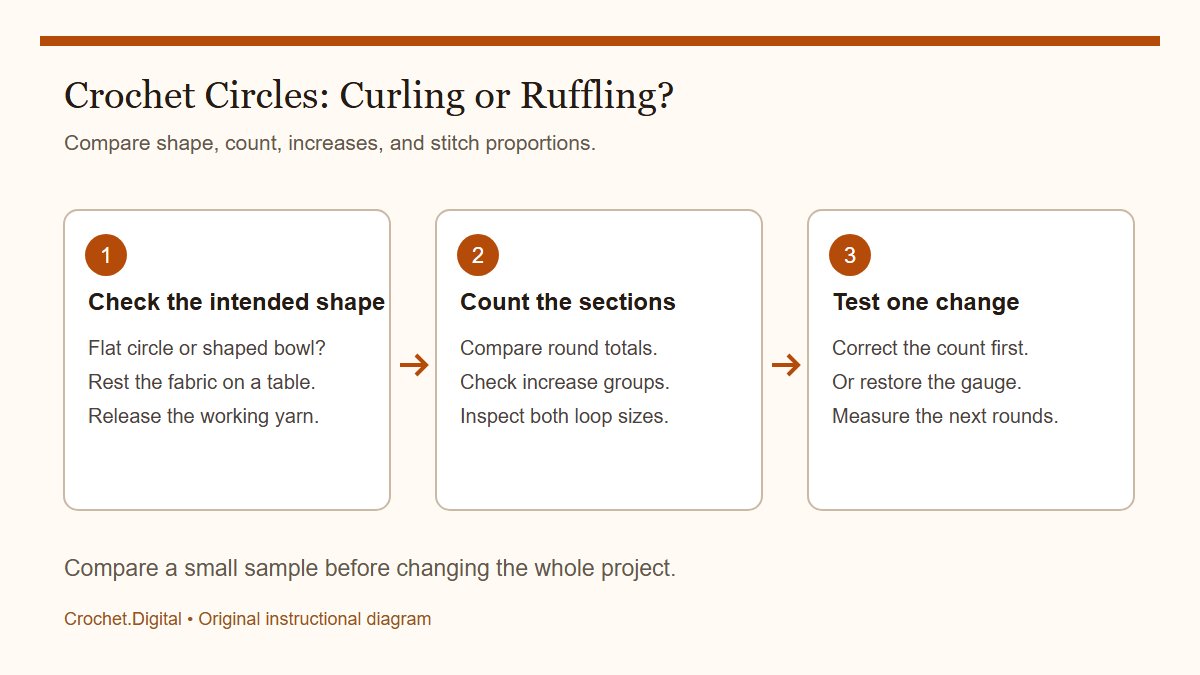
A crochet circle lies flat when the amount of fabric around each round suits the distance from the center. Too little outer-edge fabric can produce a cup, while too much can create waves or ruffles. That picture is useful, but it does not mean every circle needs the same increase formula. Stitch height, yarn, hook, tension, and the pattern's intended shape all affect the result. Before changing the increases, check the written count and decide whether the design is actually meant to be flat.
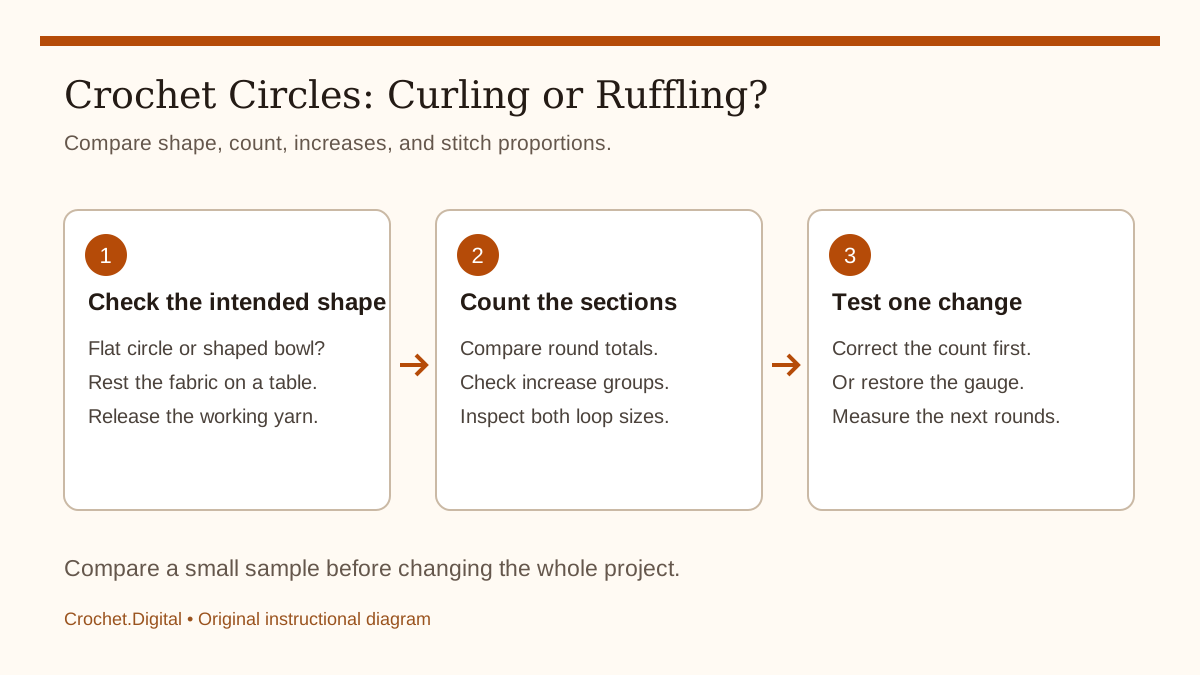 Compare stitch counts, increase placement, and resting measurements to diagnose a curling or ruffled crochet circle.
Recognize three different shapes
A cupping circle curves upward like a shallow bowl. A ruffled circle has extra edge length that buckles into waves when its center is laid flat. A polygonal circle can lie flat but show corners where increases stack above one another. These shapes have different explanations. Adding increases may help a genuinely under-expanded circle but will make a ruffled one worse. Moving increase positions can soften corners without changing the total stitch count.
Place the work on a table with the active loop secured. Smooth the center gently, then let the outer edge rest without stretching it. Check both sides. If the circle only cups when the working yarn is pulled tight, release that tension before diagnosing the fabric. Photograph the piece from above and from the side. Those views provide a more useful record than holding the circle curved in one hand.
Confirm the design should lie flat
Amigurumi heads, hat crowns, baskets, bowls, and some garment components intentionally move from a nearly flat center into a curved shape. A hat may stop increasing at a particular diameter, after which its side naturally turns downward. If you add increases to force that section flat, you change the size and construction. Compare the current round number with the pattern's shaping notes and reference photographs before treating curvature as an error.
Check whether the instructions describe a spiral or joined rounds. A continuous spiral has no closing join at each round, while joined rounds have a defined closing point. The boundary can be harder to see in a spiral. A misplaced marker may therefore look like a counting problem. Identify the construction method and the intended first stitch before comparing the outer edge or deciding how much fabric should be present.
Count the latest complete round
Use the pattern's stated total. Mark the first stitch and count each intended stitch top once. Include a beginning chain only if the instructions say that it counts. A slip stitch used to close the round is not automatically another stitch in the next round. Counting a join as a stitch, then increasing into it, can add fabric at the seam even if the rest of the round is correct.
Check the previous round too. Suppose the instructions specify thirty-six stitches and you have forty-two. The excess might come from an extra increase group, an incorrectly counted joining stitch, or a misplaced boundary. If both rounds have their expected totals, investigate gauge and increase distribution next. Record the counts on paper. Recounting from memory often reproduces the same assumption instead of exposing the cause of the disagreement.
Understand why increase rates vary
The edge of a larger circle needs more length than the edge of a smaller one. Taller stitches add radial distance more quickly, so a flat circle worked in tall stitches generally requires a different expansion rate from one worked in shorter stitches. The familiar six-stitch single crochet start is a useful convention used in many patterns. It is not a rule that can be applied unchanged to every yarn and stitch.
A design may use other starting counts, delayed increases, mixed stitch heights, or decorative spaces. Firm cotton and soft wool can produce different fabric even with matching counts. Follow the designer's sequence first and assess your sample. If you are designing your own circle, record stitch height, stitch width, and dimensions. Those observations are more useful than adopting an increase formula merely because it worked in a different project.
Check the center structure
A starting ring pulled extremely tight can distort the first rounds, especially when the yarn is bulky or the stitches are difficult to arrange evenly. Too many stitches crowded into a small opening may also produce a raised center. Before tightening a ring fully, arrange the stitch bases evenly and check that they have not twisted. Closing the opening should not require forcing all the bases into an uneven pile.
If only the center looks distorted while later rounds approach the intended shape, work to a meaningful sample size before redesigning the whole sequence. A tiny circle has little fabric to reveal its eventual behavior. However, do not use that possibility to dismiss a clearly incorrect count. Check the center and the totals separately, then decide whether a few more correctly worked rounds would provide better evidence.
Inspect the increase placements
An increase commonly puts more than one stitch into a specified base, but a designer may define a special increase differently. Use the intended stitch or space. In textured fabric, the most obvious hole may not be the correct insertion point. Repeatedly entering the wrong space can change the geometry and decorative alignment while leaving a total that appears plausible. Compare the written instruction with any accompanying chart.
Divide a repeated increase round into sections with removable markers. In a round with six equal sections, count each section separately. If five contain seven stitches and one contains nine, the error is local. If every section contains nine instead of seven, the repeat has probably been misunderstood. A section count tells you more about the cause than a total alone and helps determine how much needs to be unraveled.
Investigate ruffles at the perimeter
Let the circle rest and observe how much edge length must fold over itself. Small ripples that disappear when the fabric settles differ from deep repeated folds. Compare the count and increase positions with the pattern. Extra stitches are one possible cause, but looser gauge in recent rounds can also provide more perimeter than the center accommodates. A new yarn ball or hook may explain a sudden change.
Do not skip several increases randomly to pull the edge inward. That can create unequal sections and complicate the next round. Locate the first round that began to wave, then compare its count and texture with the preceding round. A note such as “round eight has the correct count but much larger loops” points toward a handling or tool change rather than a need to alter the increase schedule.
Investigate cupping without forcing it flat
For a circle intended to remain flat, persistent cupping suggests insufficient edge expansion relative to the fabric's radial growth. Missed increases are an obvious possibility. Tight stitches or a stitch-height difference from the pattern sample may also matter. Count the increase groups near the joined-round seam especially carefully. The first or last group can be easy to overlook when the beginning chain resembles an ordinary stitch.
Avoid vigorous blocking until the structure is correct. Pulling a cup outward can flatten it temporarily without correcting the imbalance. A coaster, motif, or bag base should function as fabric rather than only as an object pinned under tension. The process in blocking crochet projects can finish a sound circle, but it does not replace checking the counts and placements that produced its shape.
Compare equivalent sections for gauge
As a circle grows, it can become easier to hold and your stitches may relax. Compare the size of stitches in nearby rounds that use the same stitch pattern. A dense center and a later lace round are not directly comparable. Choose equivalent fabric, and look at both the width of the stitch tops and the height of the posts. A change in either dimension can affect how the circle expands.
If you suspect a hook change, make small samples using the relevant tools and the actual project yarn. Give them the same care treatment before comparing. A hook that produces the expected count over a measurement window but an unsuitable fabric is not a complete solution. The finished circle needs useful texture as well as appropriate dimensions. Keep notes about the tool's millimeter size rather than relying on handle color.
Distinguish corners from excess fabric
When increases stack in the same positions, a circle may develop a hexagonal or other polygonal outline. It can still be flat with the correct number of stitches. This is different from ruffling. Some designs expect those angles, while others distribute increases to make the outline smoother. Check the intended appearance before trying to remove every corner or assuming that an angular edge contains too many stitches.
When designing a smoother shape, you can redistribute increase positions while keeping the necessary total. Decorative patterns may rely on stacked increases, however, so moving them can disrupt motif alignment. Test redistribution separately and record where the first increase falls in each round. An informal instruction to offset the increases is difficult to reproduce later unless the actual placements and section counts are documented.
Work through a numerical example
Imagine a round expected to finish with forty-eight single crochet stitches. Six marked sections each contain eight stitches, so the arithmetic is correct. The previous round is firm, but the latest one has visibly loose loops. Investigate loop size and yarn resistance first. Removing a whole group of stitches would alter a sequence that already has the intended total and may create a different shape problem.
Now imagine the same round contains fifty-four stitches, with nine in every section. A repeated interpretation error is likely, such as an additional ordinary stitch in each group. Correct the repeat definition, return to the last correct round, and work one section as a trial. This comparison shows the value of recording both total and section counts: the total establishes that something changed, and the sections reveal how the change was distributed.
Unravel to a reliable boundary
Mark the start of the last correct round before removing stitches. In a spiral, preserve the actual boundary rather than treating the visible diagonal of stitch tops as a joined edge. Unravel slowly and stop before removing the target stitch. Reinsert the hook into the active loop, recount the remaining round, and confirm the yarn direction. A clear restart position prevents a repair from becoming another counting error.
If a fuzzy yarn resists, separate caught fibers gently rather than pulling forcefully. Collect recovered yarn loosely so it does not tangle around the piece. The article on frogging and reusing crochet yarn explains how to assess the strand afterward. A clean restart is more valuable than a quick unravel that damages the yarn or makes the remaining stitch tops difficult to identify.
Change one supported variable
Correct a missed increase when the count is wrong. Restore consistent tools and handling when the gauge changed. Consider redistributing increases when the circle is flat but angular and the design allows it. Making all three changes at once prevents you from learning which adjustment mattered. It can also create a new fault that looks similar to the original one but has a different underlying cause.
After the change, lay the work down at the end of each complete round for several rounds. Record the count and resting diameter in more than one direction. You need a repeatable comparison rather than laboratory precision. If the diameter varies substantially by direction, inspect both the increase distribution and the way the fabric was laid out. A folded or stretched section can make a sound circle appear oval.
Finish and record the successful sample
Once construction is sound, finish the sample according to the yarn's care instructions and let it dry fully before assessing its final outline. Fibers and stitch structures respond differently to moisture and handling. The Craft Yarn Council care-symbol reference helps interpret unfamiliar label symbols. Do not assume that a technique used successfully on one fiber is suitable for every other yarn.
Keep the successful sample with notes covering yarn, hook, starting count, increase sequence, and finishing method. When choosing a new crochet pattern, look for a clear description of where the fabric should remain flat and where it should curve. That distinction prevents unnecessary repairs. For related endpoint problems in rows, see why crochet edges are uneven, which separates stitch placement from changes in tension.
Related guides
Đọc tiếp
Tips
Crochet Tension Too Tight: A Practical Gauge Check
Diagnose too-tight crochet with finished gauge, loop formation, yarn resistance, and controlled hook-size comparisons.
· 11 phút đọc
Tips
Crochet Turning-Chain Gaps: What to Check First
Check counts, chain height, and endpoint placement before changing the starting method at the edge of a crochet row.
· 11 phút đọc
Tips
Why Your Crochet Blanket Is Getting Wider
Find accidental increases, repeat errors, and changing gauge when a crochet blanket widens, then choose a repair that preserves its stitch pattern.
· 12 phút đọc