Beginner
How to Make a Slip Knot for Crochet
Make an adjustable starting loop, identify the working yarn and tail, and move from the knot into your first counted chains.
Crochet.Digital · · 12 Min. Lesezeit
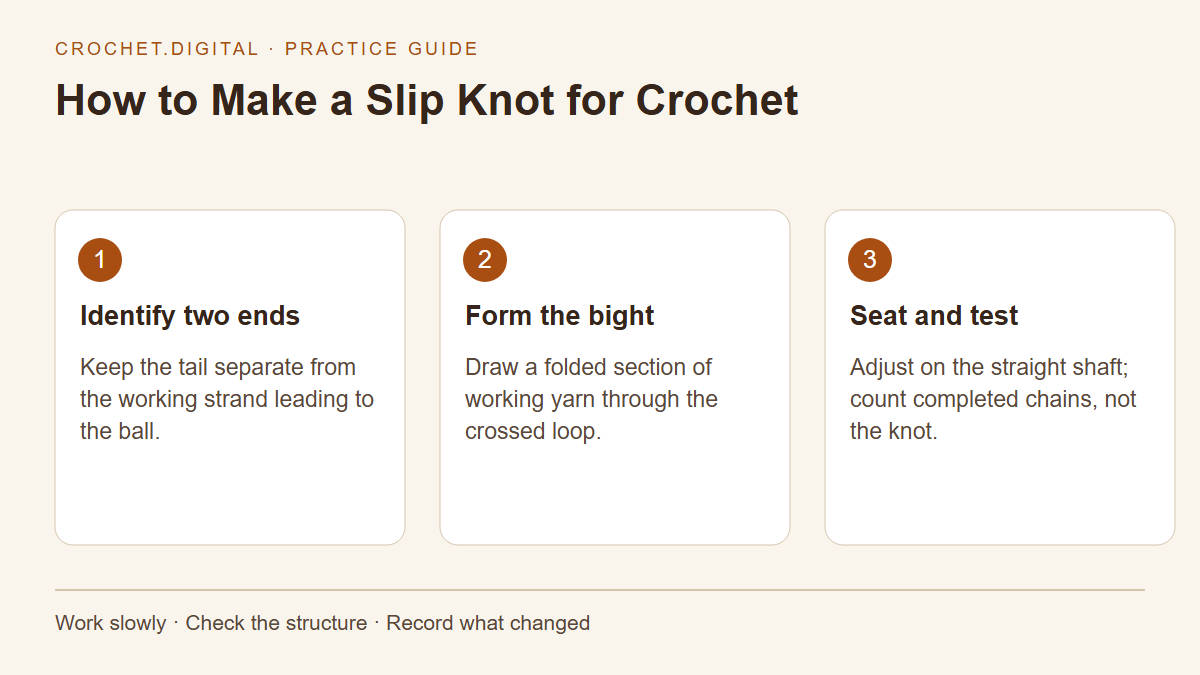
A crochet slip knot is an adjustable starting loop that sits on the hook before you make the first chain. It has two yarn ends: a short tail and a working strand leading to the ball. Make the knot so that the loop can slide down to the hook's straight shaft without gripping it tightly. The starting knot is not usually counted as a chain stitch, and the active loop on the hook is not counted as a completed chain either. Those two distinctions make the first practice chain much easier to count correctly.
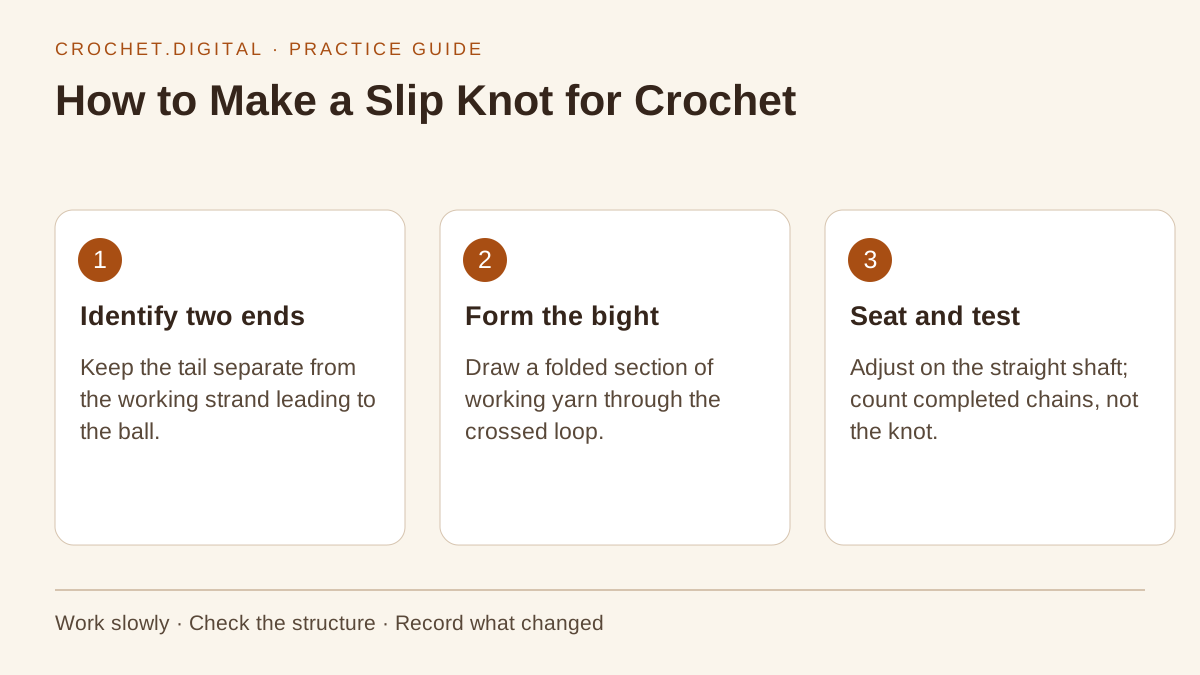 How to Make a Slip Knot for Crochet: a practical sequence to use beside your project.
Identify the tail and the working yarn
Pull a short length of yarn away from the ball and place it on a table. The cut or free end is the tail. The strand that continues to the ball is the working yarn, which supplies every new stitch. Keep enough tail to hold and finish comfortably rather than beginning with a tiny end that disappears into the knot. If a pattern requires a particular starting tail for sewing or assembly, measure that length before making the loop.
For your first attempts, use a smooth, light-colored yarn. Its path is easier to follow than a dark or heavily textured strand. Place the ball where it can unwind freely, and remove any twist or tangle from the section in your hands. You are learning how two sections of the same strand move through one another. Clear visibility and a freely moving supply strand are more helpful at this stage than using the exact decorative yarn planned for a later project.
Make a loop on a flat surface
Lay the yarn in a loose loop, crossing the working strand over the tail. Hold the crossing point gently with a finger so the loop keeps its shape. Leave the opening large enough to see through. You do not need a perfectly round loop or a measured diameter. The important feature is a clear crossing and two identifiable strands, one leading to the ball and one ending in the tail.
Bring a small folded section of the working strand through the loop without pulling the whole ball through. That folded section is a bight: two sides of yarn with a rounded bend at the top. The bight becomes the adjustable loop that goes on the hook. Hold it while gently drawing the original loop down around its base. You should now see a small knot below a larger adjustable loop. Keep the movement loose until you have tested which strand changes the loop size.
Put the adjustable loop on the hook
Insert the hook into the new loop and move the loop onto the straight working shaft. Avoid setting its final size on the narrow throat just beneath the hook head, because the throat can be smaller than the area where you normally form stitches. If you tighten the loop around that narrow point, moving it back onto the shaft can feel unexpectedly difficult. The loop needs room to travel over the hook head during the first chain.
Hold the knot below the hook between your fingers and draw the working strand gently until the loop rests against the shaft. It should touch the hook without squeezing it. You should be able to rotate the hook and slide the loop a little along the shaft without force. If you need to tug hard to move the hook, loosen the loop now. A tight beginning is easier to correct before you have attached a long chain to it.
Test the knot instead of judging it by appearance
A useful slip knot changes loop size predictably. With the hook in place and the knot held below it, pull a little working yarn toward the ball. The loop should become smaller. Ease a little yarn back toward the loop and it should become larger. If pulling the tail changes the loop instead, you may have made a different orientation of adjustable knot. That can still form a loop, but it may not behave the way you expect when tensioning the working yarn.
For consistent practice, undo an unfamiliar result and remake the same version described here. Watching the yarn path teaches you more than trying to memorize the outside silhouette of a knot. Do not compensate for an unreliable knot by pulling both ends as hard as possible. That can hide the adjustable structure and leave a compact lump at the beginning of the chain. The goal is a controlled loop, not the smallest knot you can make.
Hold the knot while making the first chain
Use the fingers of your yarn hand to hold the knot below the hook, leaving the hook head free to move. Arrange the working yarn so that it can pass over the hook without requiring you to grip the tail tightly. Your exact hand position may differ from another crocheter's. What matters is that the working strand has a controlled path and the knot does not rotate wildly while the hook draws a loop through.
Yarn over using the working yarn, then draw that strand through the loop already on the hook. You have made one chain stitch and now have a new active loop on the hook. Pause and look at what happened: the original adjustable loop has become part of the chain structure above the knot. The new loop on the hook is ready for the next stitch. It is not an additional completed chain waiting to be counted.
Count the chain without counting the knot
After making several chains, lay the strand down and look for the V-shaped links. Count those links from the knot toward the hook, leaving the active hook loop out of the total. The knot itself is an anchor at the end, not a V-shaped chain stitch in the usual counting convention. If you count the knot or the active loop, your foundation will be short even though the number you say aloud seems to match the instructions.
For a clear exercise, make five chains and stop. Remove the hook carefully while holding the active loop open, then place a removable marker through that loop so it cannot unravel. Point to each completed V and count to five. Now identify the knot separately. Reinsert the hook and remove the marker before continuing. Repeating this short inspection a few times is more useful than making a long chain and hoping you will recognize its beginning later.
Correct a loop that is too tight
If the loop will not slide over the hook head, first relax your hold on the working yarn. Move the loop onto the shaft and gently ease more yarn into it. Check whether you tightened it while the loop was sitting in the throat. A hook with a broad head may need the loop opened slightly for the first pull-through, particularly if you are learning to rotate the hook while drawing yarn through.
Do not lever the hook against a tight knot or stretch the yarn sharply to force it through. Remove the hook, open the loop by hand, and reset it at a usable size. If the knot has tightened into a shape you cannot identify, undo it completely and start again with a longer tail. Early practice is not wasted when you remake a knot; you are learning the relationship between loop size, hook position, and the amount of yarn available to move.
Correct a knot that keeps slipping apart
A knot can come apart when the tail is extremely short, when the wrong strand was pulled through, or when the original loop was not drawn around the bight's base. Lay the yarn flat and trace it from the tail to the working strand. You should be able to identify the small knot that holds the base of the adjustable loop. If you only have two crossed loops without a retaining knot, remaking the structure is easier than repeatedly tightening it in random directions.
Use a longer tail for the next attempt, hold the crossing point while forming the bight, and tighten the knot gradually. Test the adjustment before making chains. With very smooth yarn, hold the knot securely during the first few movements so the structure has a chance to settle. A properly made starting knot still needs its tail finished appropriately after the project is complete; a short unsecured end is not made reliable simply because it survived the first row.
Adapt the movement for left-handed crochet
The adjustable loop does not belong exclusively to a right-handed hook position. A left-handed crocheter can make the loop on a table, form the bight, and place it on the hook using the same yarn-path test. You may find it natural to mirror the hand positions so that the hook hand has room to rotate and the yarn hand can hold the knot. Focus on which strand leads to the ball rather than on whether the loop points toward a particular side of the screen.
When learning from a photograph or video, pause before the loop goes on the hook and identify the working strand and tail. Then arrange them for your own hands. A mirrored image can make a demonstration easier to follow, but it does not change the knot's purpose. Once it is on the hook, the loop should adjust smoothly and allow the first chain to be made without twisting the tail around the hook.
Account for fiber and yarn construction
A smooth, firm yarn shows the knot clearly, while a fuzzy yarn can conceal the crossing and make the structure look larger than it is. A loosely plied yarn may split if the hook catches only part of the bight. Keep all the plies together when forming the loop and look at the strand before tightening. If the knot is already split, remake it rather than using the hook to drag the missing ply into place under tension.
Very slippery yarn can make the tail harder to hold, and thick yarn can create a substantial starting lump. Those are reasons to practice on a sample, not reasons to pull the knot excessively tight. If a project uses a delicate strand, do not repeatedly yank the same small section while learning. Work with a fresh section when the yarn becomes abraded or distorted. The first knot should not be built from a visibly damaged part of the strand.
Distinguish a slip knot from a magic ring
A slip knot provides an adjustable loop on the hook for beginning a chain or another starting method. A magic ring provides an adjustable center around which the first round of stitches is worked. They solve different construction problems. If a pattern asks for a magic ring, making a slip knot and crocheting a chain is not an equivalent replacement unless the designer provides that alternative. The resulting center, attachment points, and finishing requirements can differ.
Similarly, a starting chain joined into a ring is a separate method. It produces a fixed chain opening rather than an adjustable center. Read the actual starting instruction and choose the matching technique. Knowing how to make a slip knot is useful, but it is only one part of a crochet start. The pattern must still tell you whether to make a chain, work into that chain, join a ring, or begin a different construction.
Do not treat the starting knot as final finishing
The knot holds the beginning while you work, but the tail still needs to be secured through the finished fabric. Do not clip it flush with the knot after making a few rows. Keep enough length to use a suitable yarn needle and follow a deliberate weaving path. How you finish depends on the yarn and the fabric, especially if the piece will stretch, be washed, or experience repeated handling.
If the pattern uses the starting tail later for seaming or attaching a part, keep it separate from the active yarn and label its purpose in your notes. A marker can help you avoid accidentally working over or trimming that tail. Test the chosen finishing method on a sample when the fiber is unfamiliar. A good beginning makes the first stitches manageable; careful finishing makes the completed project dependable in its intended use.
A ten-minute practice routine
Make a slip knot, seat it on the shaft, and test the adjustment. Chain five, count the five completed links, and identify the active loop separately. Undo the chain and the knot. Repeat the sequence three times, keeping the same hook and yarn. On the next attempt, deliberately leave the loop too loose, then adjust it gently to a comfortable size. On another attempt, notice the difference between the narrow throat and the straight shaft before setting the loop size.
Finish by making a short chain at a relaxed pace. Look for consistent links rather than a perfectly tiny knot. Record which strand you pulled to adjust the loop and how you held the knot while making the first chain. That small observation is a useful reminder when you return to the hook tomorrow. Once the starting loop behaves predictably, you can put most of your attention into the foundation chain and the first row instead of repeatedly struggling with the very first movement.
Keep learning with your next practice session
Make a consistent foundation chain. Control yarn without gripping tightly. Distinguish an adjustable ring from a starting knot. When you are ready to use these skills in a project, browse the independent crochet and knitting PDF patterns and read the materials, sizing, and skill notes before choosing.
Reference: The Craft Yarn Council standards provide a useful reference for checking the terminology and conventions used in a pattern. The instructions and practice examples in this guide use US crochet terminology unless stated otherwise.
Related guides
Weiterlesen
Beginner
US vs UK Crochet Terms: Translate a Pattern Correctly
Match US and UK stitch names to the same physical movements while preserving every count, location, and turning-chain instruction.
· 12 Min. Lesezeit
Beginner
How to Read Crochet Abbreviations and Pattern Repeats
Decode crochet instructions by separating the stitch, its location, and the number of repeats, then checking the finished count.
· 11 Min. Lesezeit
Beginner
Crochet Tools for Beginners: A Practical Starter Kit
Build a small crochet kit around a readable yarn, a comfortable hook, and simple tools that help you see and count your work.
· 12 Min. Lesezeit